In this article, we’ll look at one way of building a slug-proof raised bed for your garden.
There are many advantages to raised beds, such as drainage, soil quality control, and ease of maintenance. Raised beds can be built in all kinds of different ways and with many different materials, but this design is one of my favourites and also incorporates a clever anti-slug electrical fence, inspired by this video.
Raised beds can also be efficient for homegrown produce. By situating your growing efforts near your house, it is easy to care for and maintain the plants and their produce on a day-to-day basis. Pottering around the garden for half an hour each day can be a real delight as opposed to, say, slogging all your tools down to the allotment plot for the whole weekend.
Remember, building a bed to a decent standard is a reasonably large undertaking. You will find it hugely helpful to have access to mains electricity, a dry workshop space, vehicle access for material delivery, and regular cups of tea and biscuits. But it’s also worth it. With the right strategy, a raised bed can be the cornerstone of horticultural heaven.
Raising the root
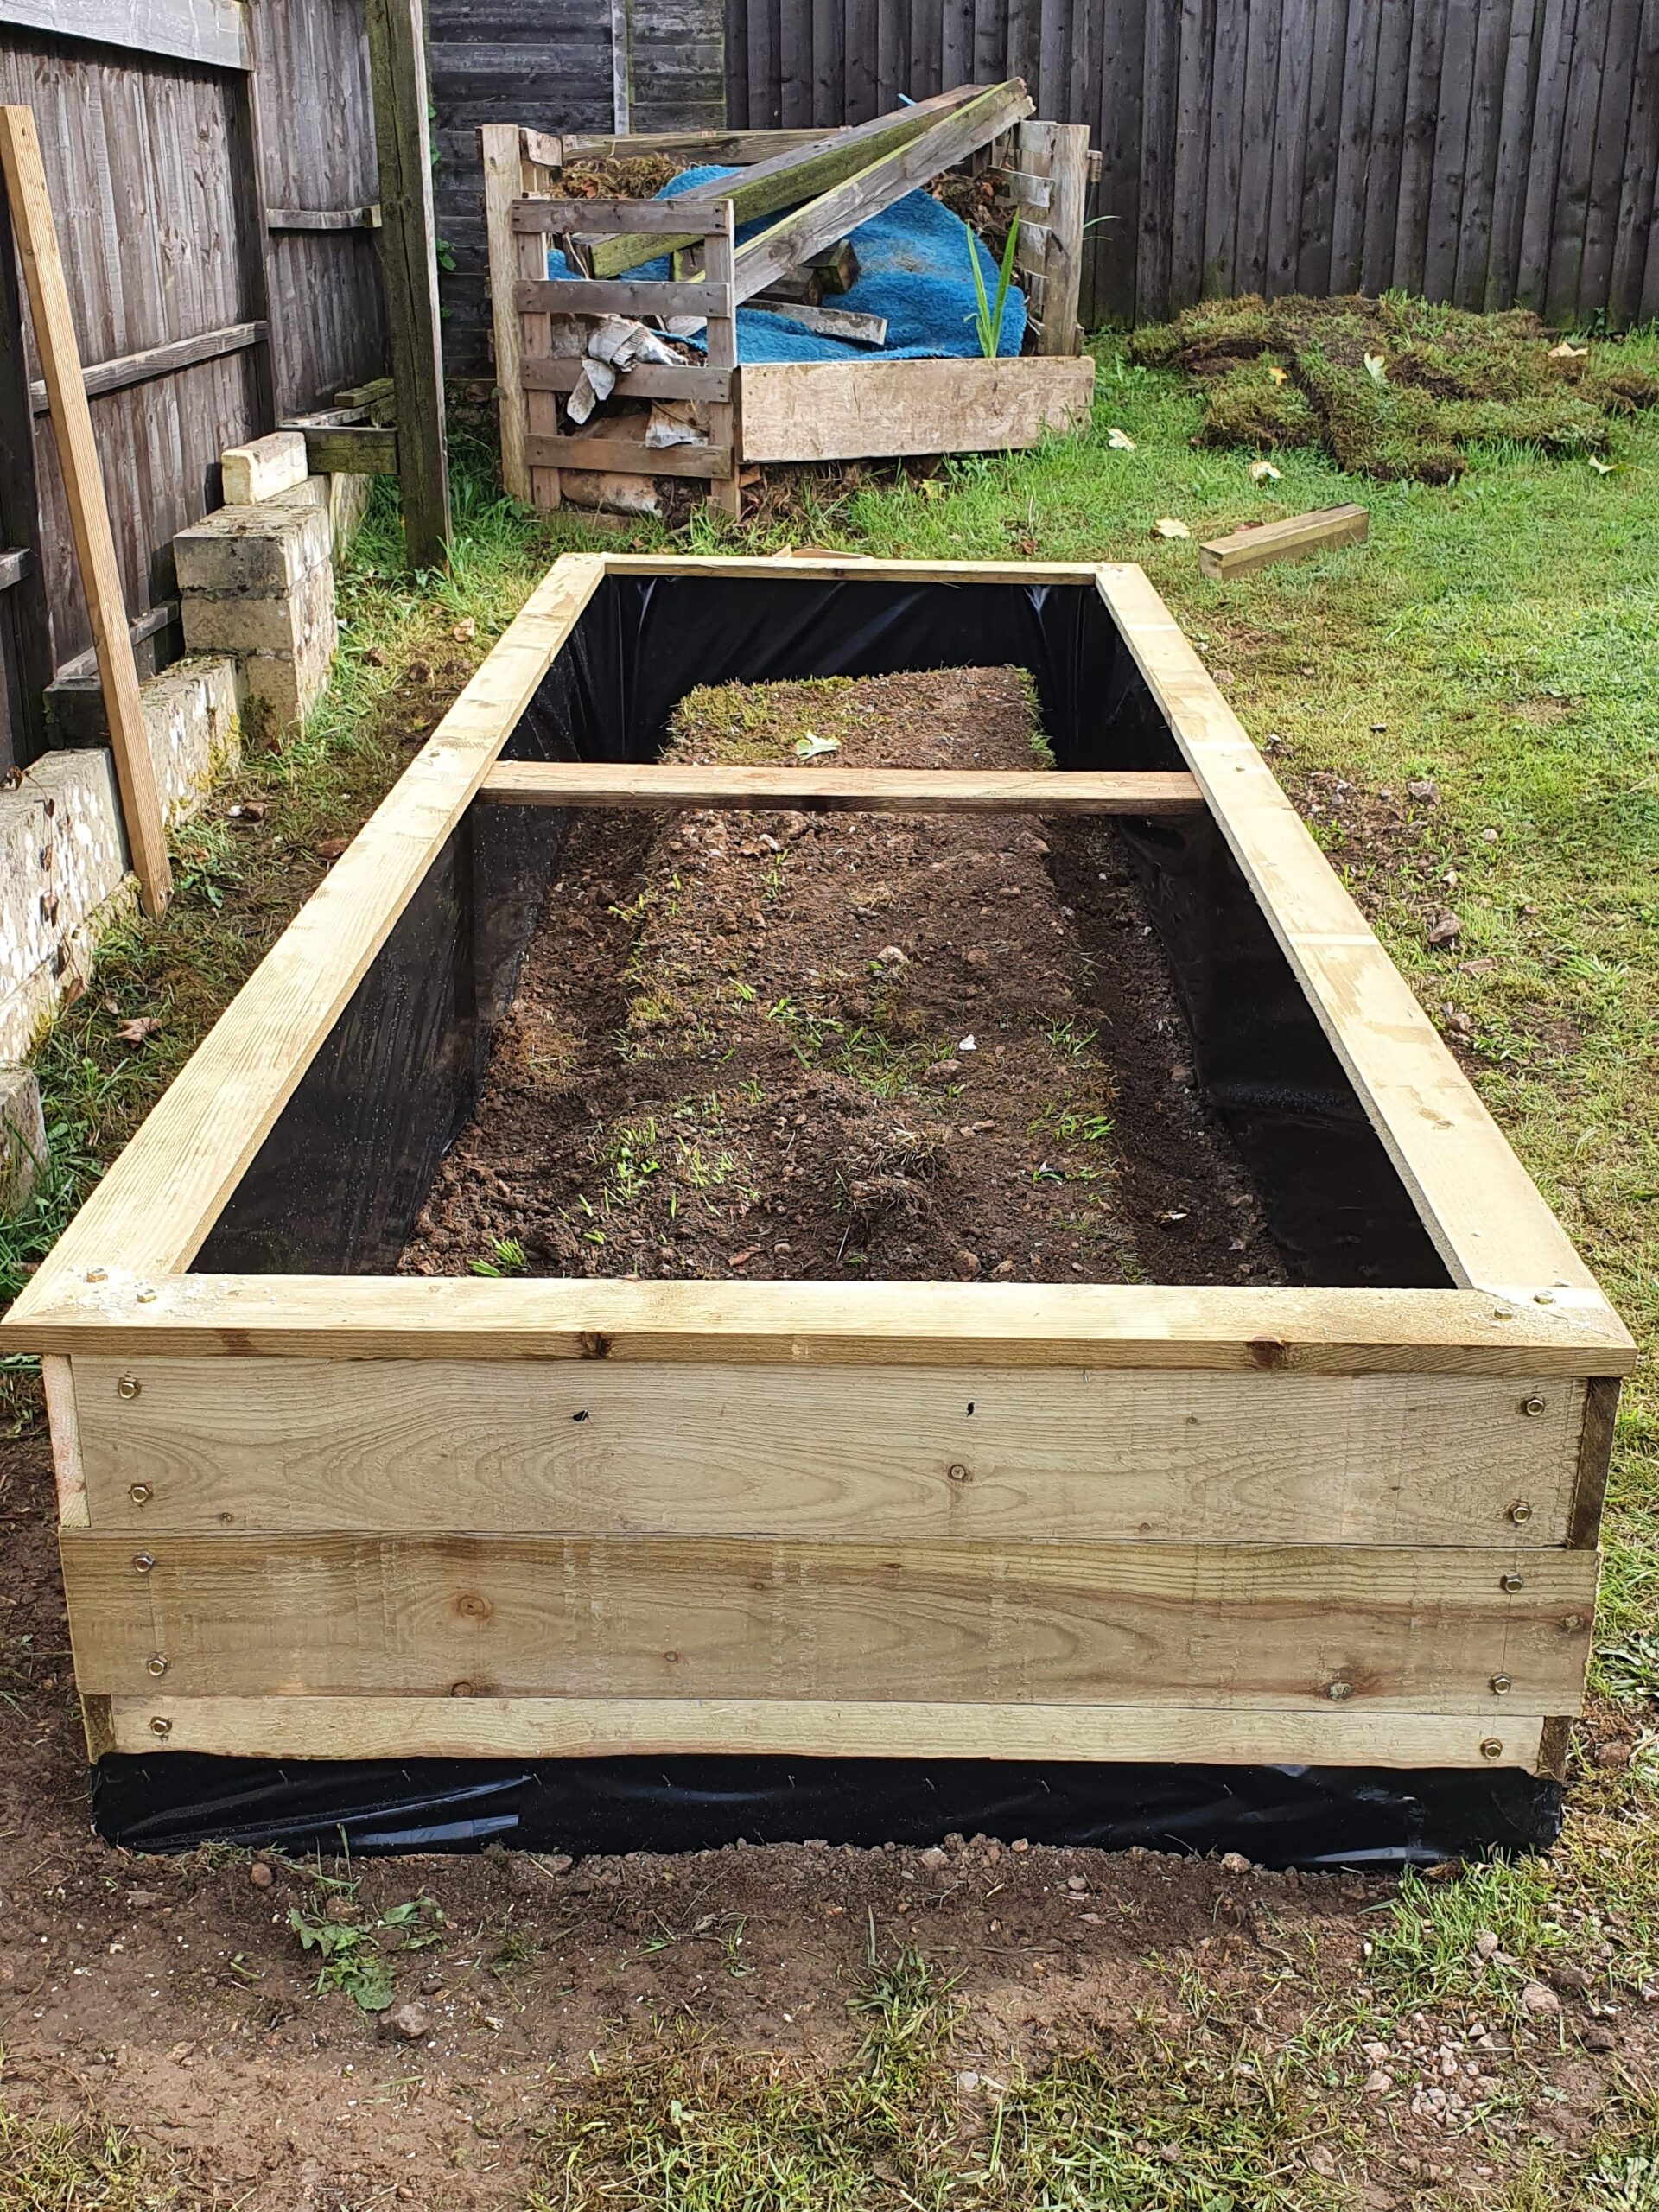
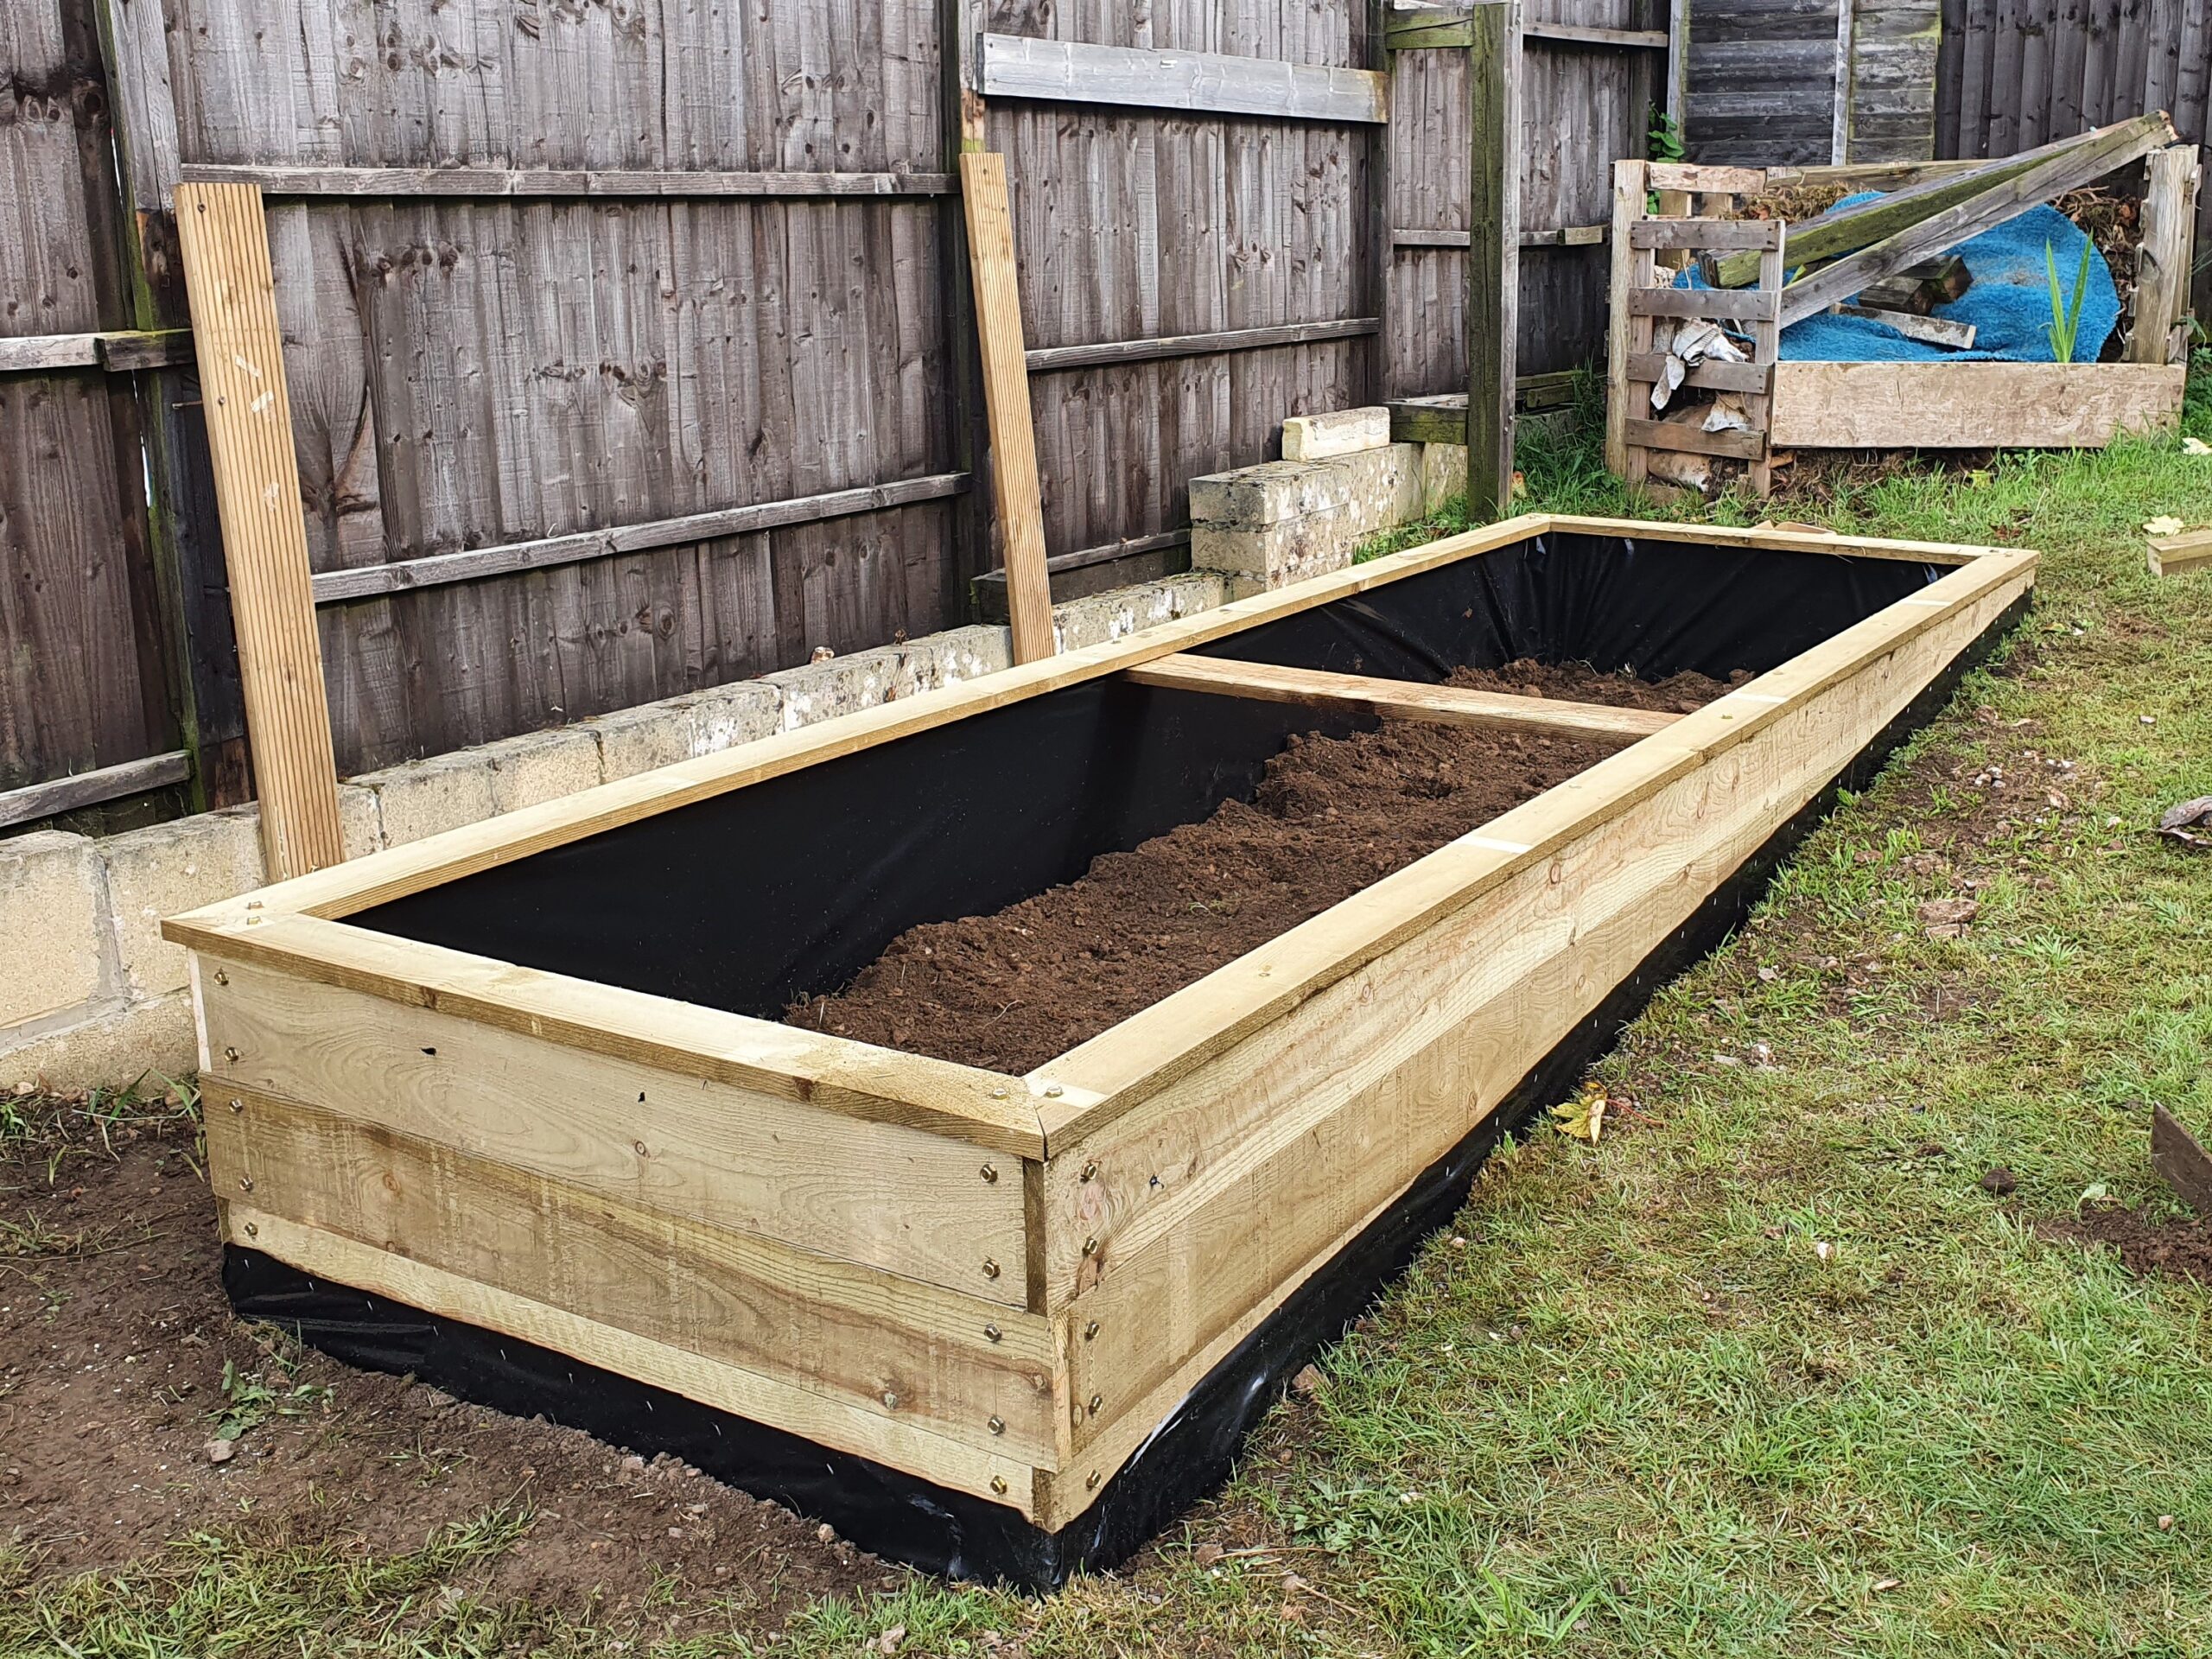
The bed in this design is 12ft x 4ft and 18 inches high. This is the perfect size to maximise growing space while also allowing you to reach every part of the bed. Stepping into the bed is a big no-no, as you risk crushing the delicate soil structure in an established bed, squeezing out oxygen and nutrients and making it harder for roots to penetrate.
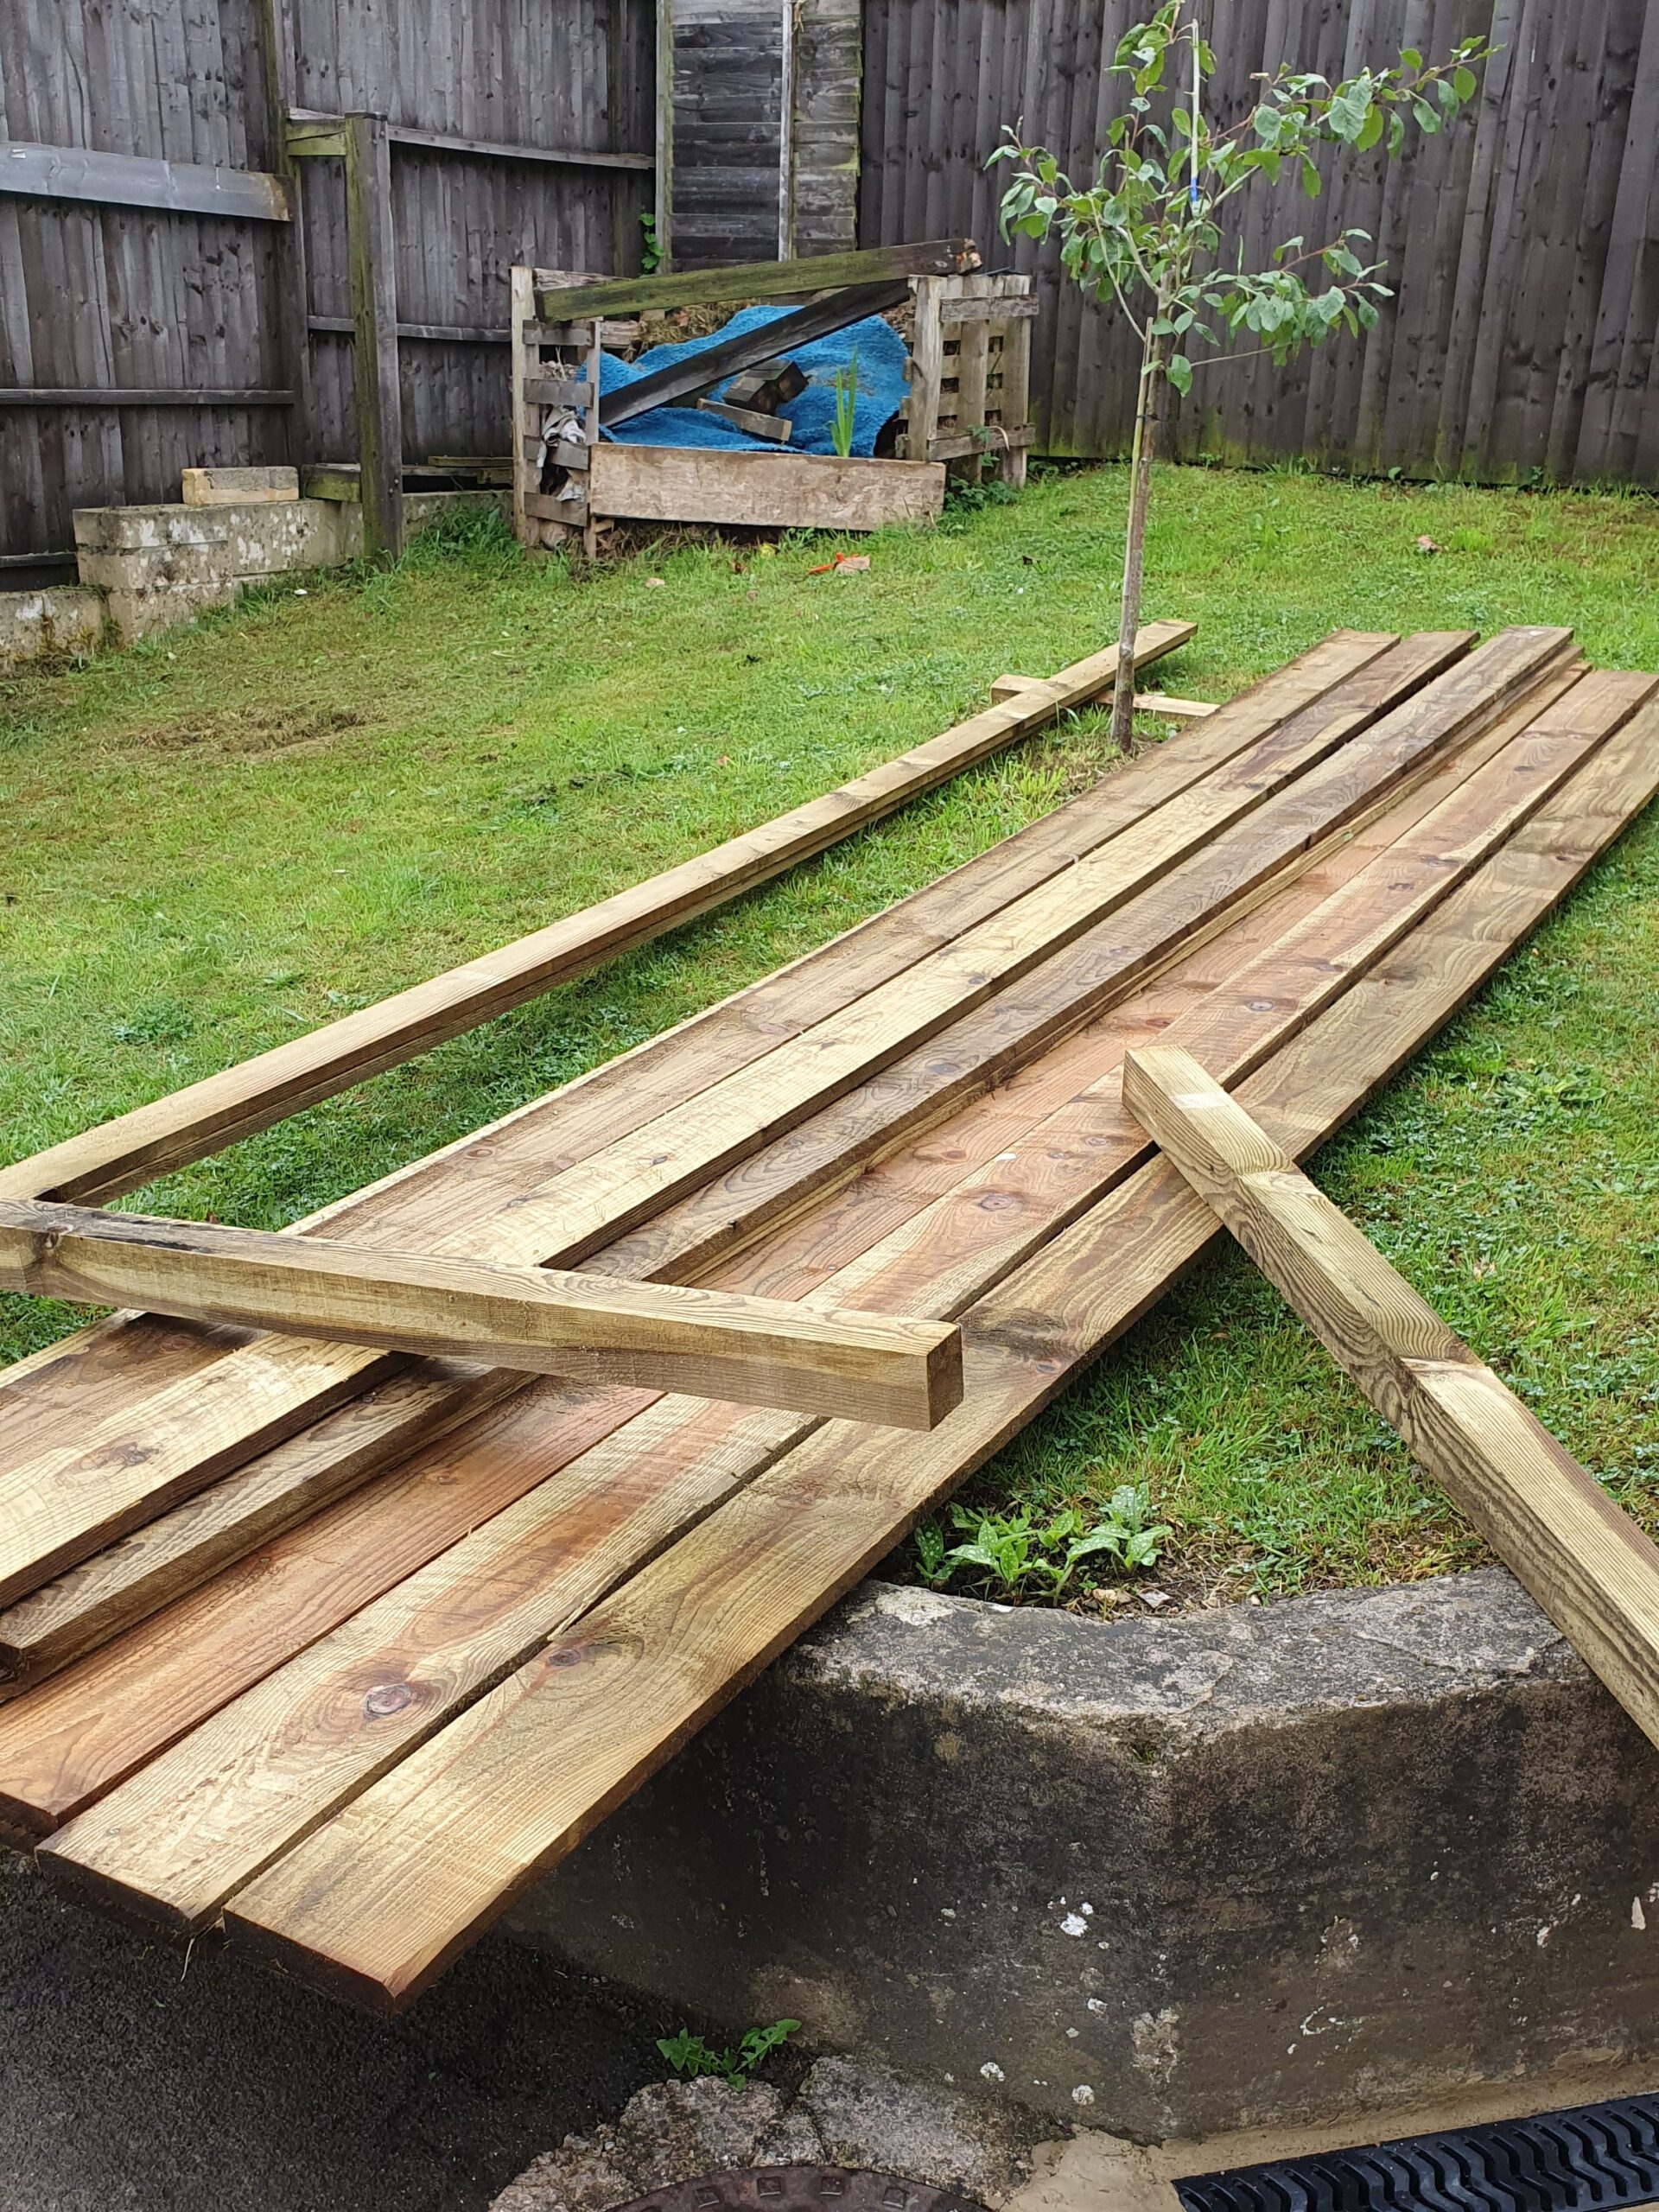
The main body of the bed is constructed from pressure treated (also called tanalised, after the chemical used in the process) gravel boards. These are boards which are traditionally used at the base of wooden fence panels to prevent the panels themselves from touching the ground and thus rotting faster. The pressure treatment gives extra resistance to decay and insect attack. Source timber from your local merchant, as they tend to have very competitive prices and often deliver free of charge.
Timber used:
- 4.8m (16ft) 6” x 1” gravel boards (Qty: 7)
- 4.8m (16ft) 4” x 1” gravel boards (Qty: 2)
- 1.8m (6ft) 3” x 3” square posts (Qty: 2)
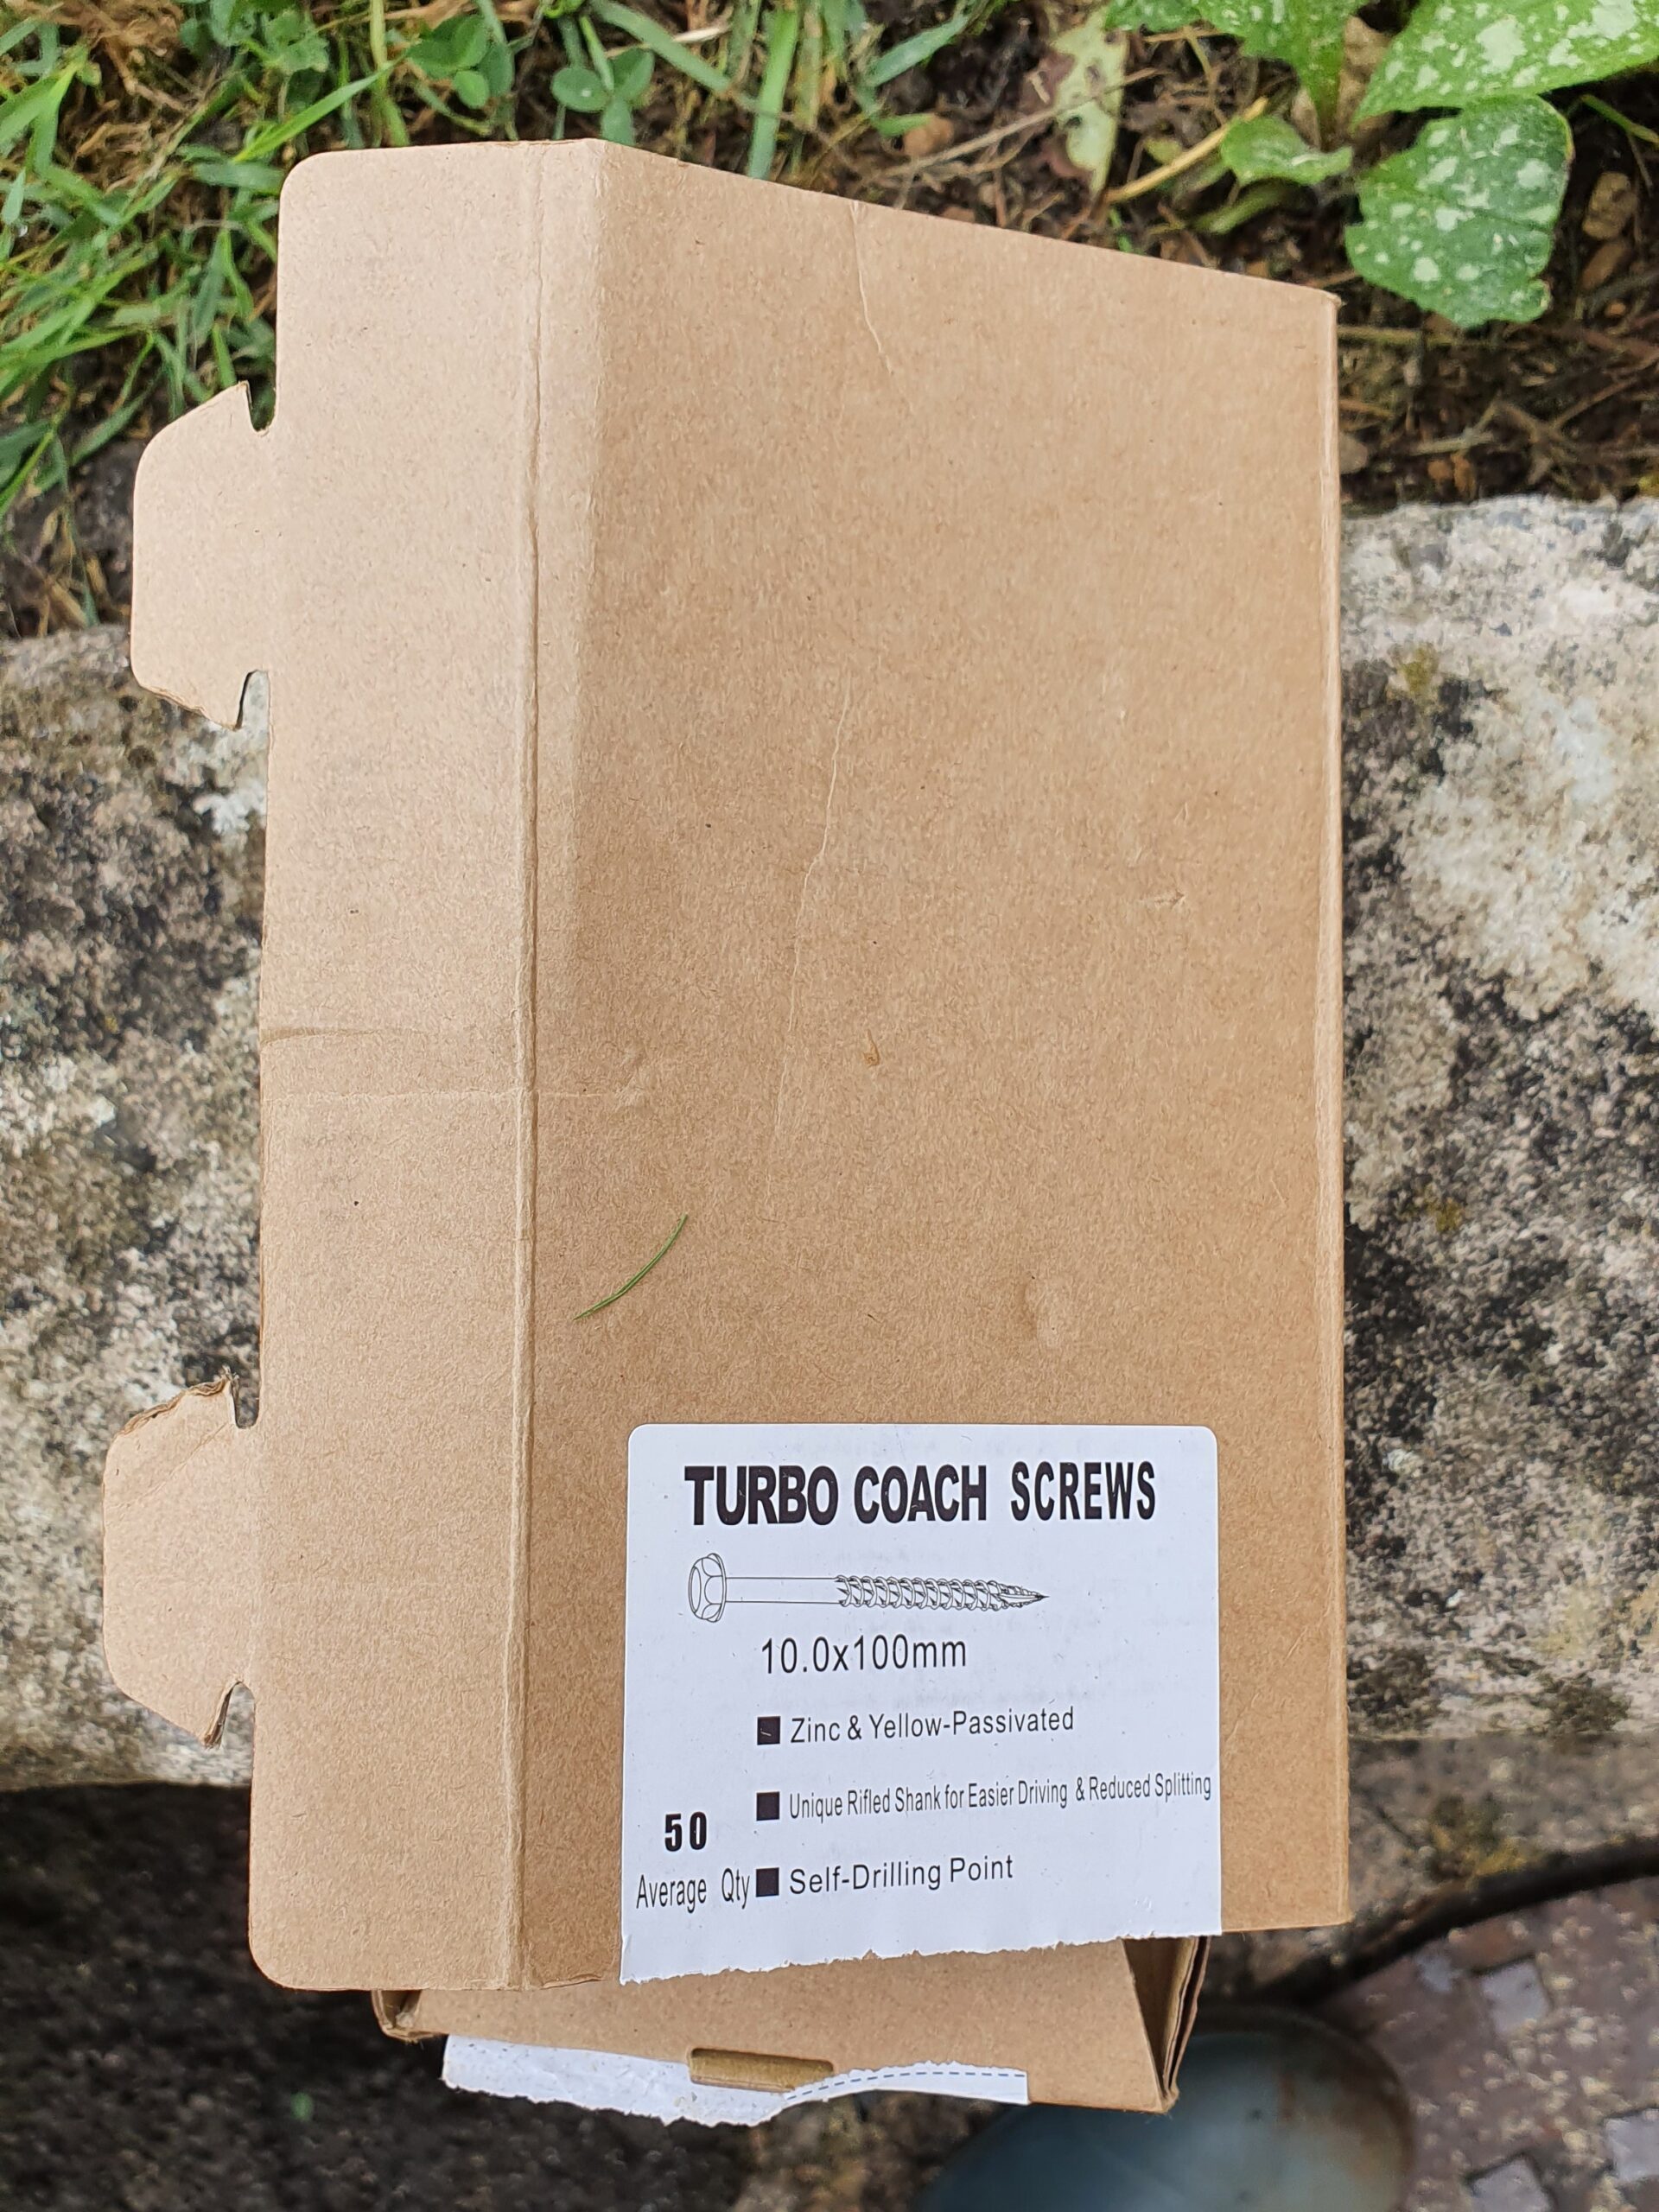
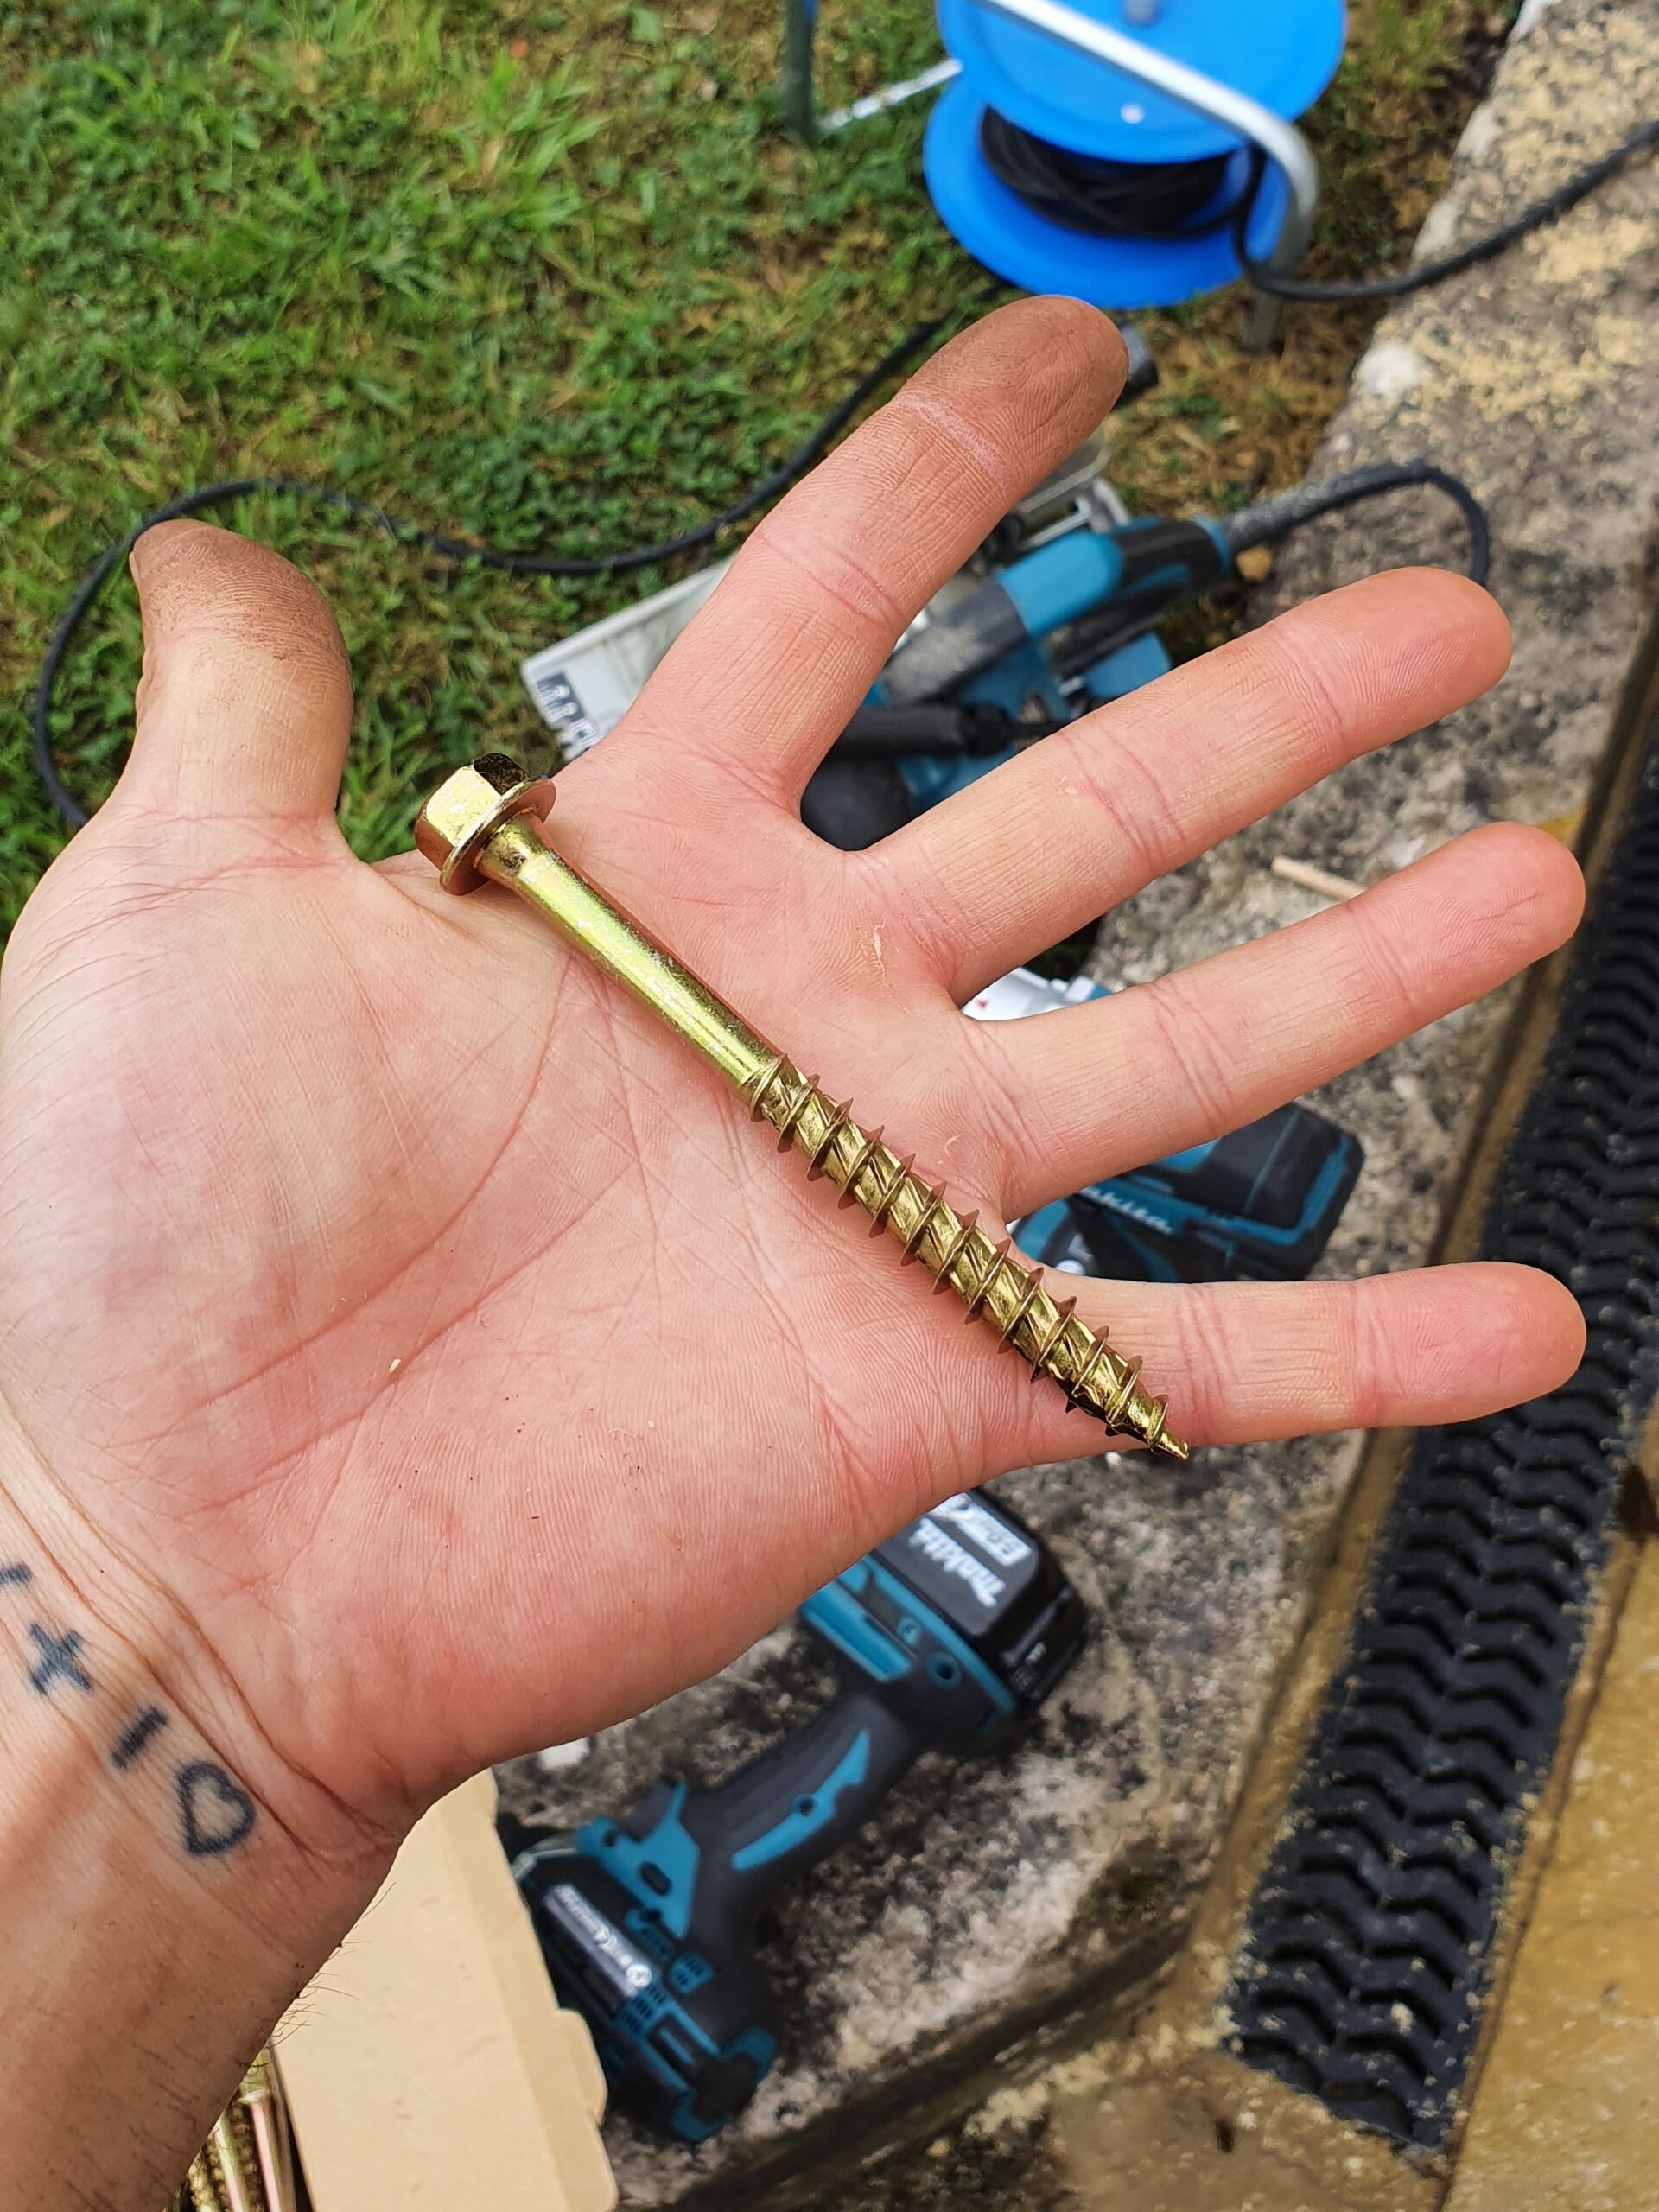
While ordinary wood screws will probably do the job holding things together, 12ft x 4ft x 18inches (the size of the final box being made) is quite a lot of soil. As I am always one to over-engineer, I prefer to fix the timber together using Size 10, 100mm coach screws (Screwfix) which also gives a nice “rivet” look.
Another reason to use a fixing with a larger head or collar (or a washer): A standard screw head, countersunk properly (to prevent you catching your clothes), will eventually be lost as the soft wood swells. That’s a pain if it ever comes to dismantling the bed and moving it elsewhere.
The coach screws require a hexagonal socket attachment for your electric screwdriver. This bed design needs 58 coach screws – slightly more than one box.
Construction is undertaken by cutting each board into two pieces: a long section and a short section. Half the 16” boards were cut 12’2” / 3’10” and half were cut 11’10” / 4’2”. This allows a staggering of the overlaps at the corners with the extra 1′ length at each end representing the thickness of the boards they are overlapping.
It is also important to make sure that the screw positions are staggered to ensure they didn’t collide with each other inside the posts. I also recommend pre-drilling the holes for the coach screws to prevent splitting the boards.
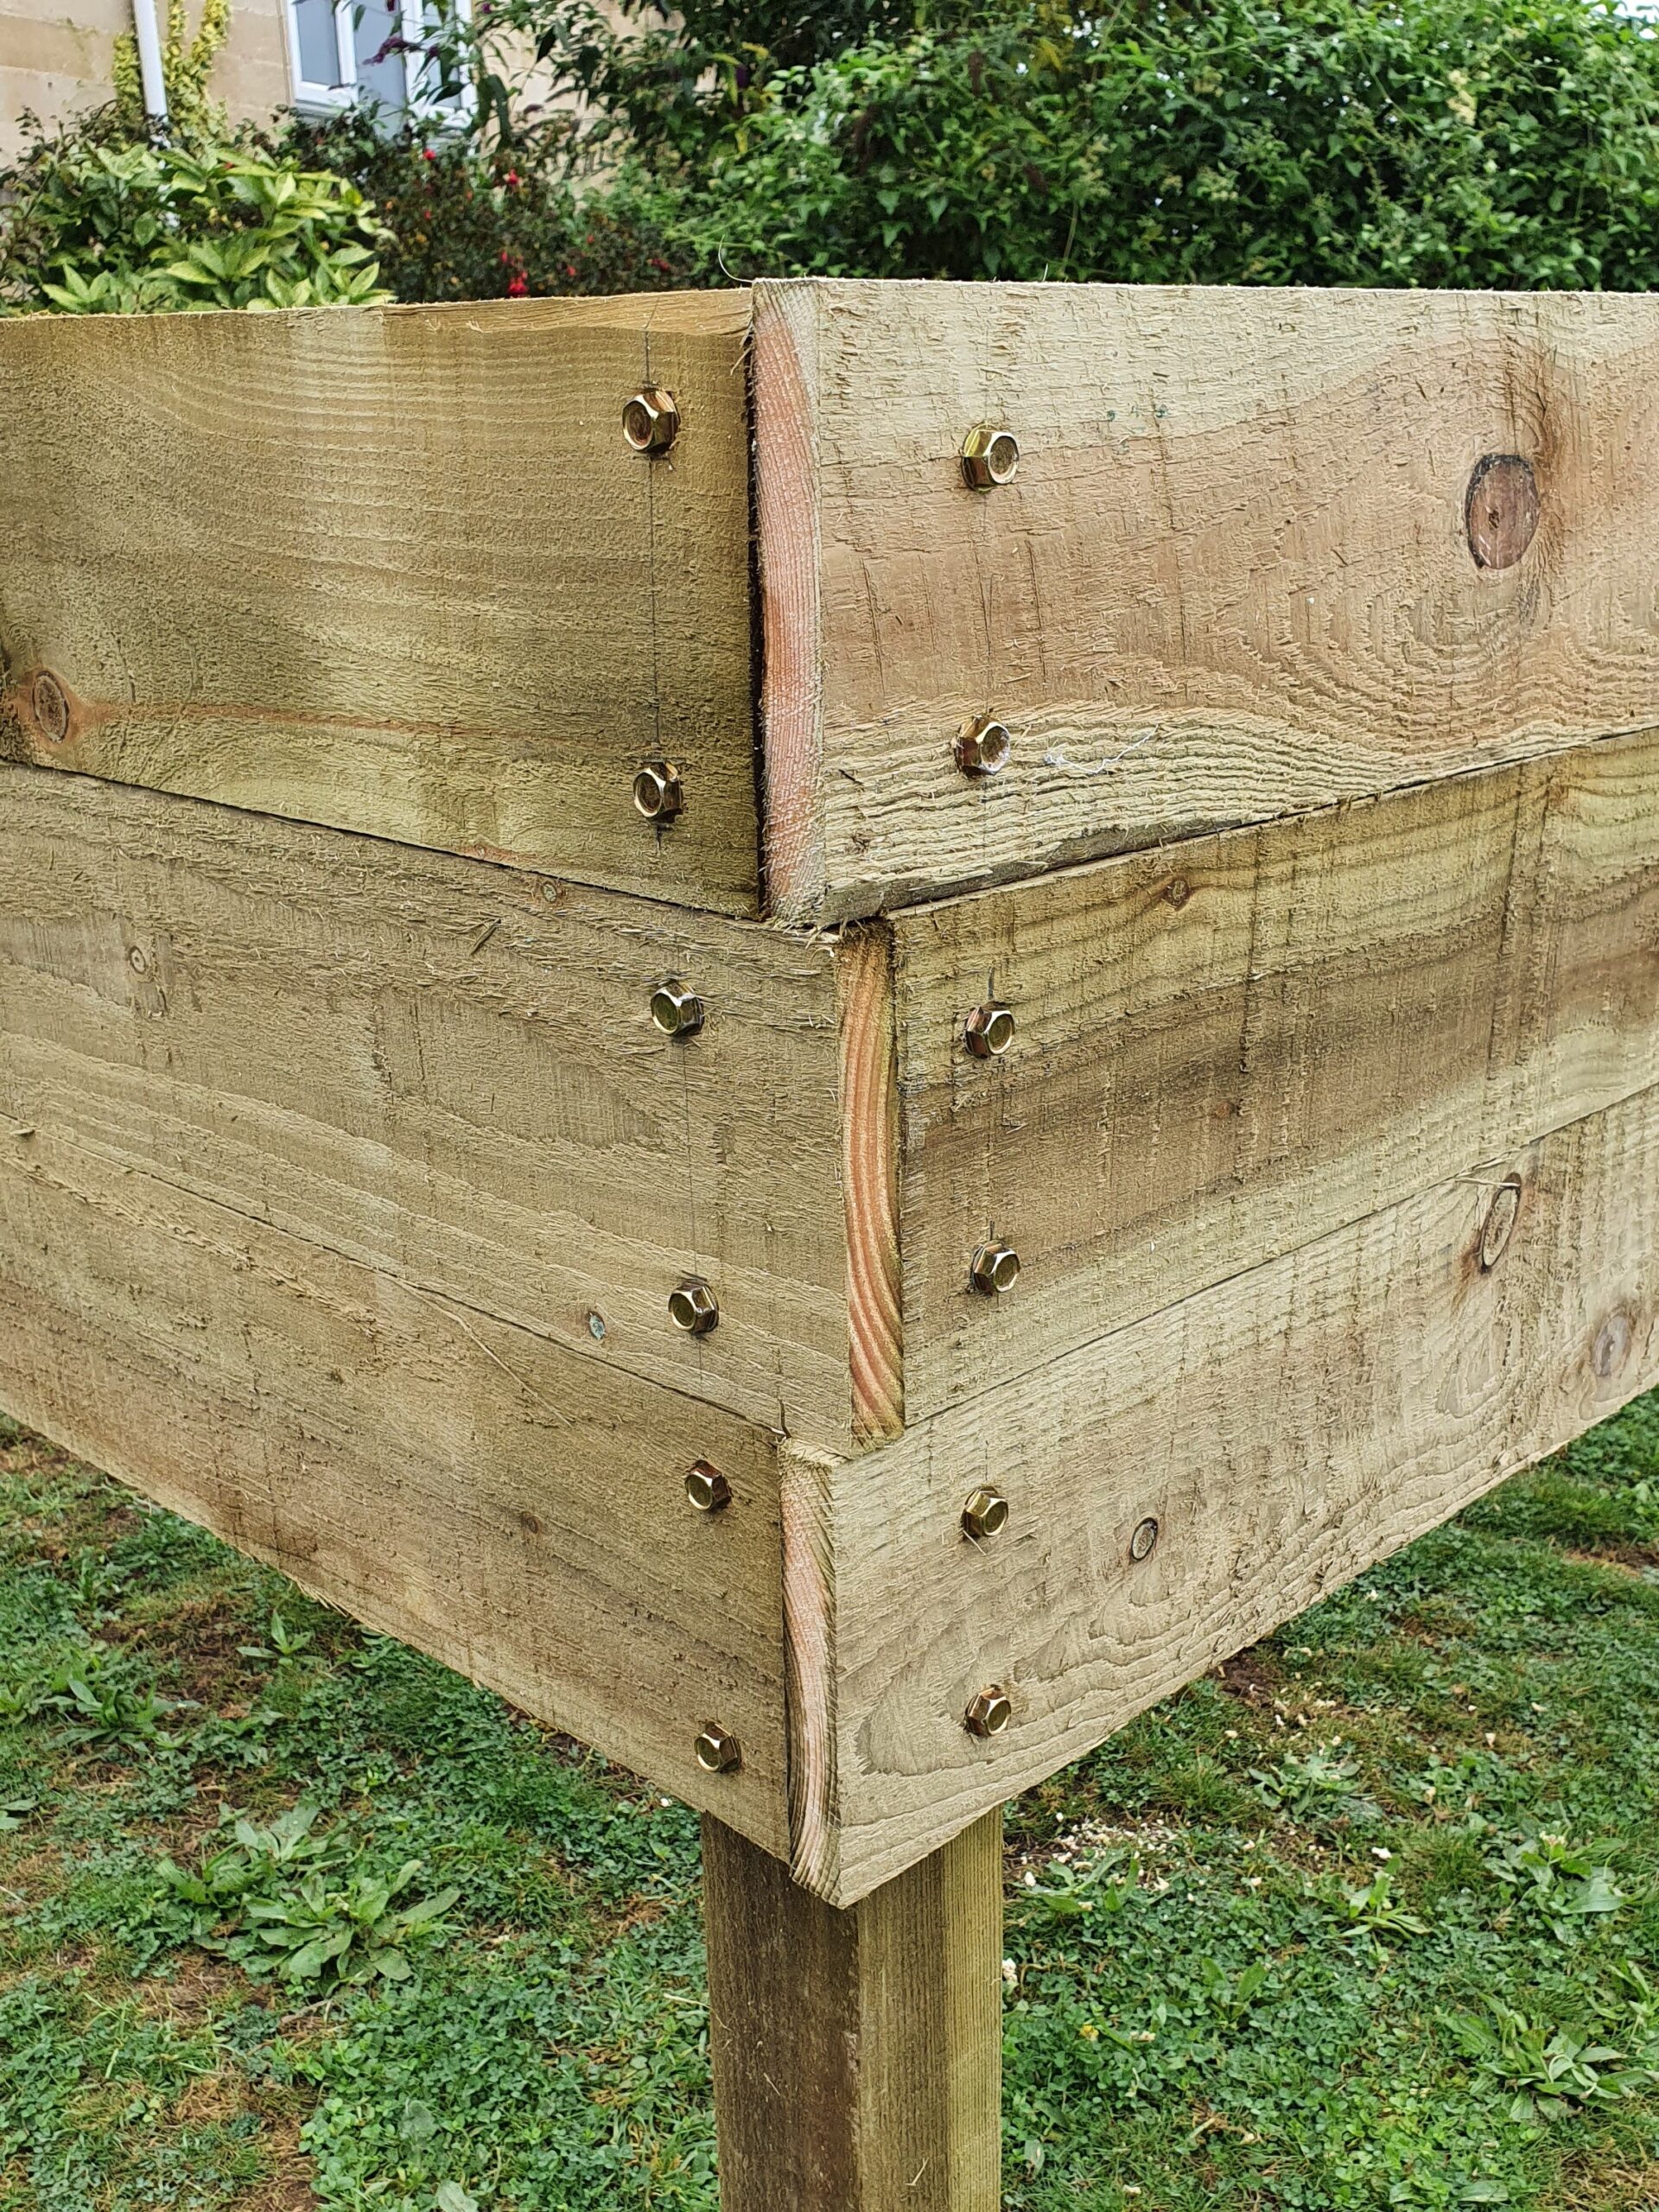
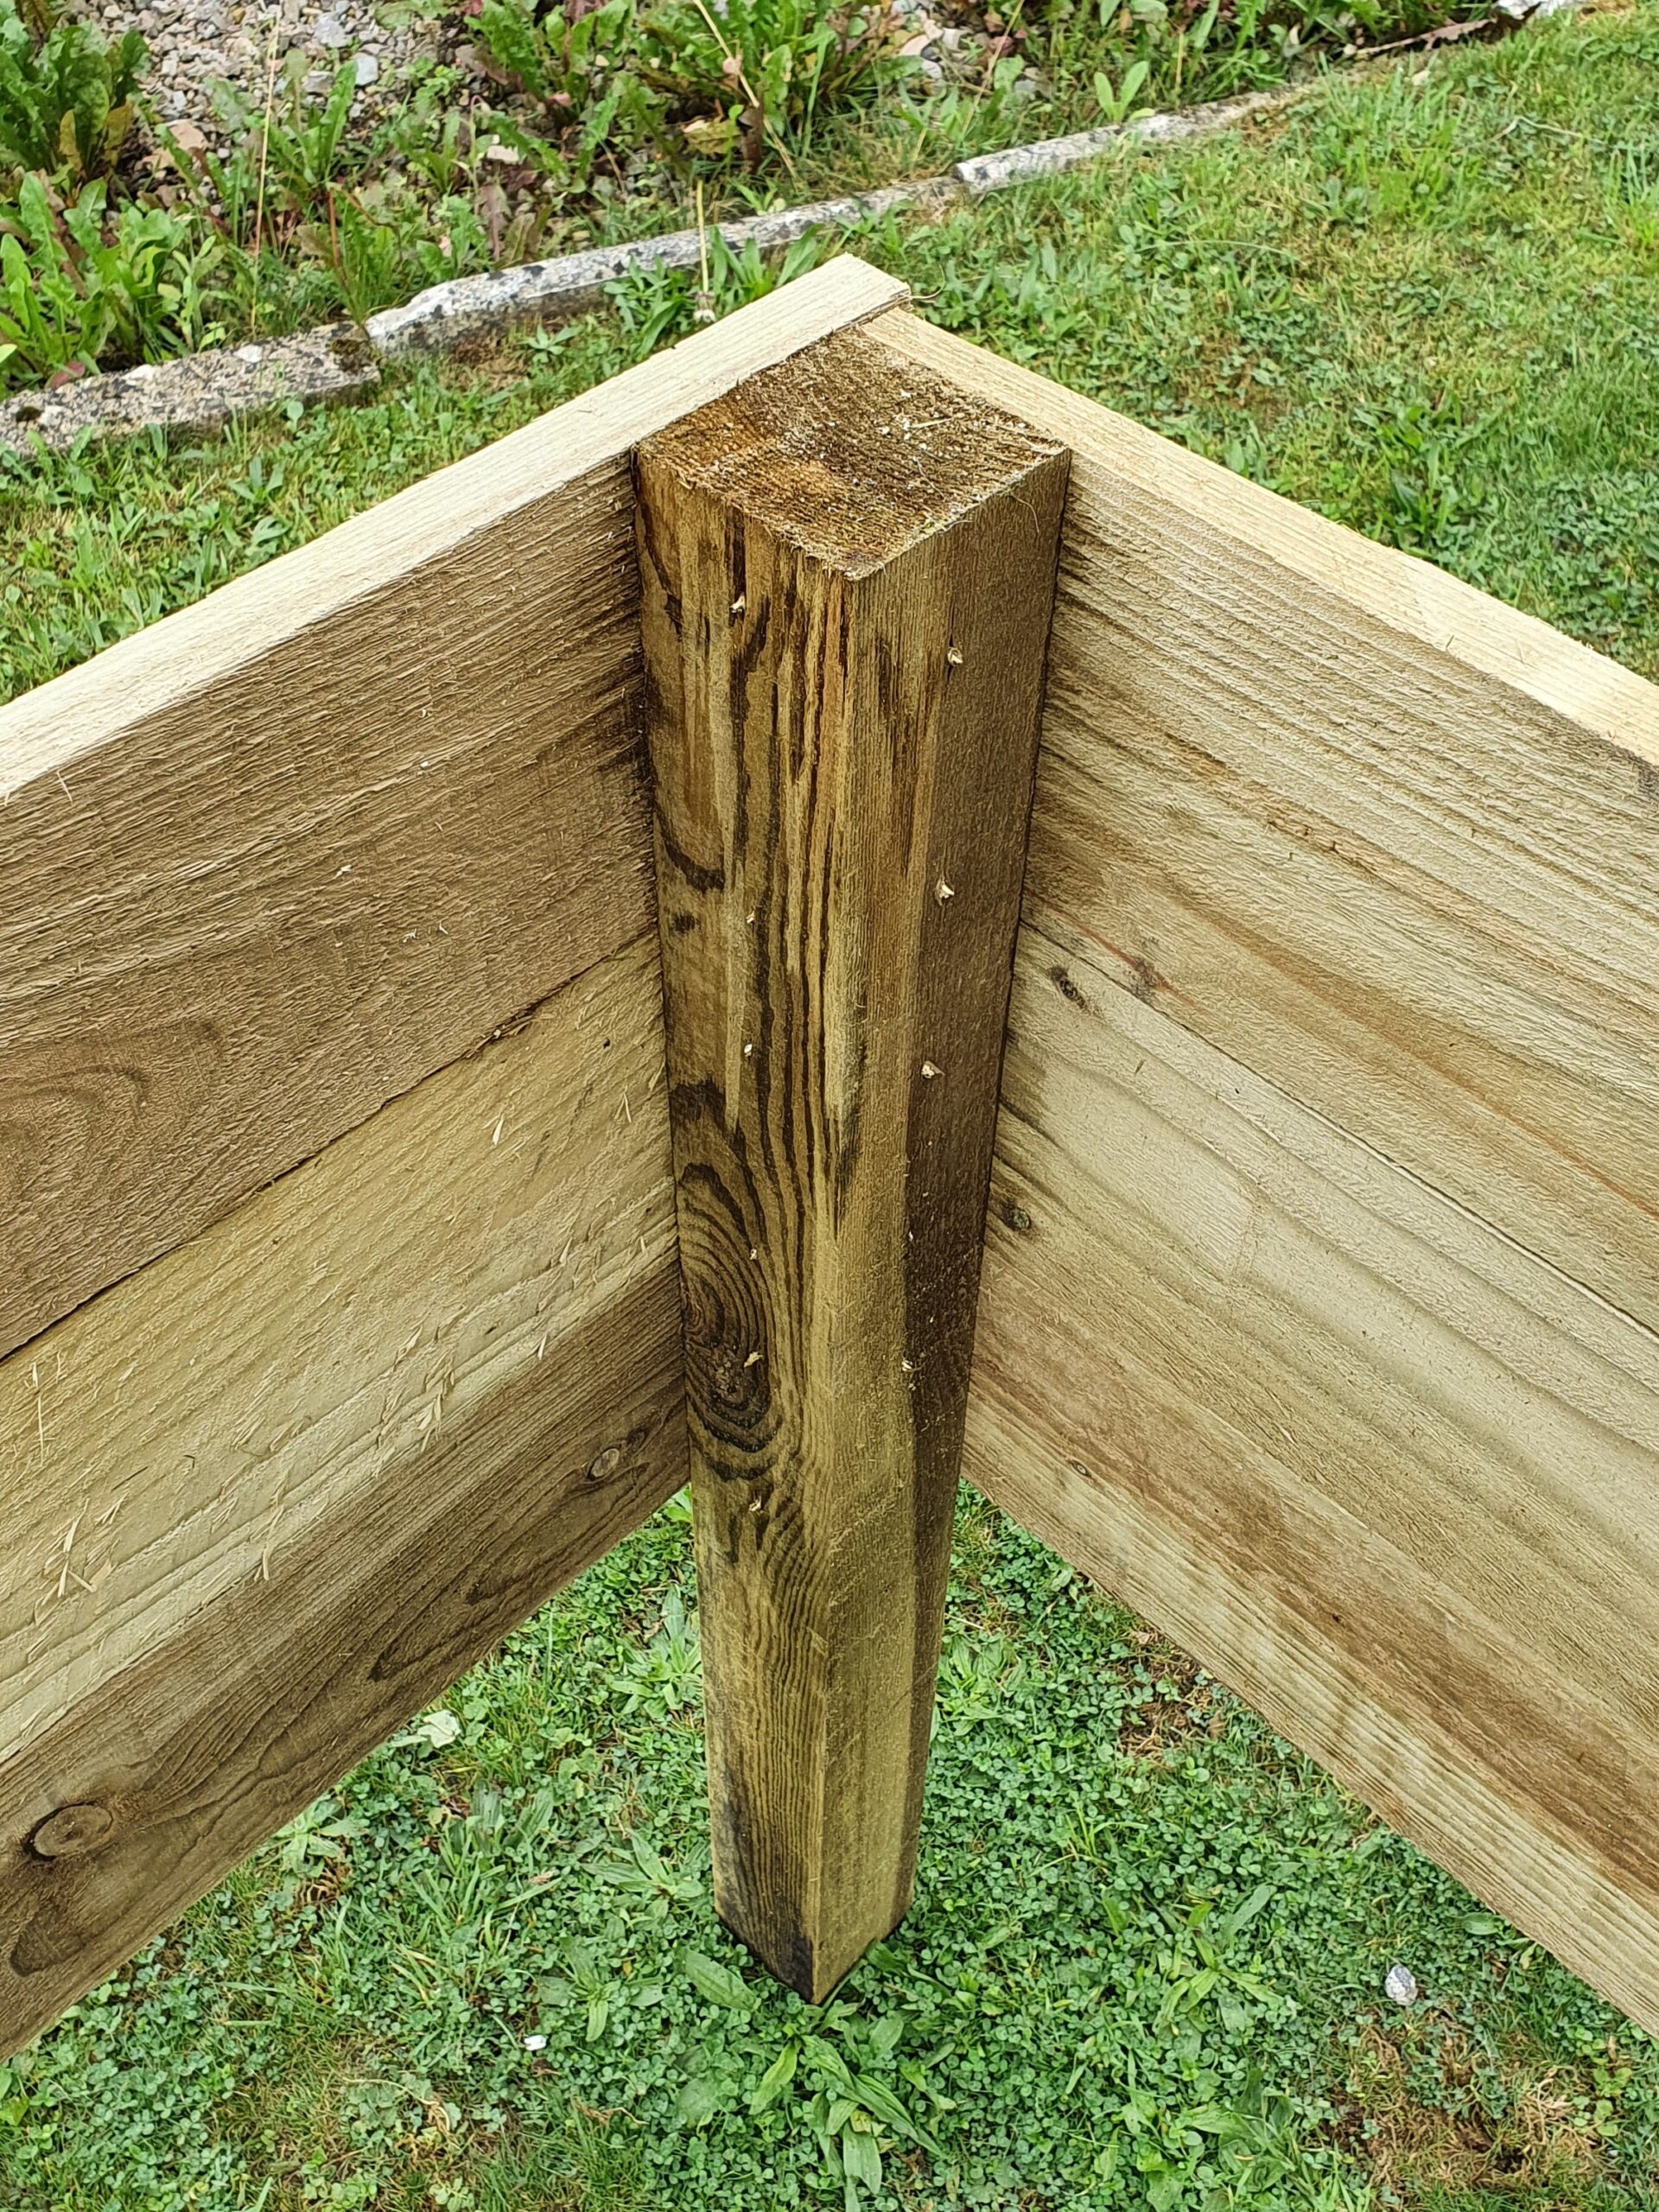
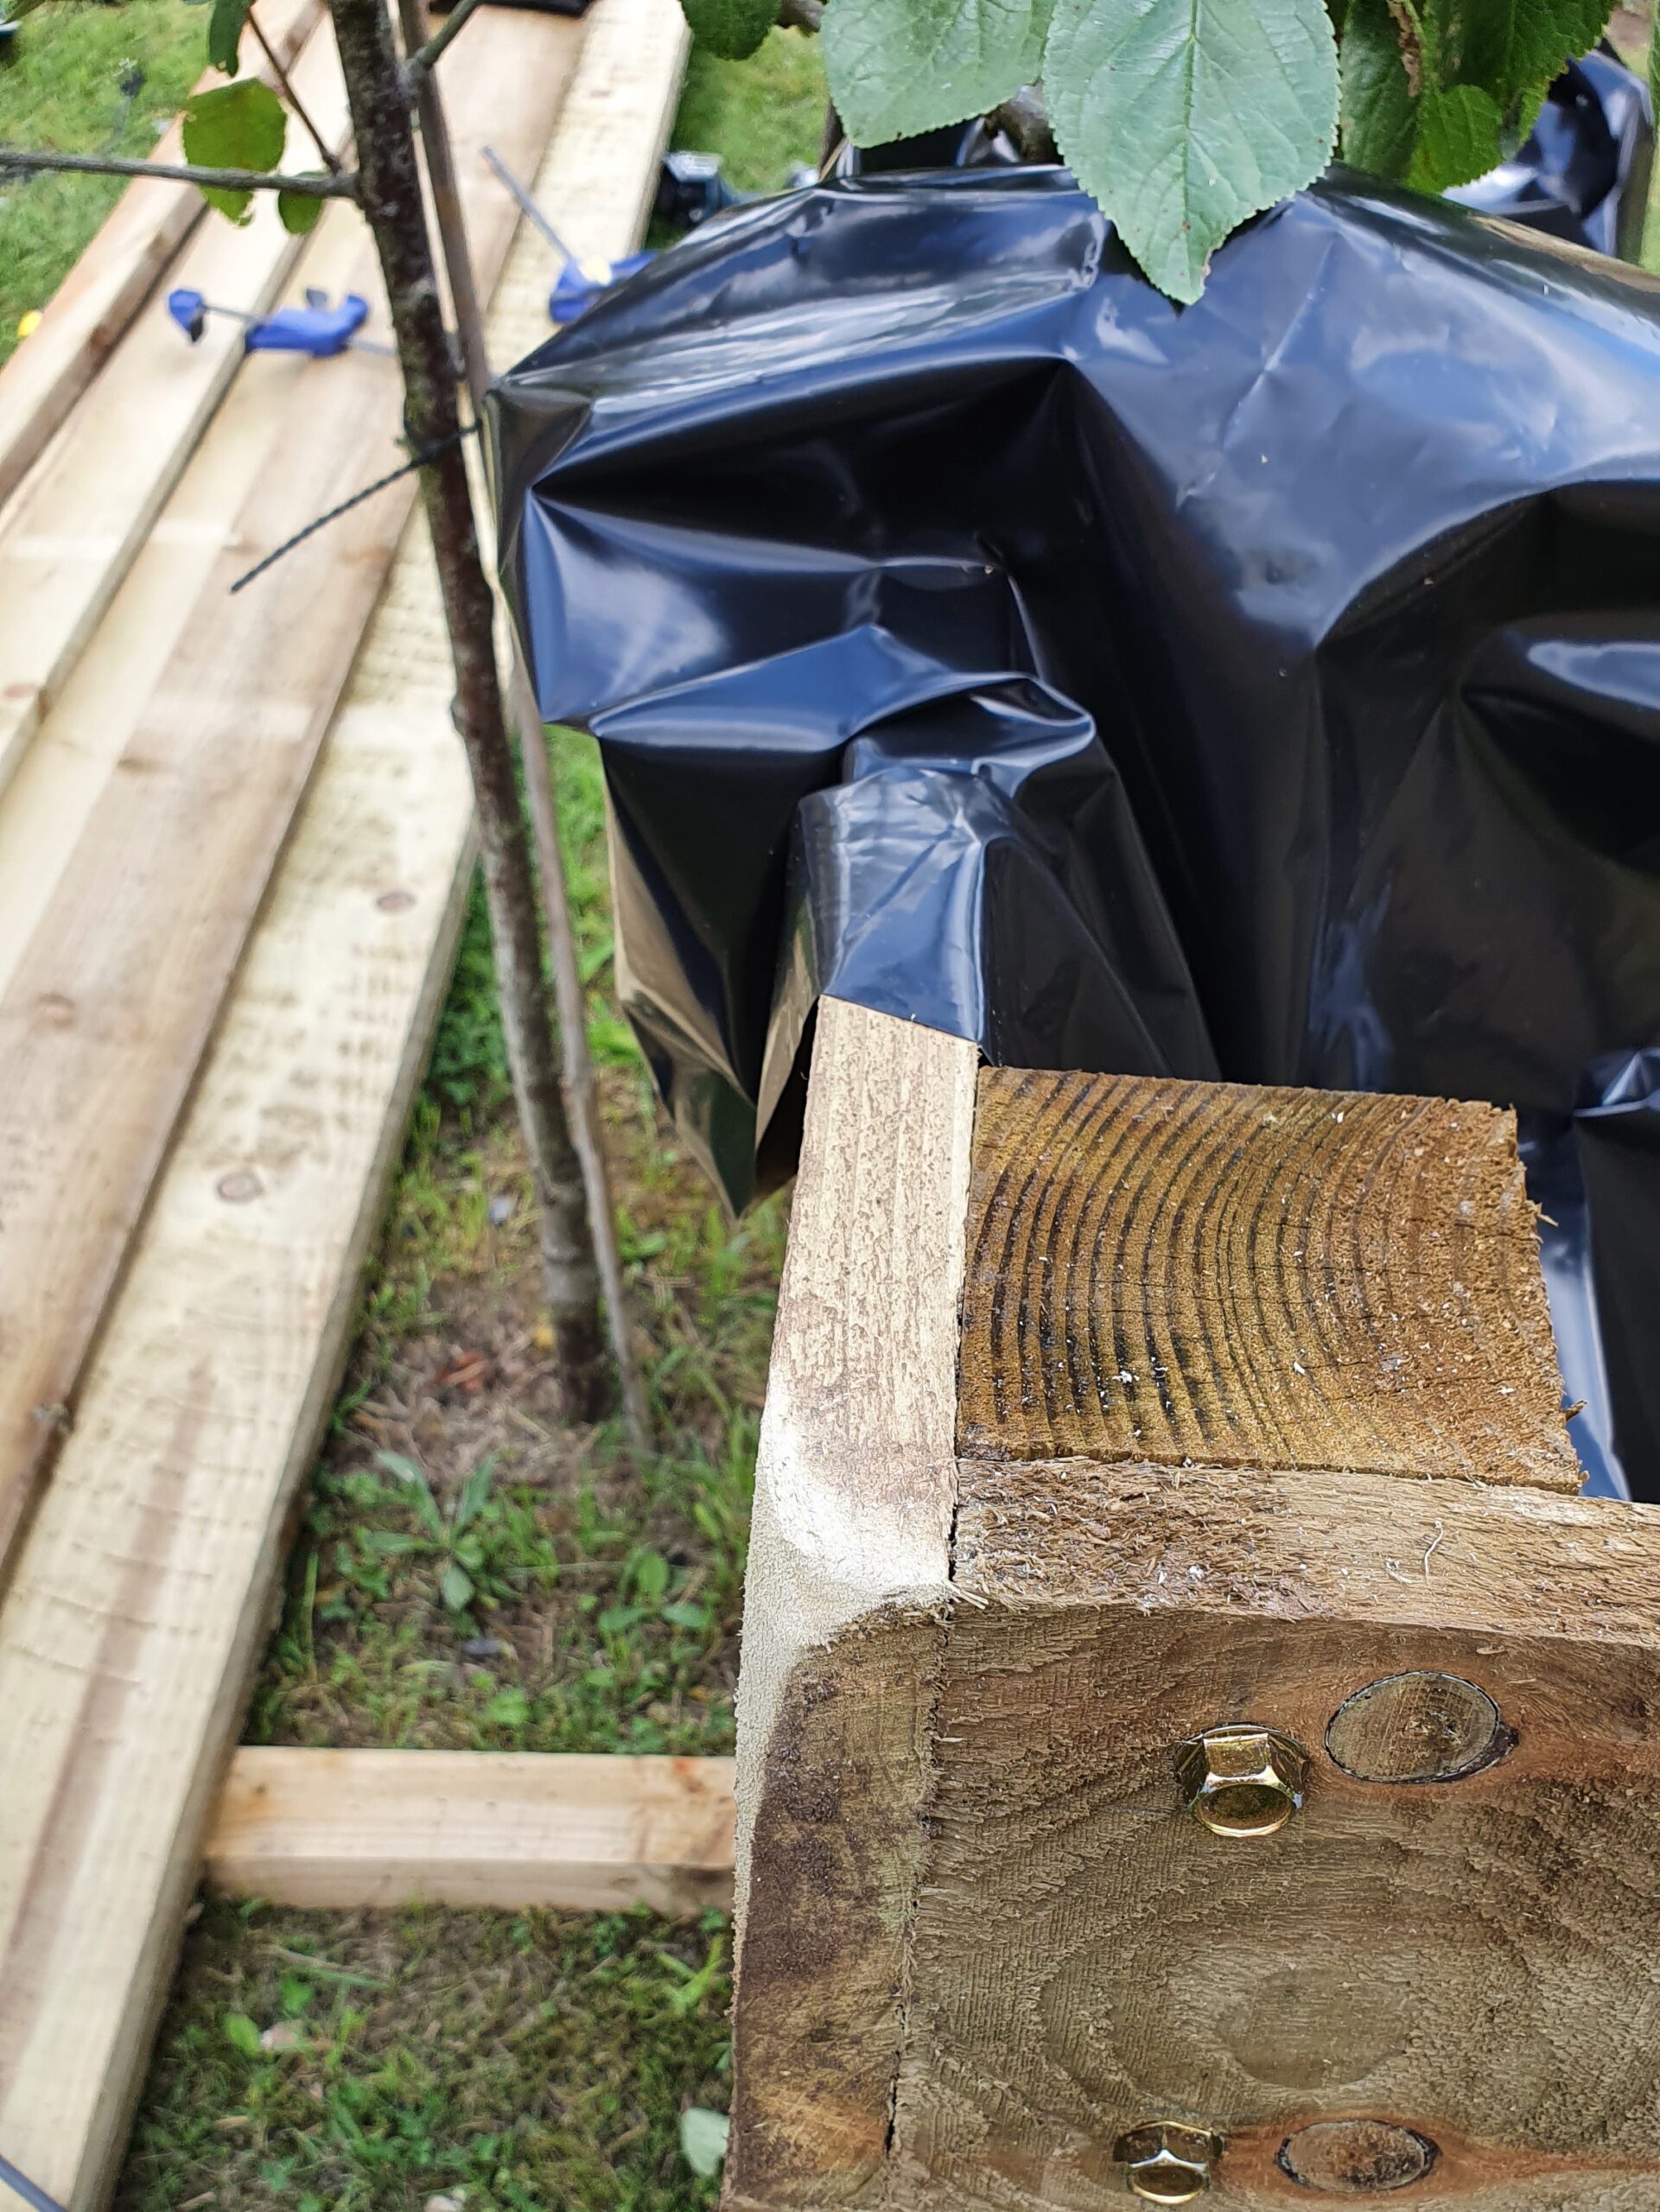
Nobody is perfect (even me)! In this particular build, the 100mm coach screws proved slightly too long for the job, punching all the way through both the board and the corner post. To prevent the protruding tips from ripping the plastic membrane inside the bed, these sharp metal points were ground off with an angle-grinder. I now use 75mm screws (Screwfix) instead.
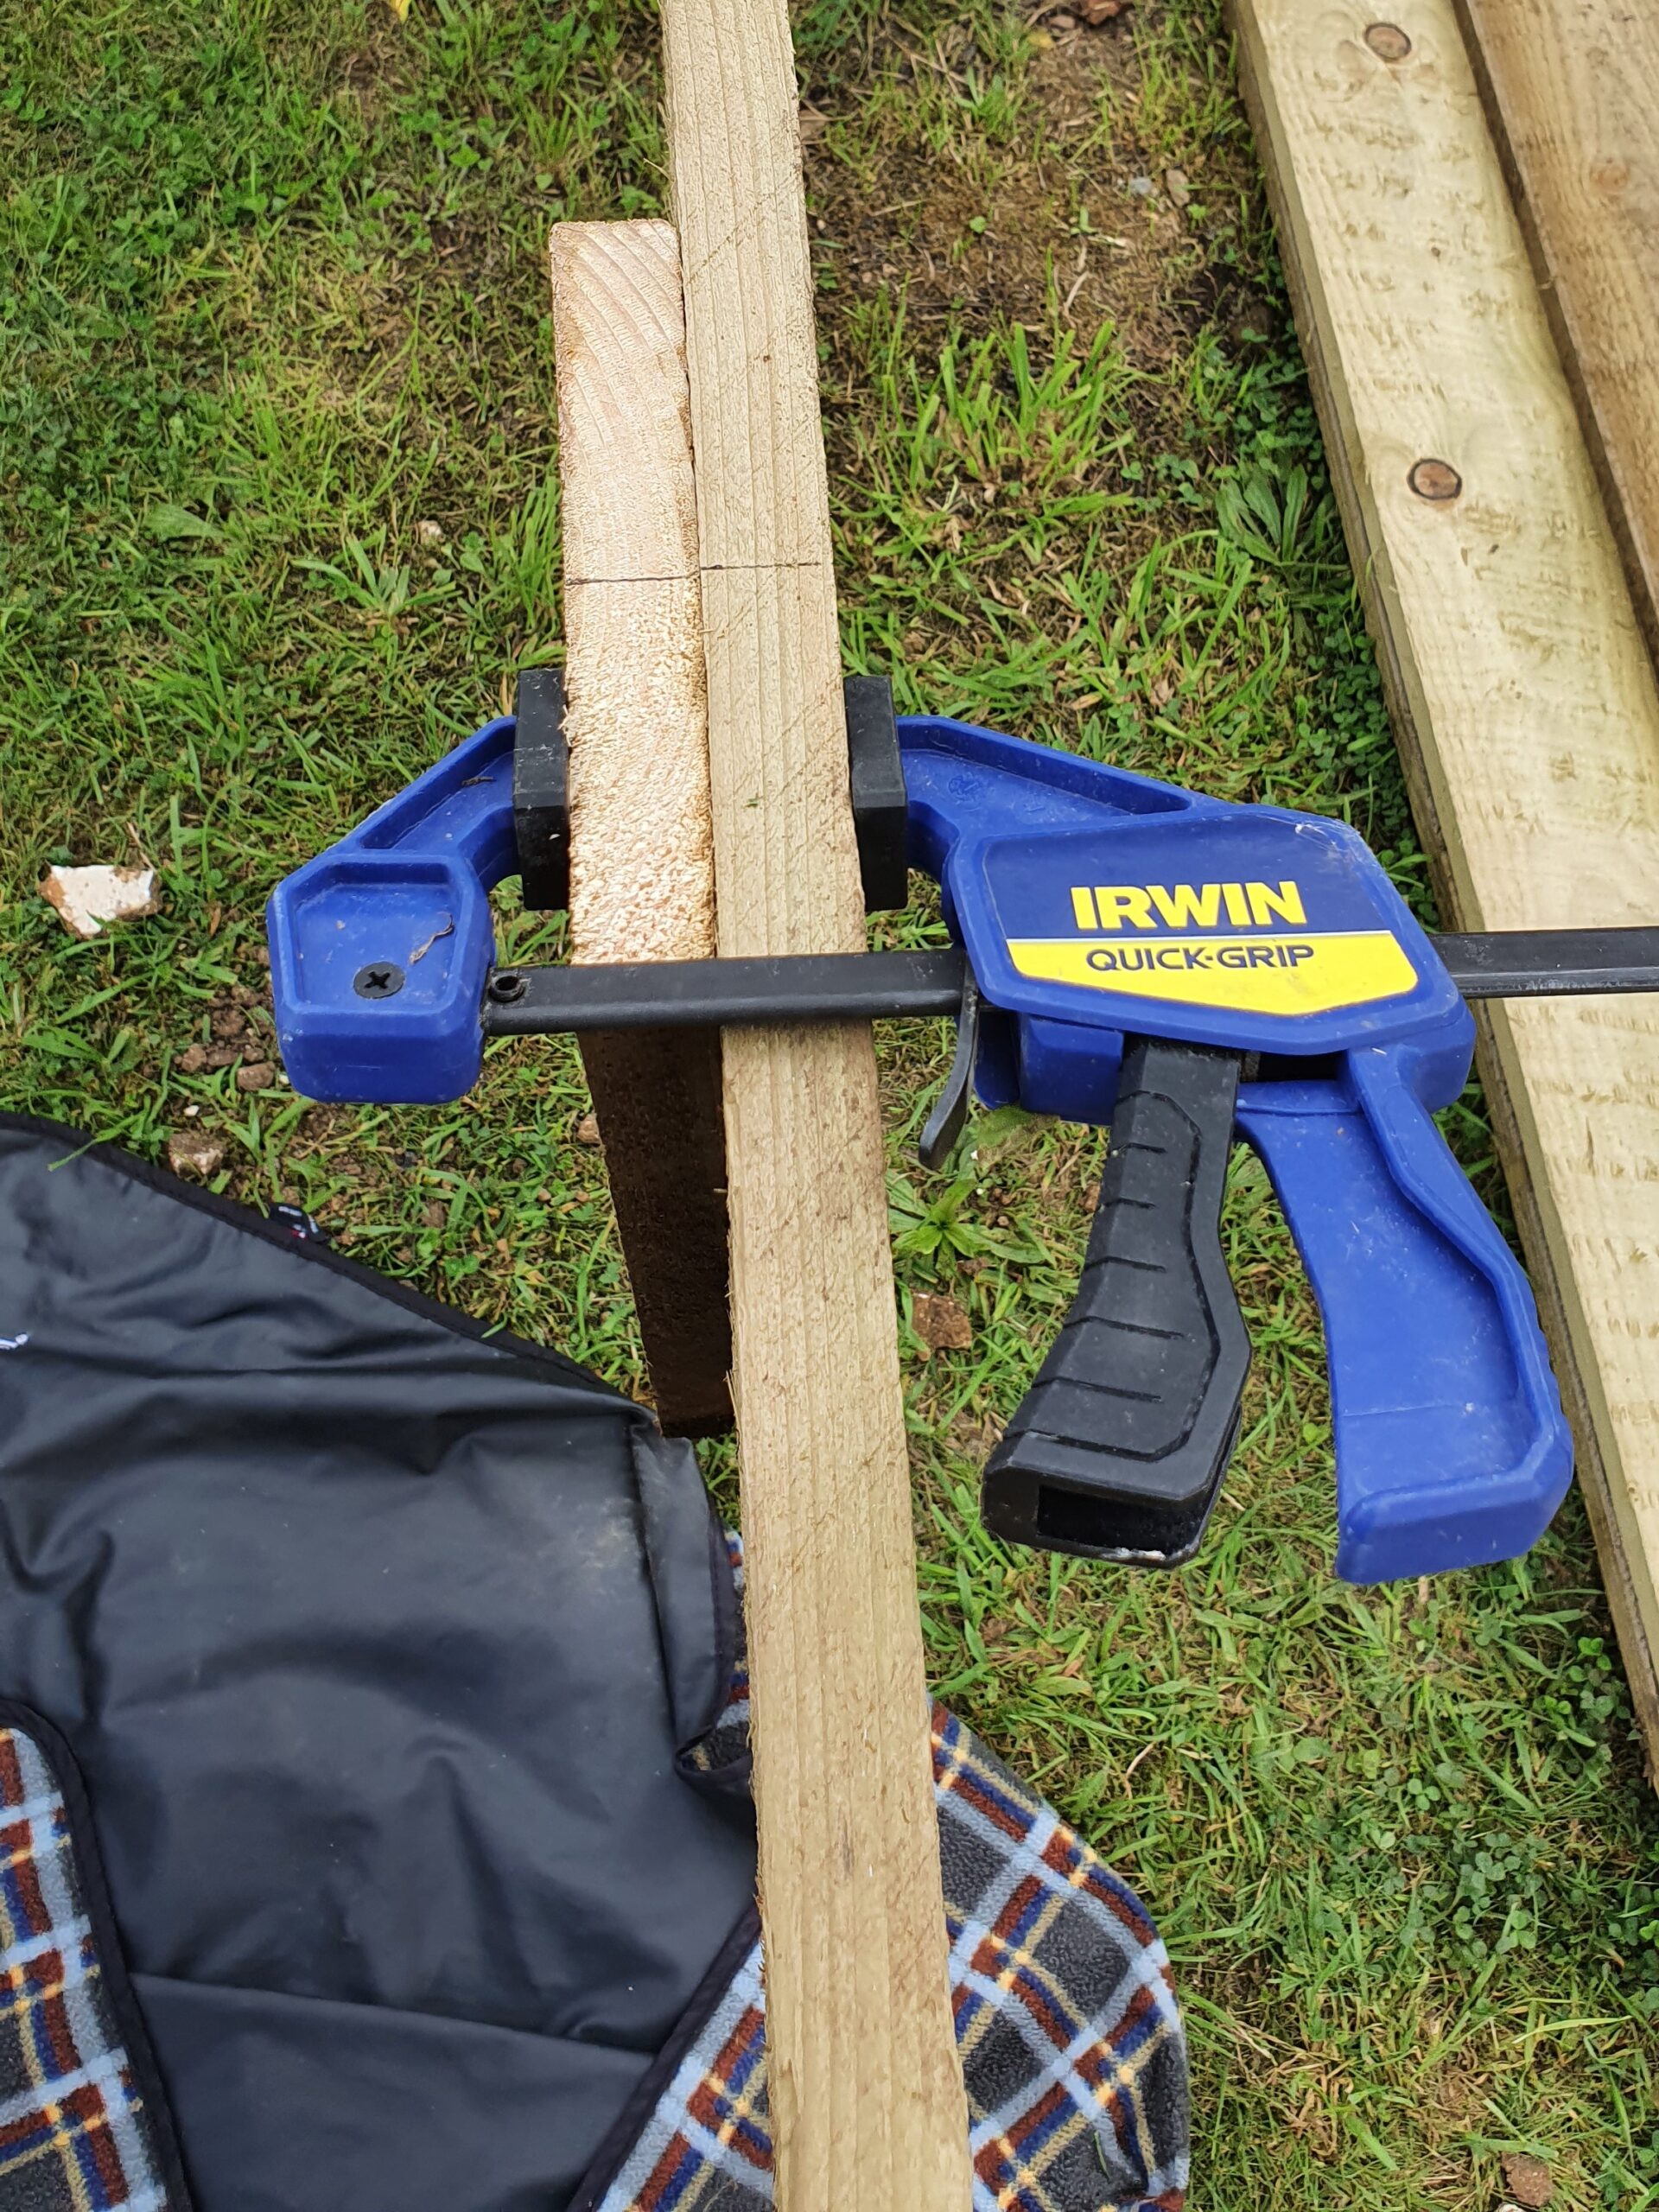
One problem that a lot of raised beds can experience is bowing out along the sides. Twelve feet (the longest side of the bed) is quite a long run and a lot of heavy soil to hold back. To stop this issue we are going to add a tensioner board across the width of the bed and also baton the individual boards together.
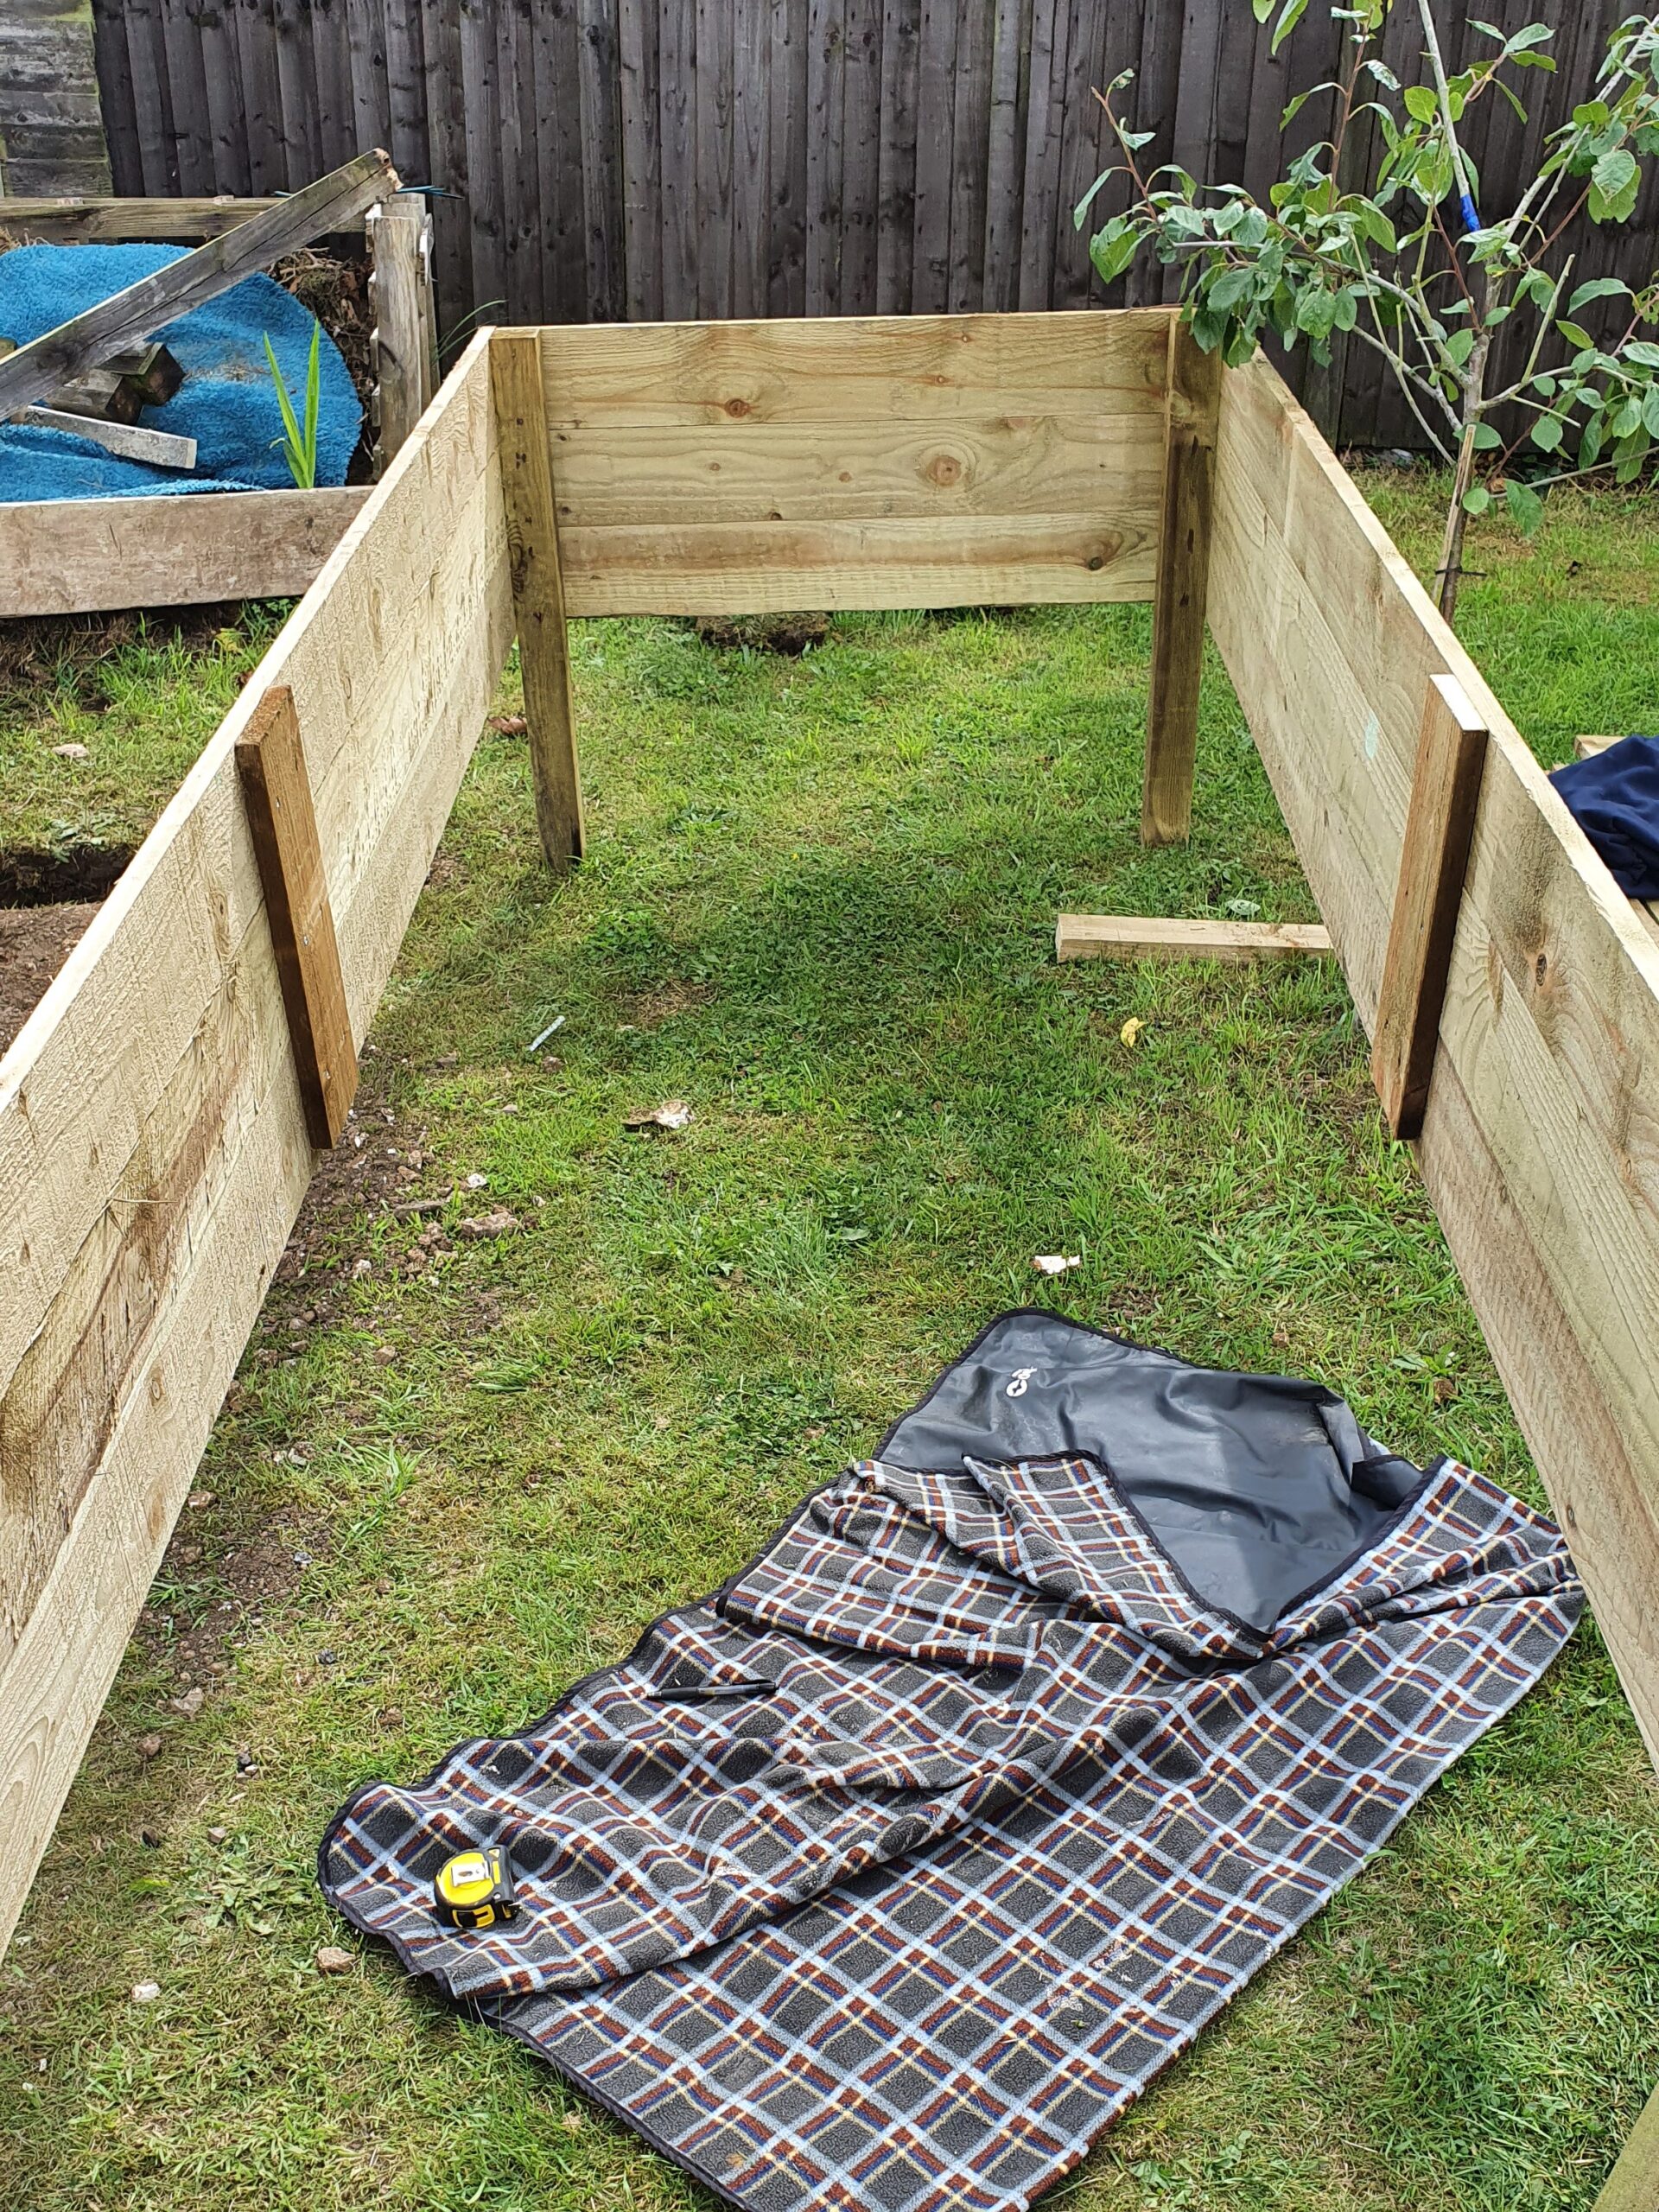
Cut some short pieces off the extra gravel board and add some reinforcements halfway along the longest sides. The reinforcement should be left 1” shorter than the height of the bed. It’s worth pointing out that, in the photos, due to the way I constructed this bed, I was working on it upside down.
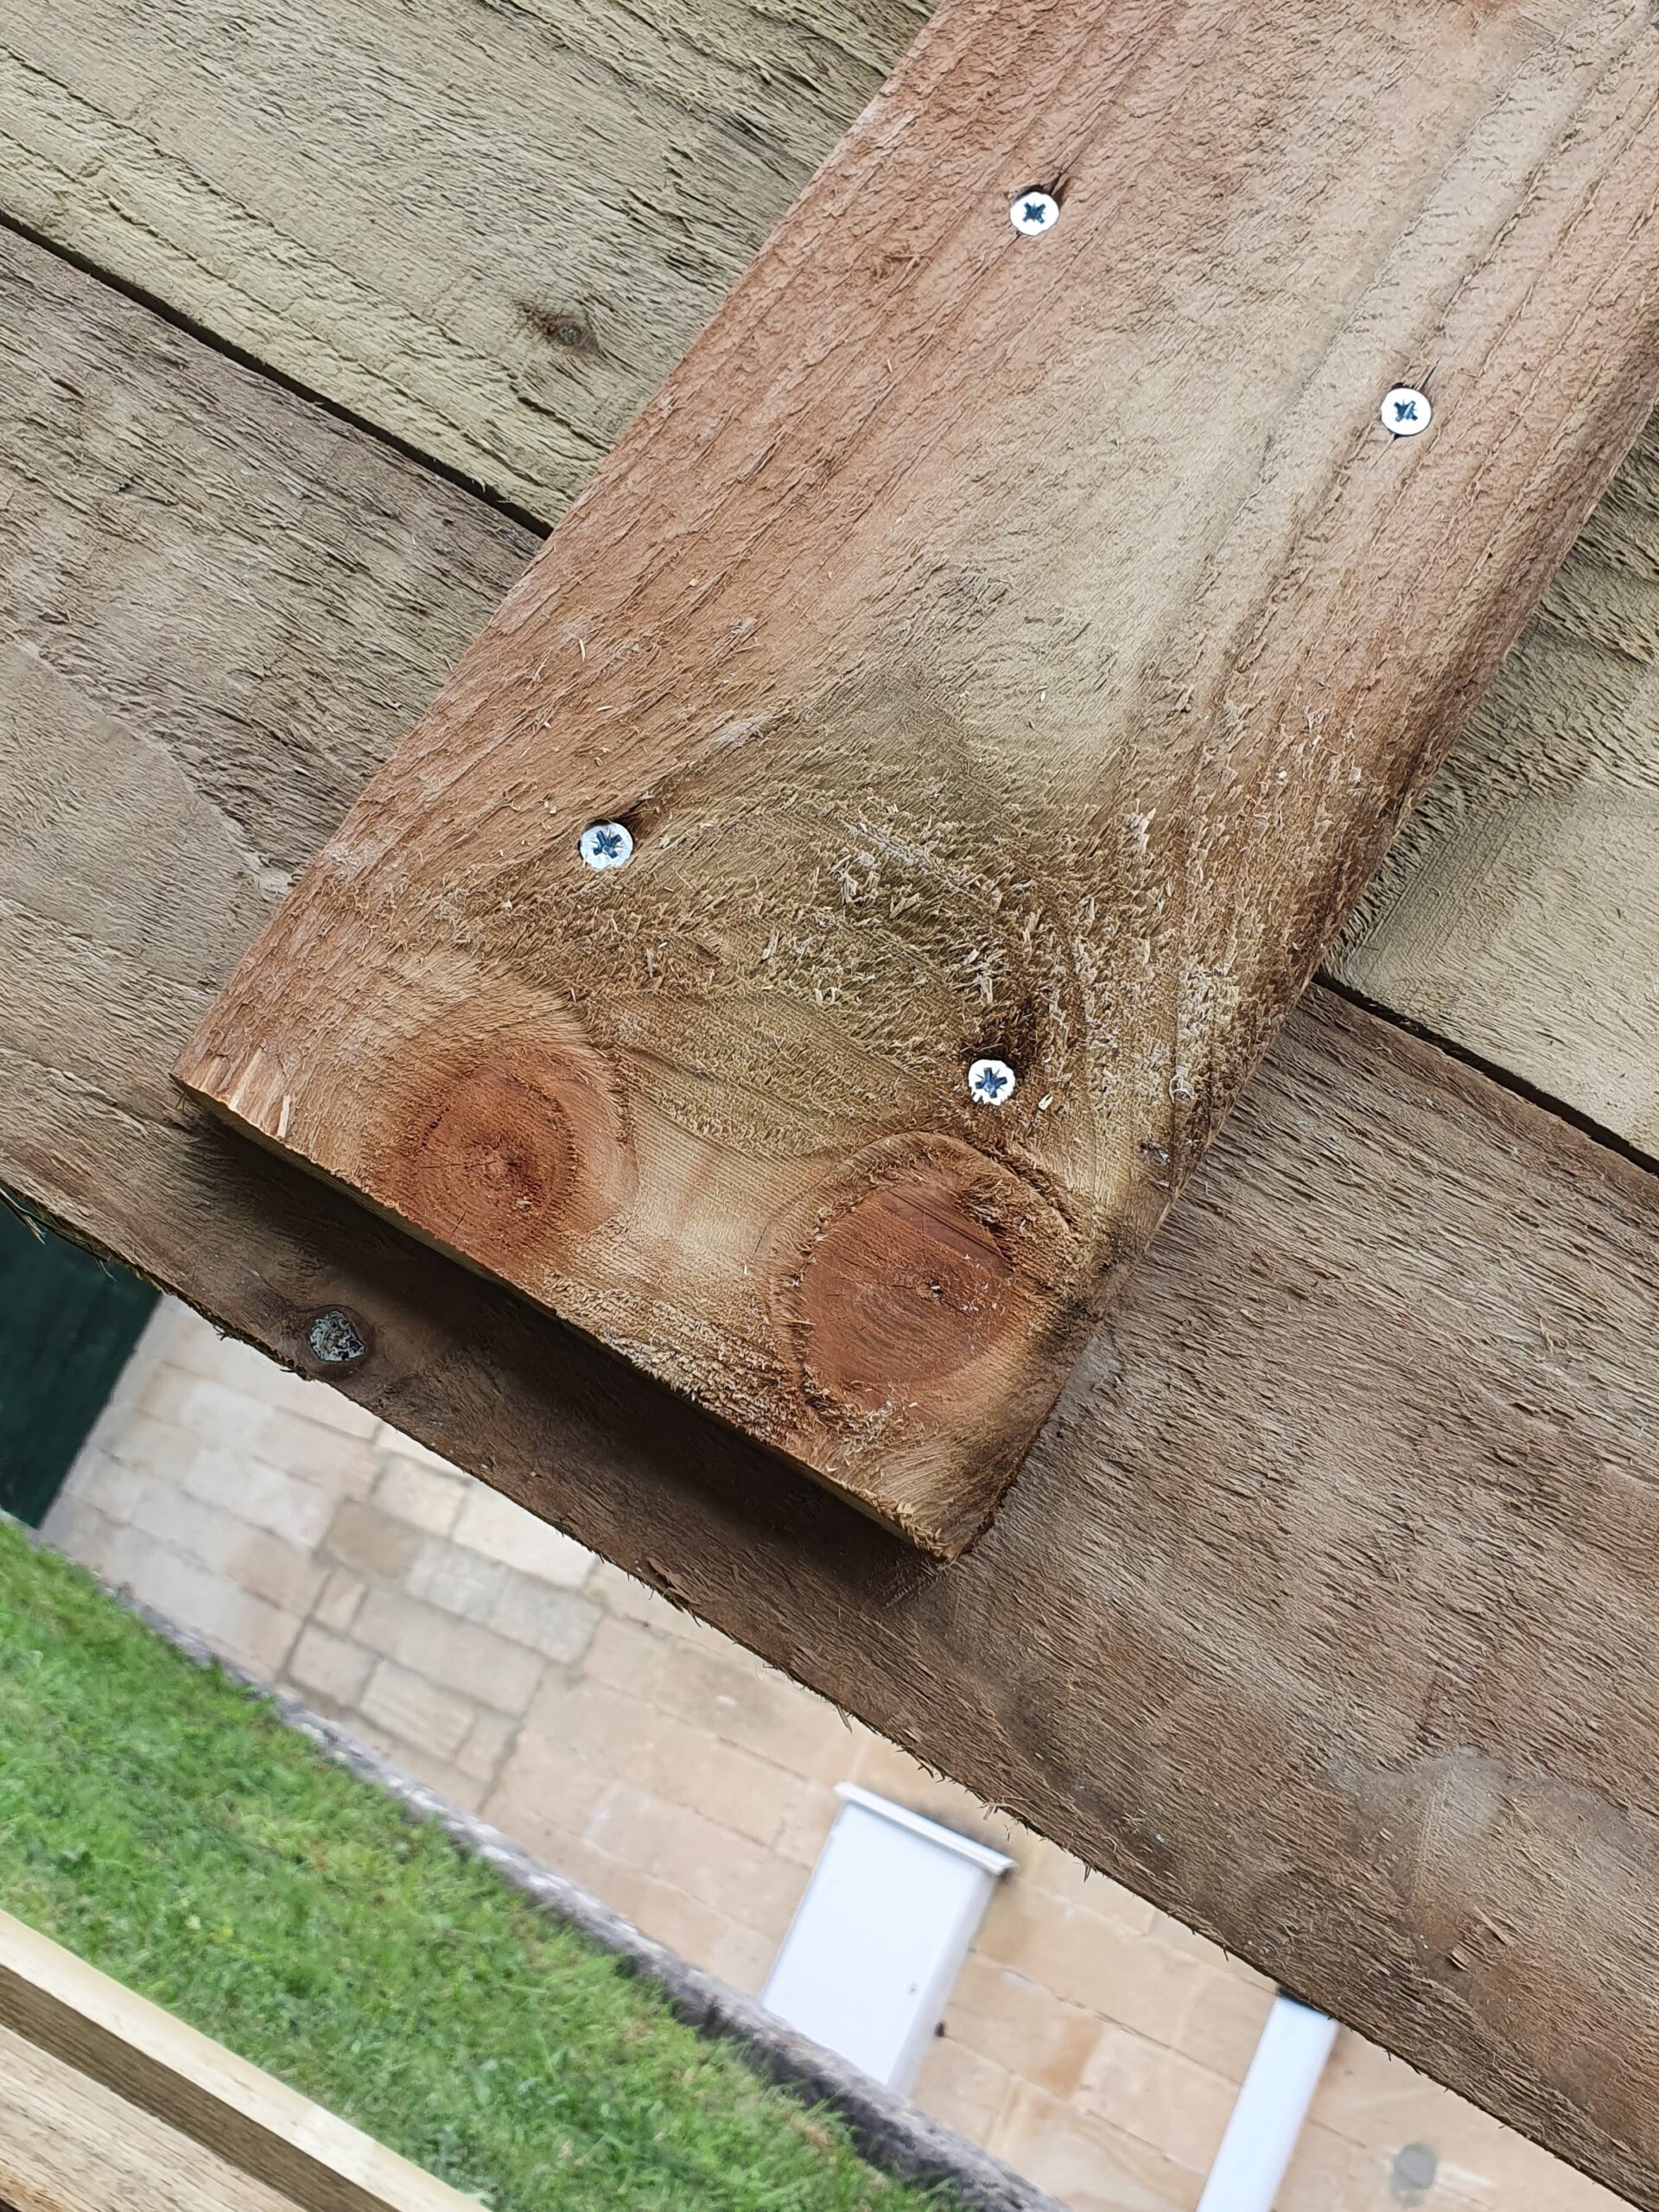
Even treated wood will rot quickly in direct contact with the ground and there is also a risk of the tanalising chemicals leeching into the soil. We will therefore wrap the boards in a plastic membrane (Amazon). To be on the safe side, sand the bottom corners of the frame down so they do not pierce through the plastic. Once wrapped around the underside of the bed frame, the plastic is then stapled to hold it. With the treated wood and the plastic membrane, you can expect the working life of the bed to be a minimum of 20 years, if not more.
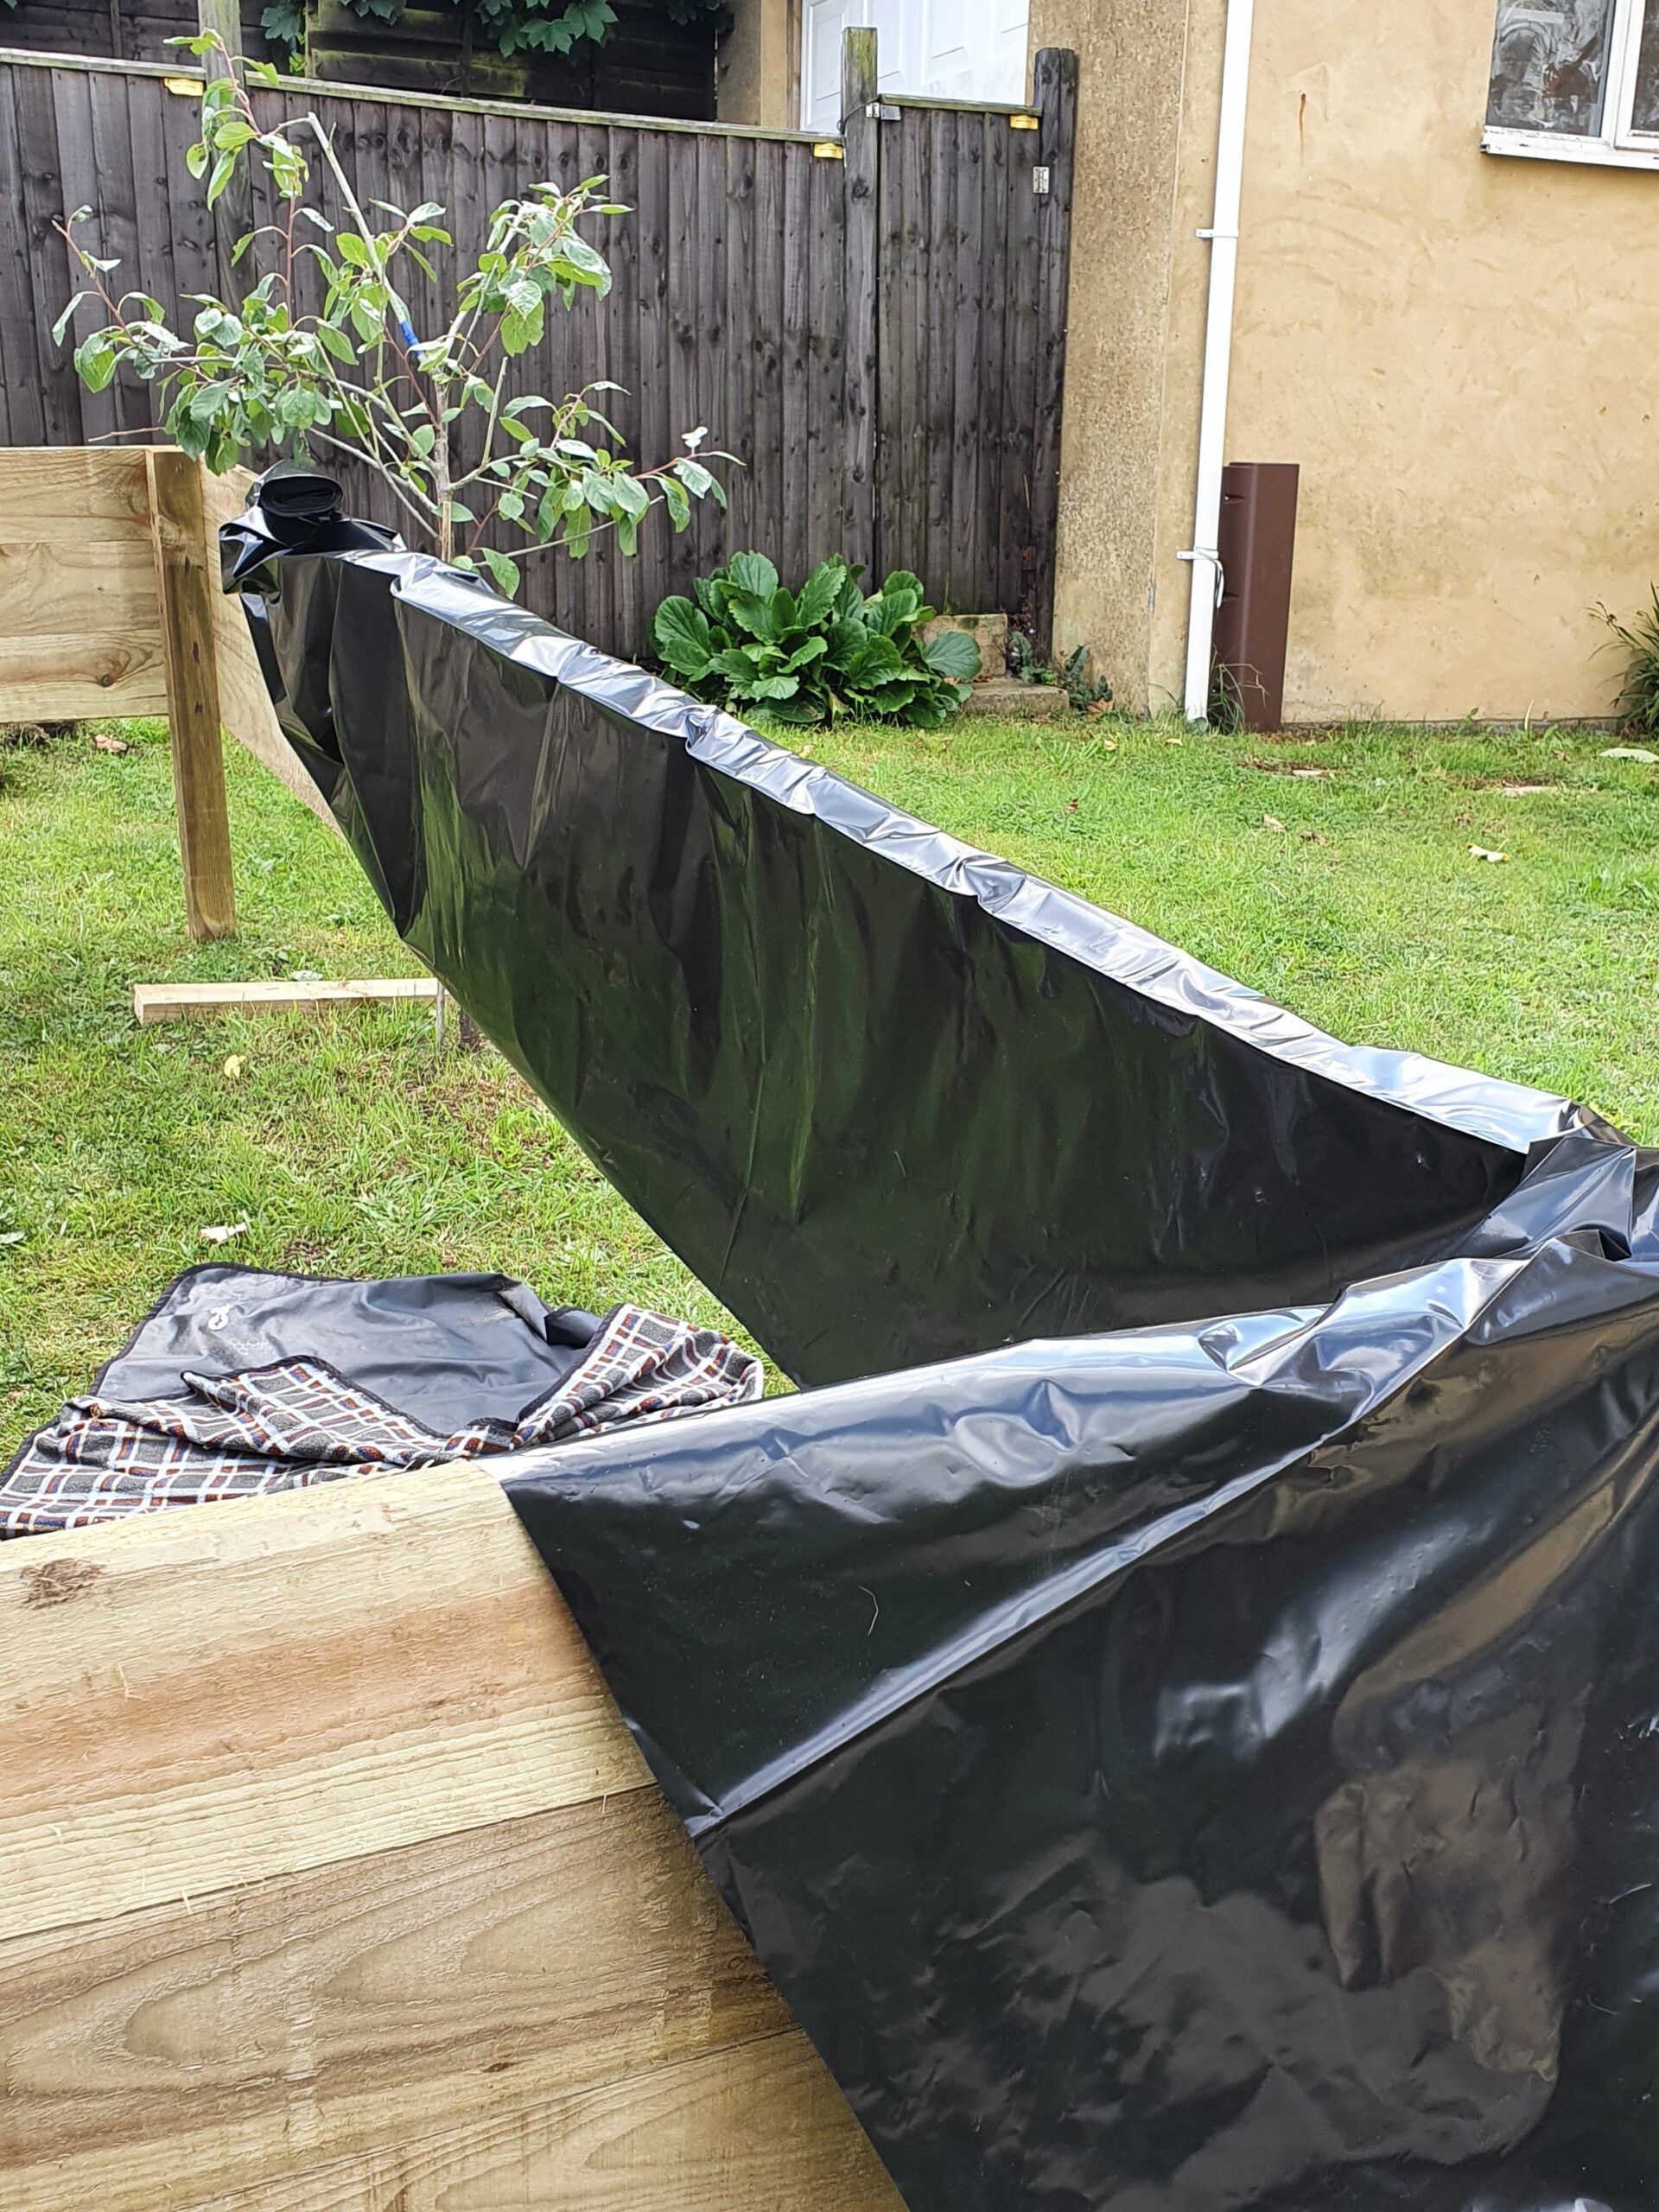
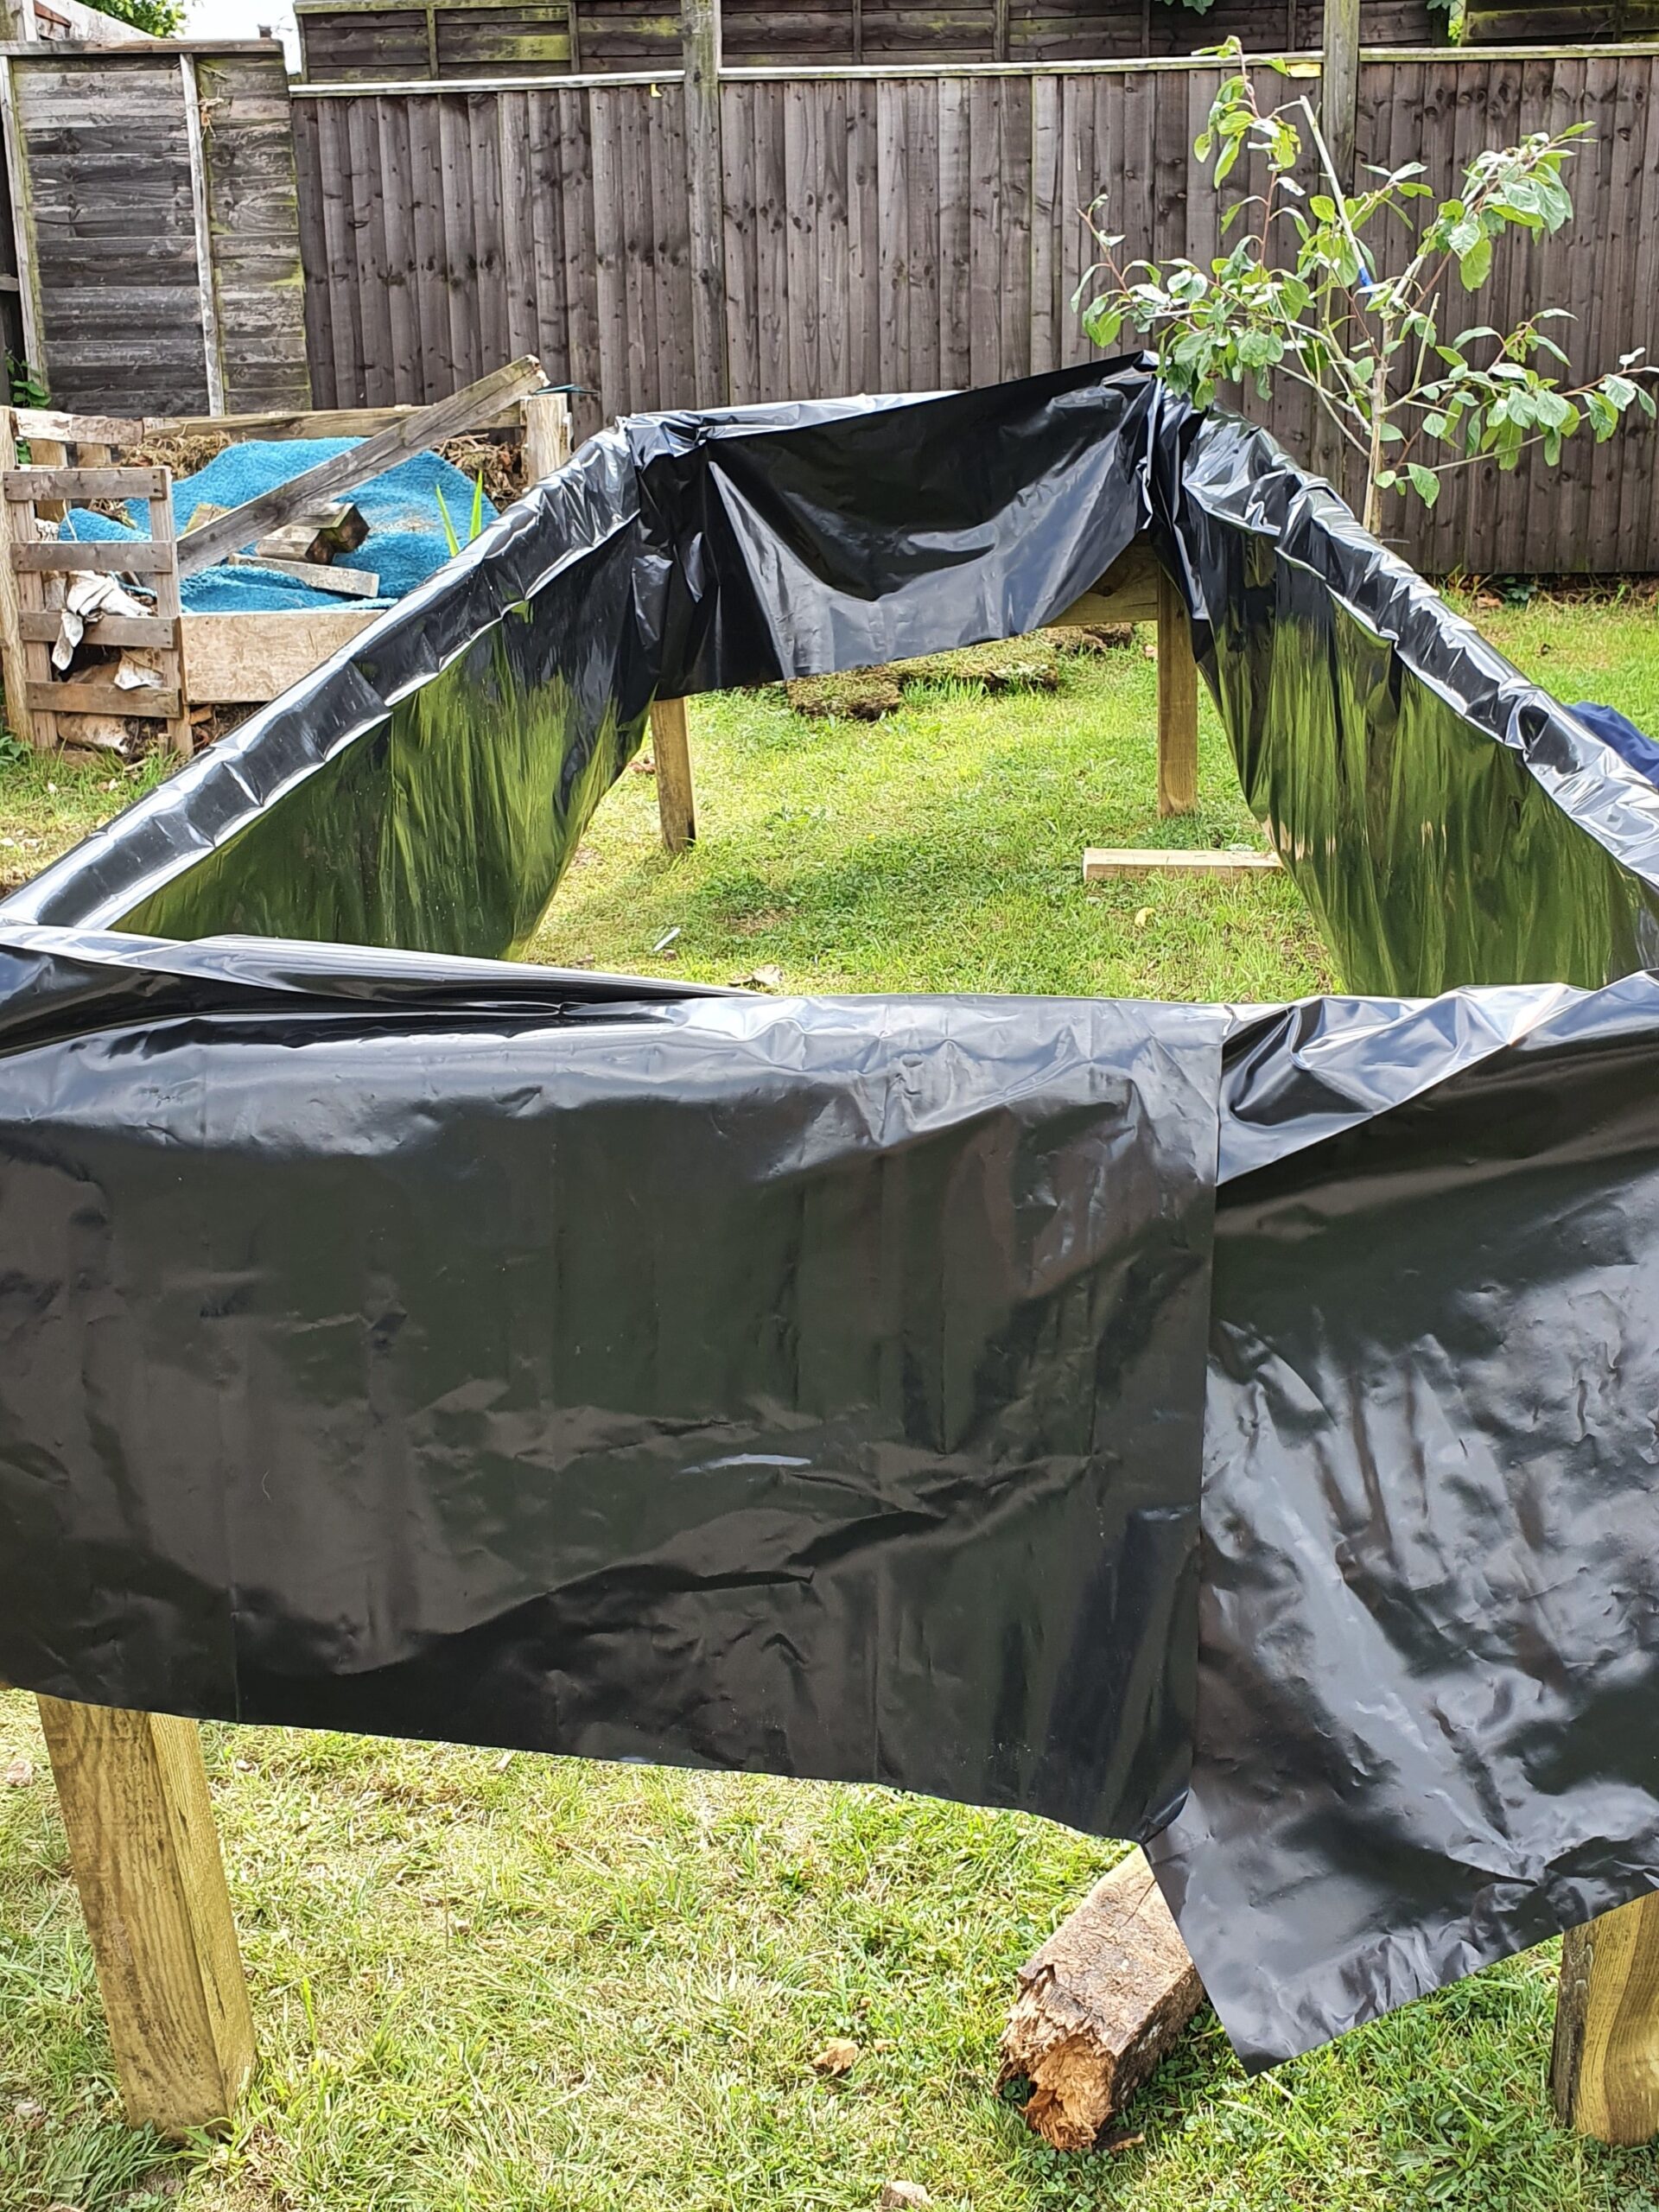
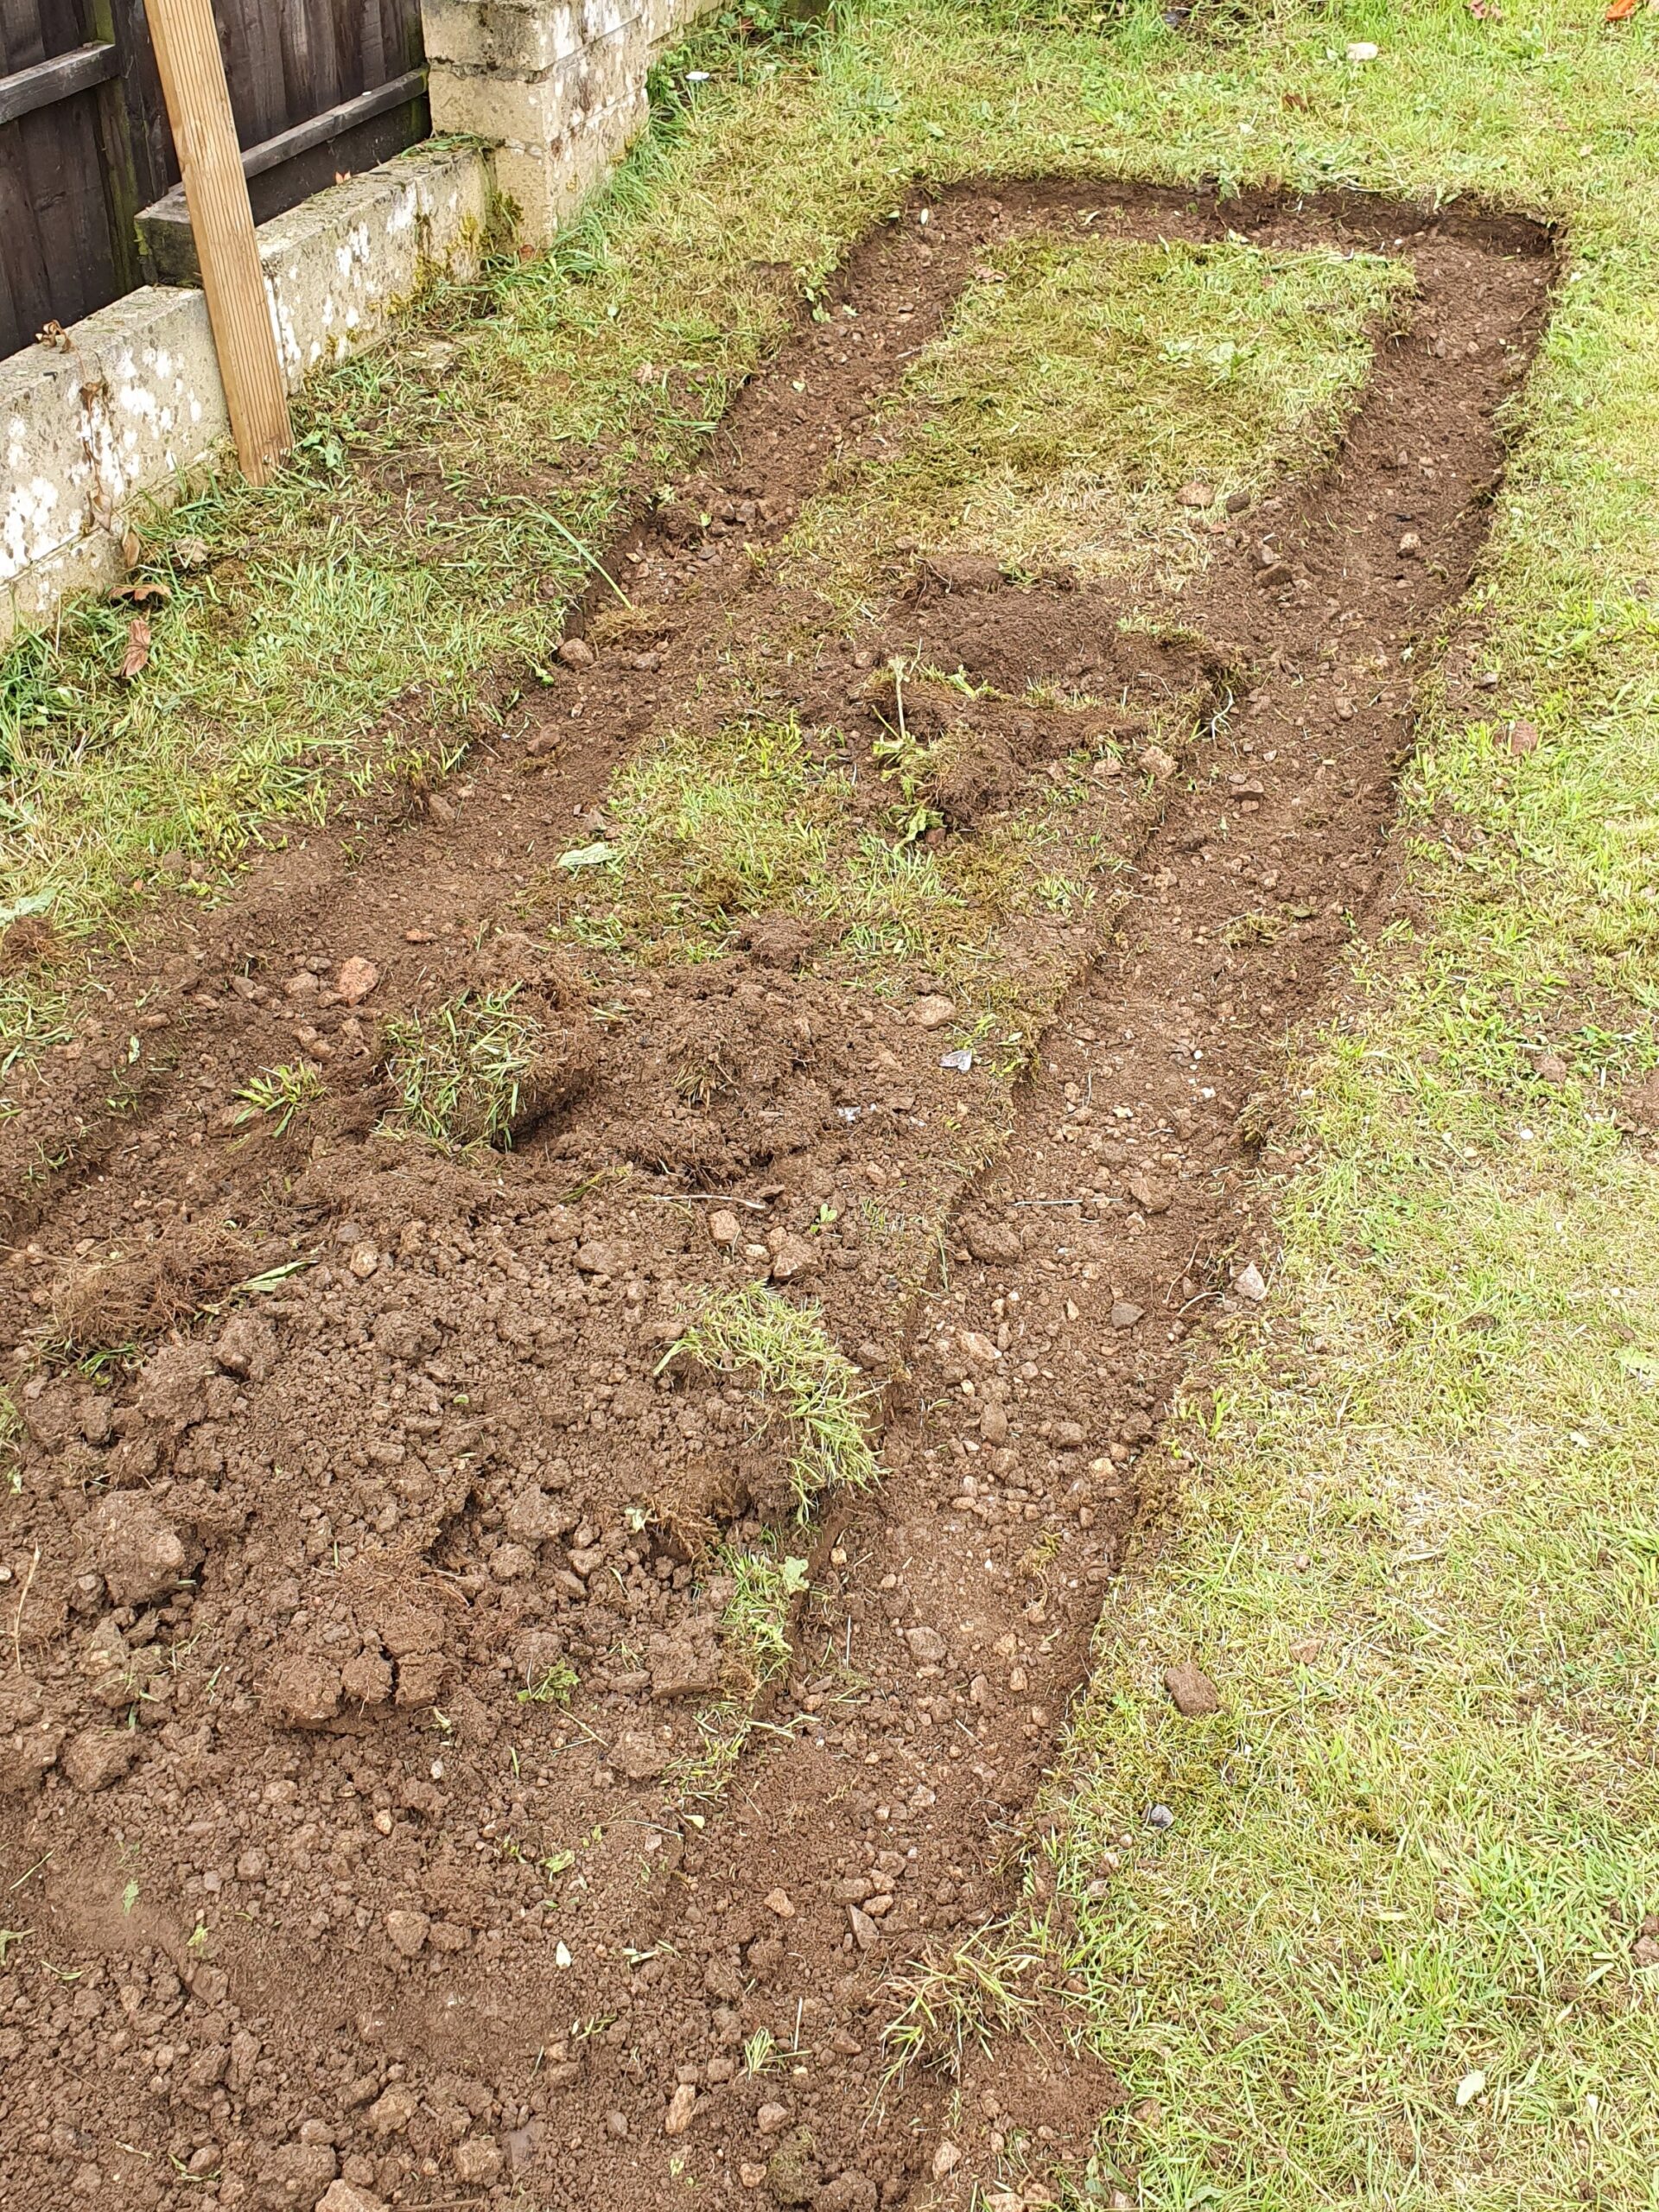
This particular bed site was on a slope, but even if that’s not the case, burying the bed a few inches in the ground will prevent movement and stop pests from getting in underneath the sides.
So, measuring out and digging a level perimeter is next on the agenda. Remember, while it might be tempting to put the bed right up against the edge of the garden, you do need access all the way around it. 18 inches of clearance should be plenty – enough to get a strimmer and a rake down the sides (and maybe one day a wood-chip path?). Once you are happy that things are level, lay the bed, plastic side down, staple the plastic thoroughly along the top rim (on the inside) and four inches above ground level (on the outside) and then trim the excess.
Next, fit the tensioner board across the middle, between the longest sides, atop the central reinforcement pieces. Because of the 1” gap we left earlier, when fitted, the tensioner will lie flush with the top edge of the sides. It was fixed in place with some wood screws.
Finally, if your posts are longer than the height of the bed (such as in this example) cut down the excess post lengths (keeping the off cuts for the next bed!) and add the narrower 4-inch boards to the top, with mitre (45 degree) cuts at the corners. These formed a flat rim, on which you can sit or lean while working the beds. The rim is secured with the final coach screws.
High-wire act
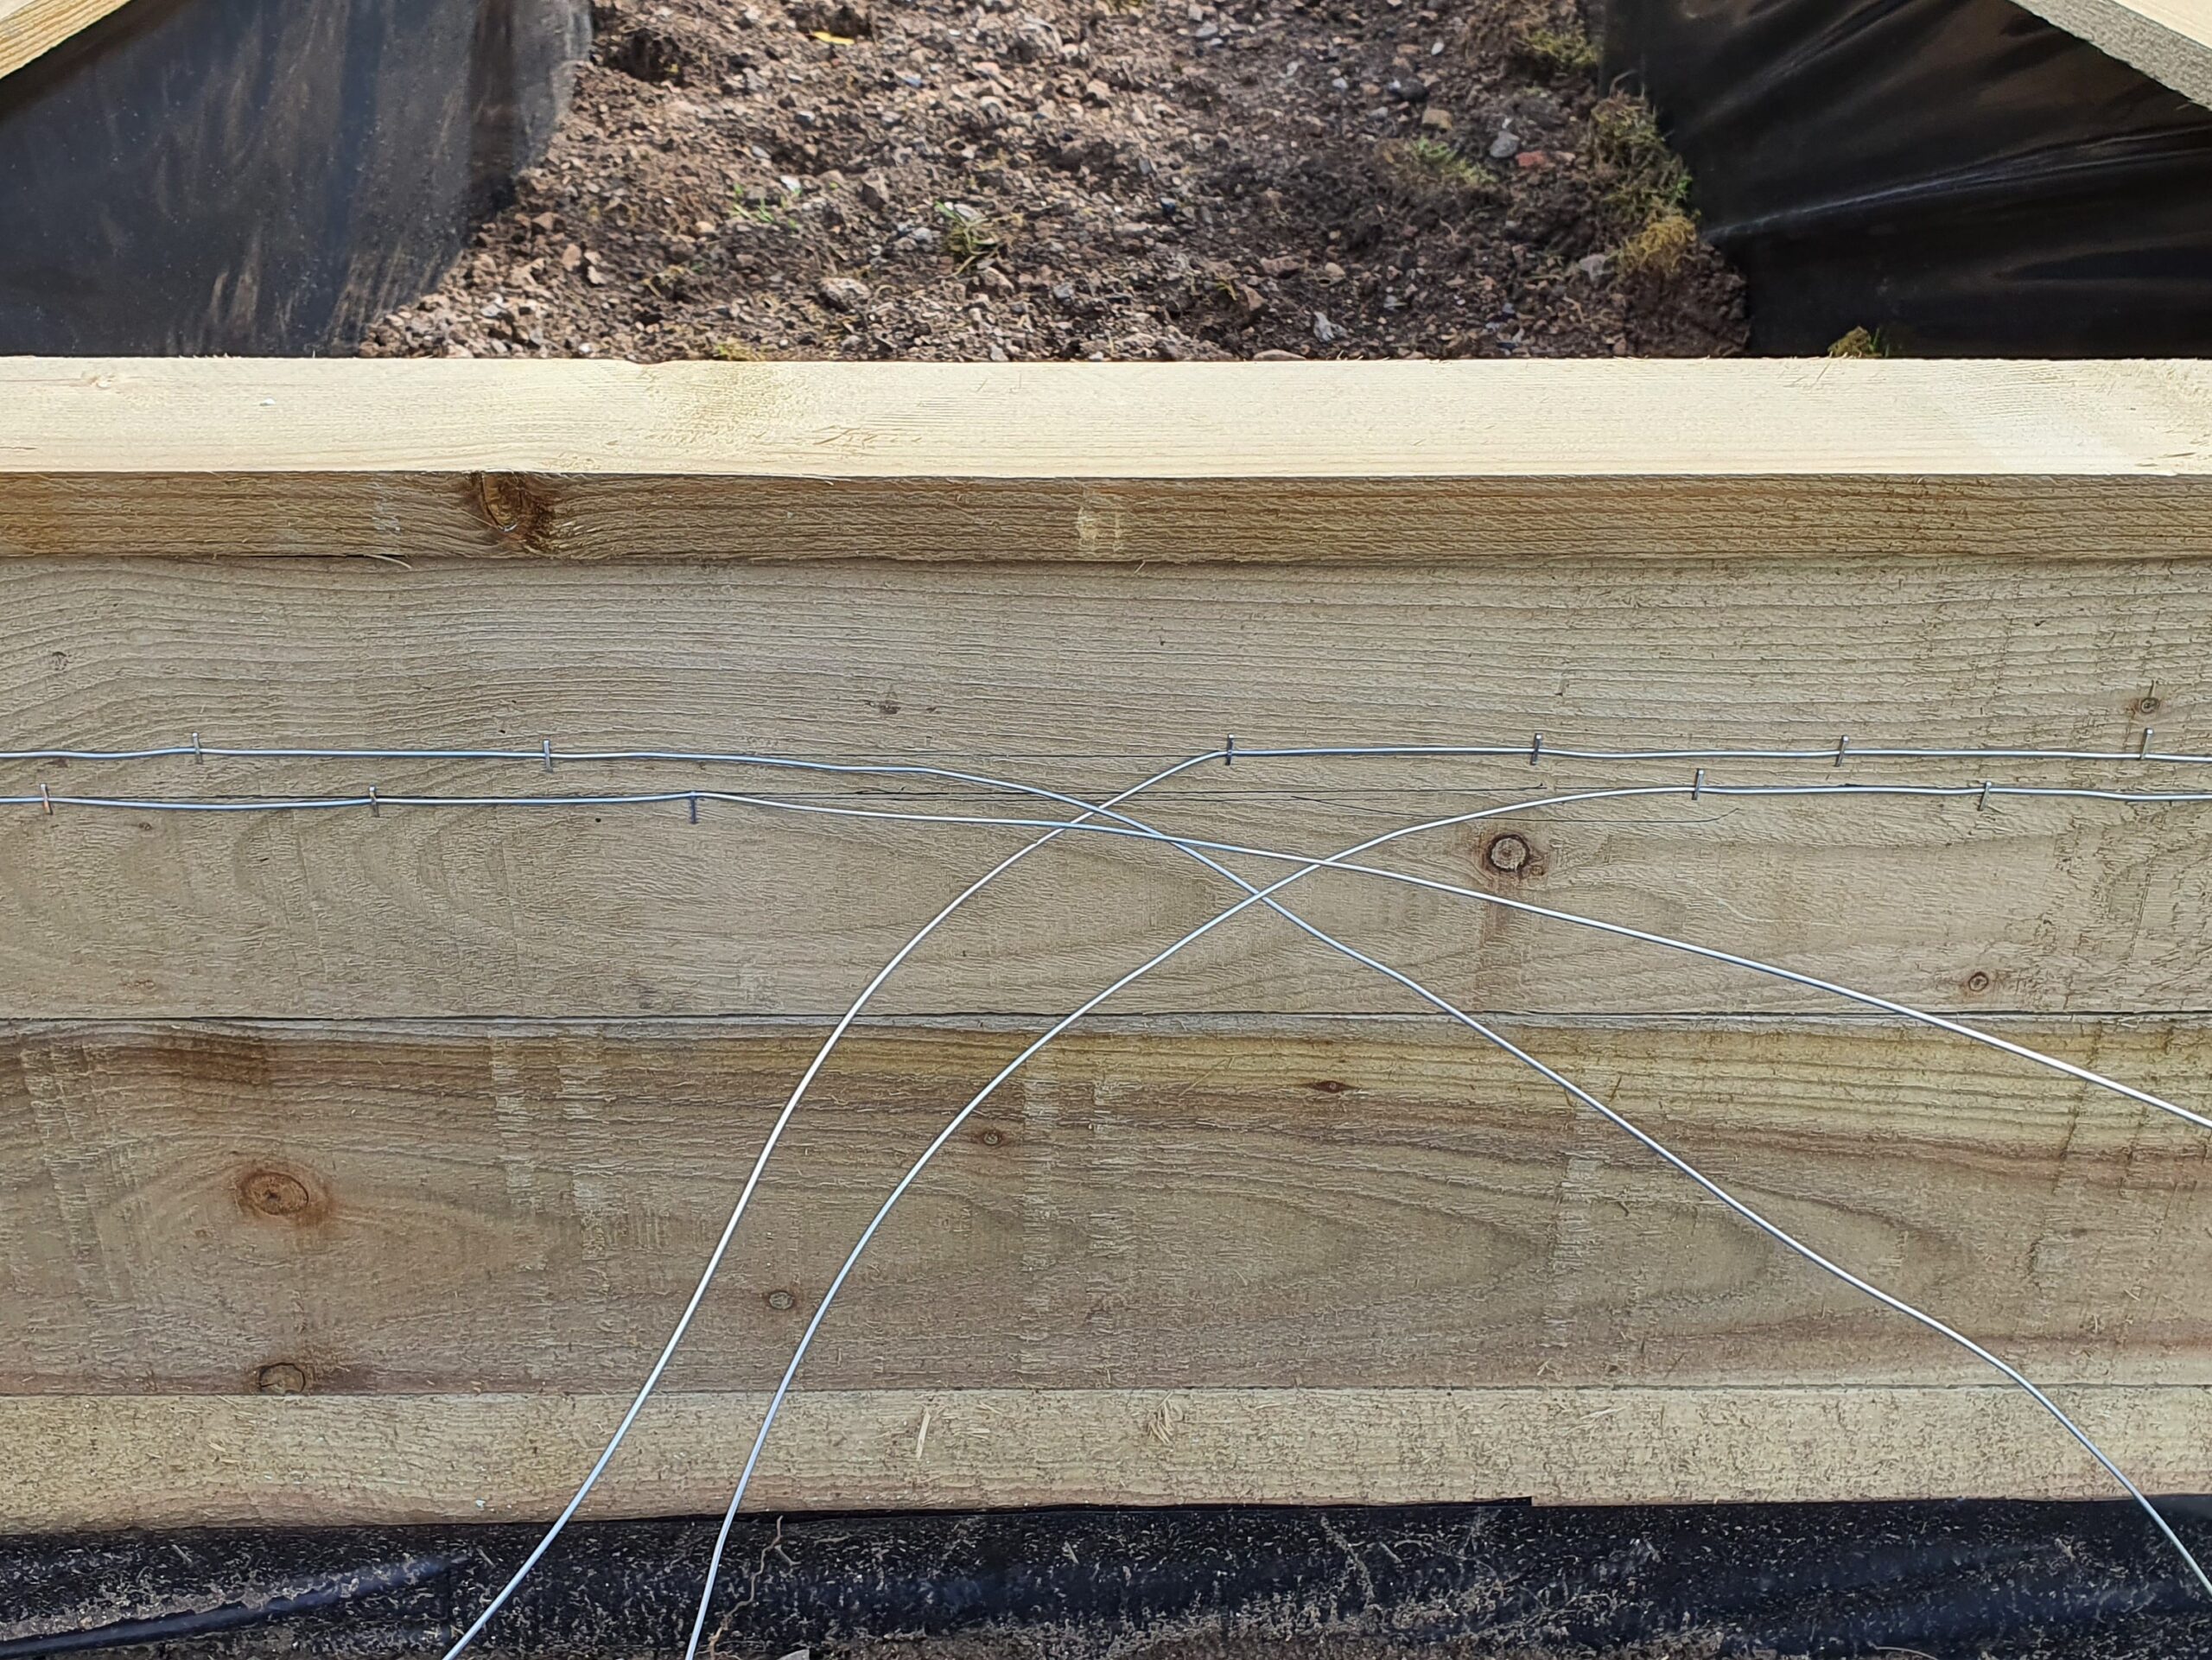
The electric slug fence, for turning back the pests, requires two parallel runs of wire around the rim of the bed, with each run of wire connecting up to a 9-volt battery (Amazon). You can use a single 30-metre spool of galvanised gardening wire (Amazon) – which for the bed size left a couple of metres to spare. But there is a caveat.
While galvanised wire is by far the cheapest option, it does eventually rust (interestingly, the positive wire more so than the negative one – there’s probably a clever physics-y reason as to why). The jury is still out as to how much this corrosion affects the efficacy of the fence – slugs and snails are pretty gooey and therefore excellent conductors of electricity – but it is a little unsightly.
One possible remedy is to give the fence a clean every six months, going over the wires with a stiff wire brush or some light sandpaper. The other option is to use a different material.
I’ve always prided myself on being someone who, if given the choice, follows the science. However, in this case, the science is adamant that you should be using gold. To avoid the world’s most expensive tomatoes, instead consider a stainless steel wire. While this is more expensive, it will stay corrosion-free. Metals interact with each other too, so make sure that you are also using steel staples (Amazon).
You may wish to avoid soldering the electrics together. If that’s the case, you can wire the whole caboodle up in a weatherproof terminal box (Amazon) using two terminals of a connector strip (Amazon) to connect the wire runs to a standard 9-volt terminal (Amazon). In the photo, the green/yellow insulation colour is, of course, nonsense for the circuit layout, but it’s all I had for that particular build.
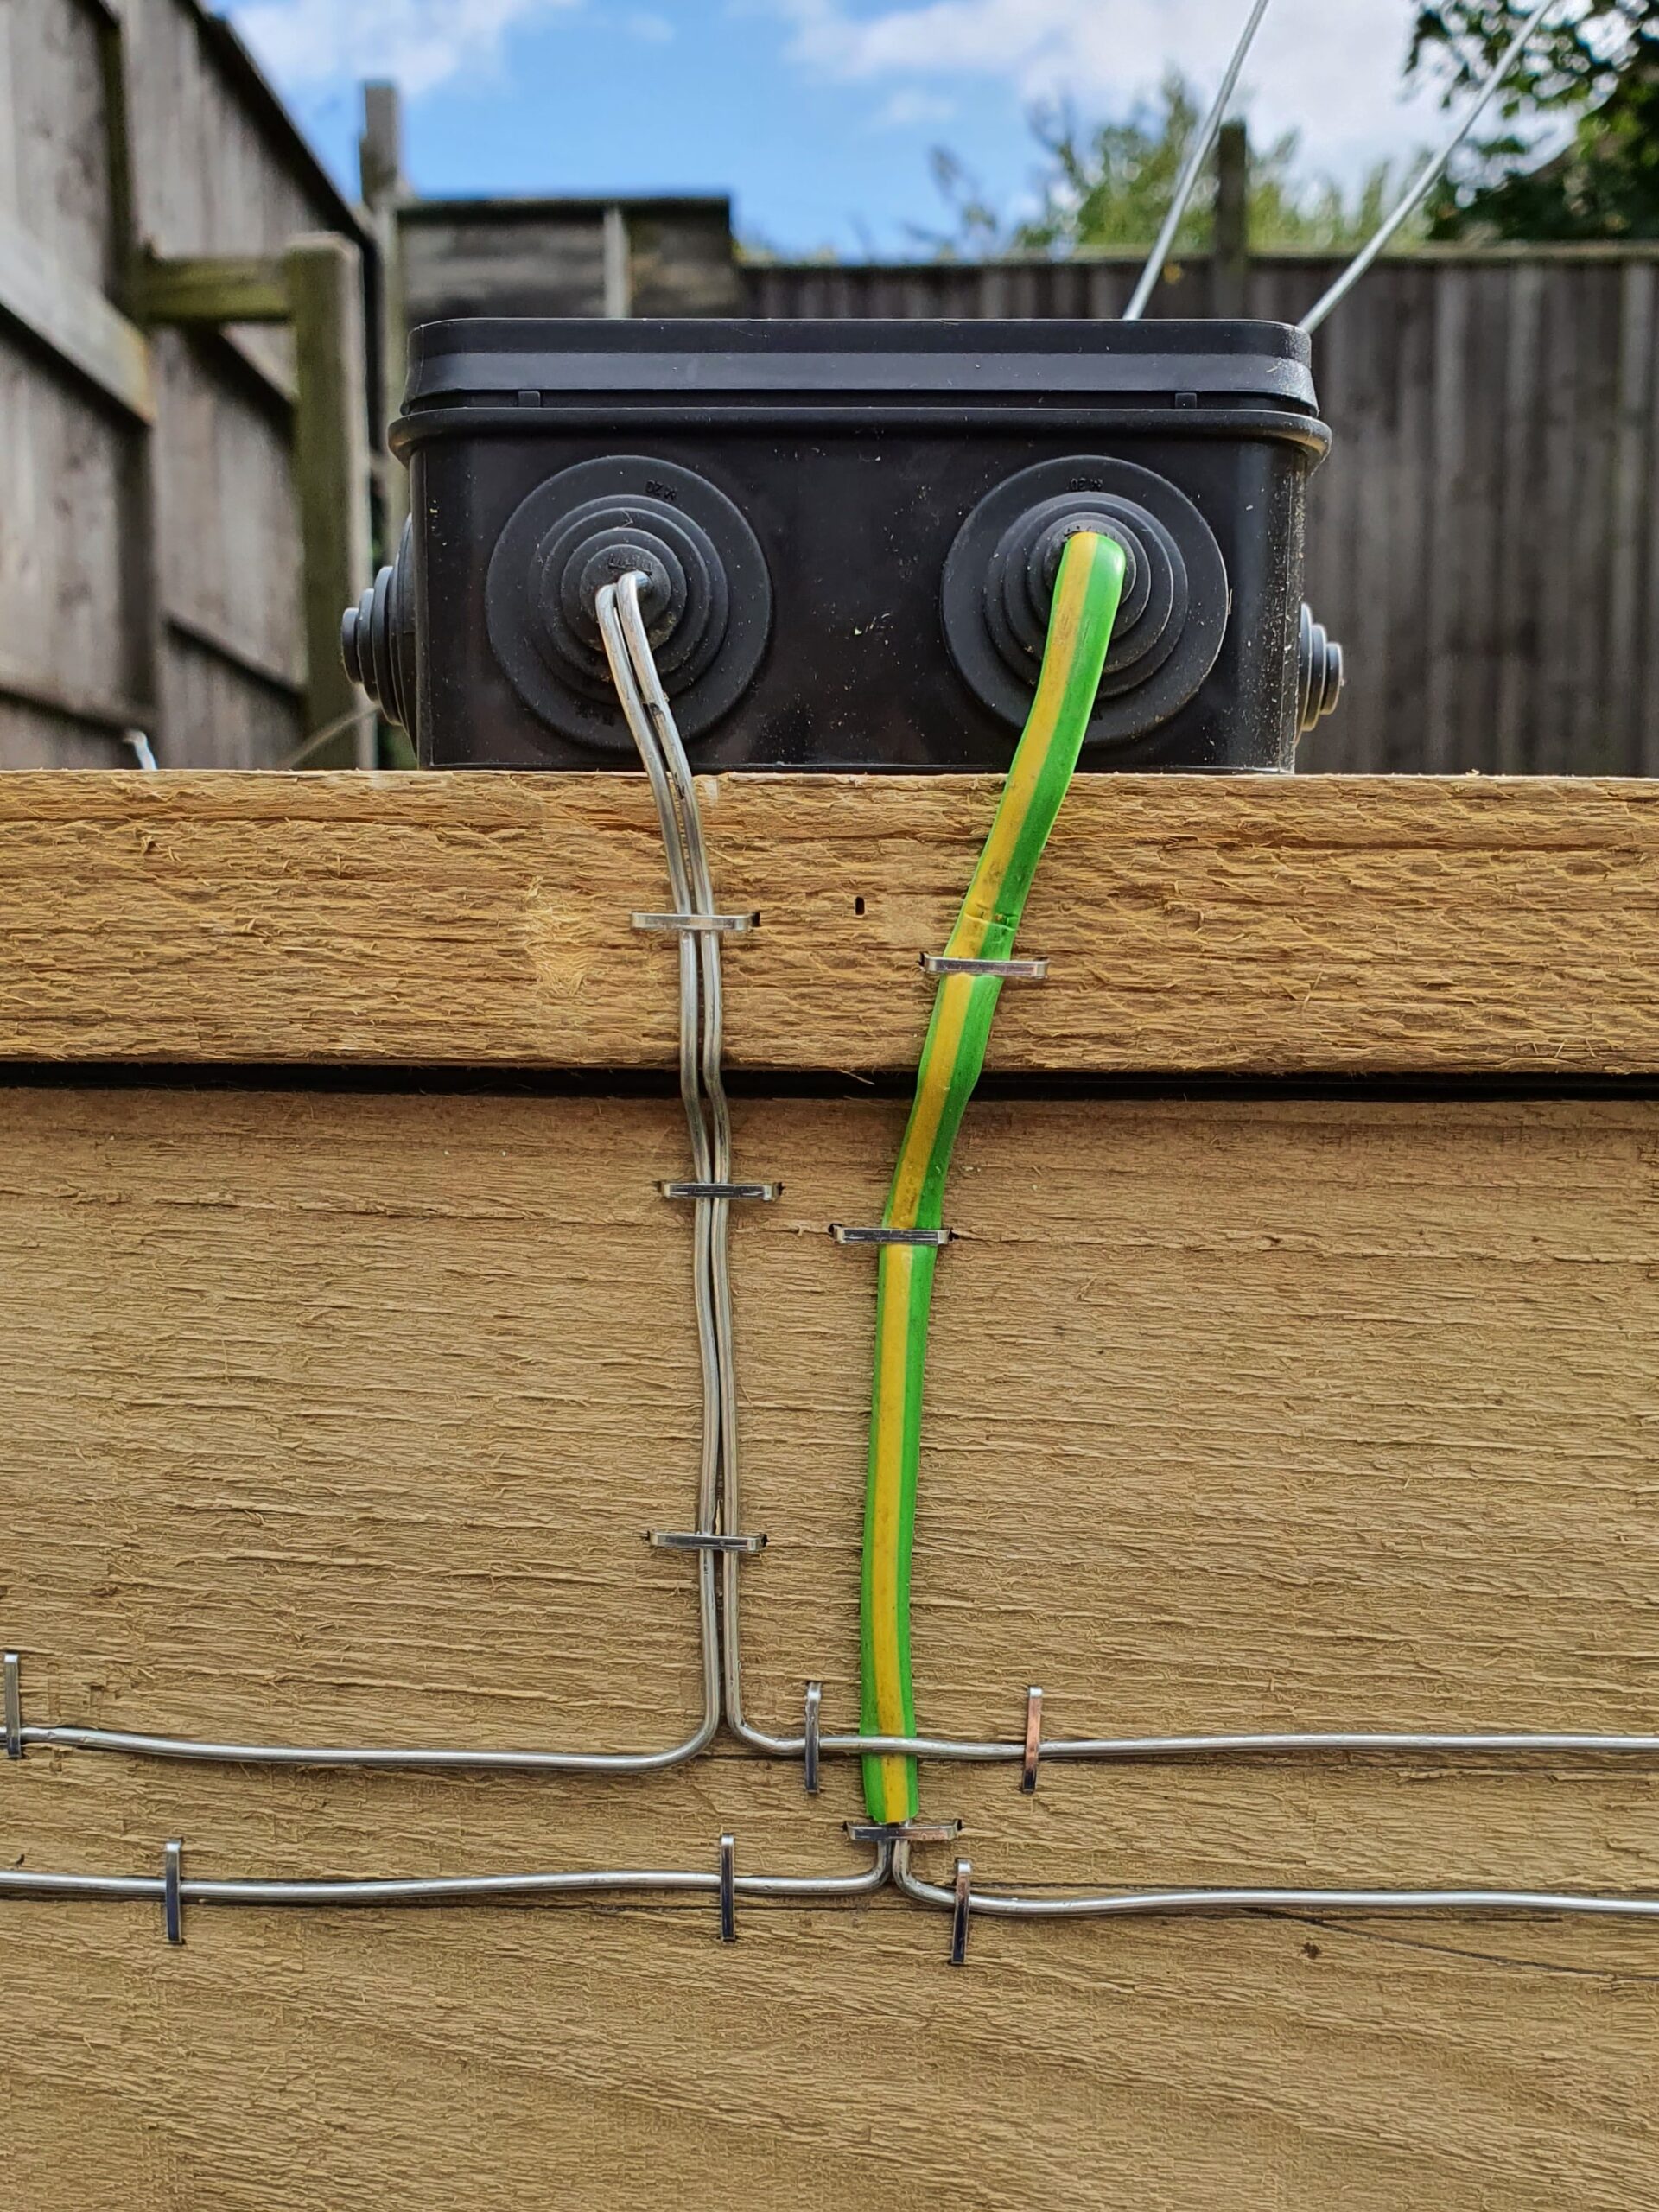
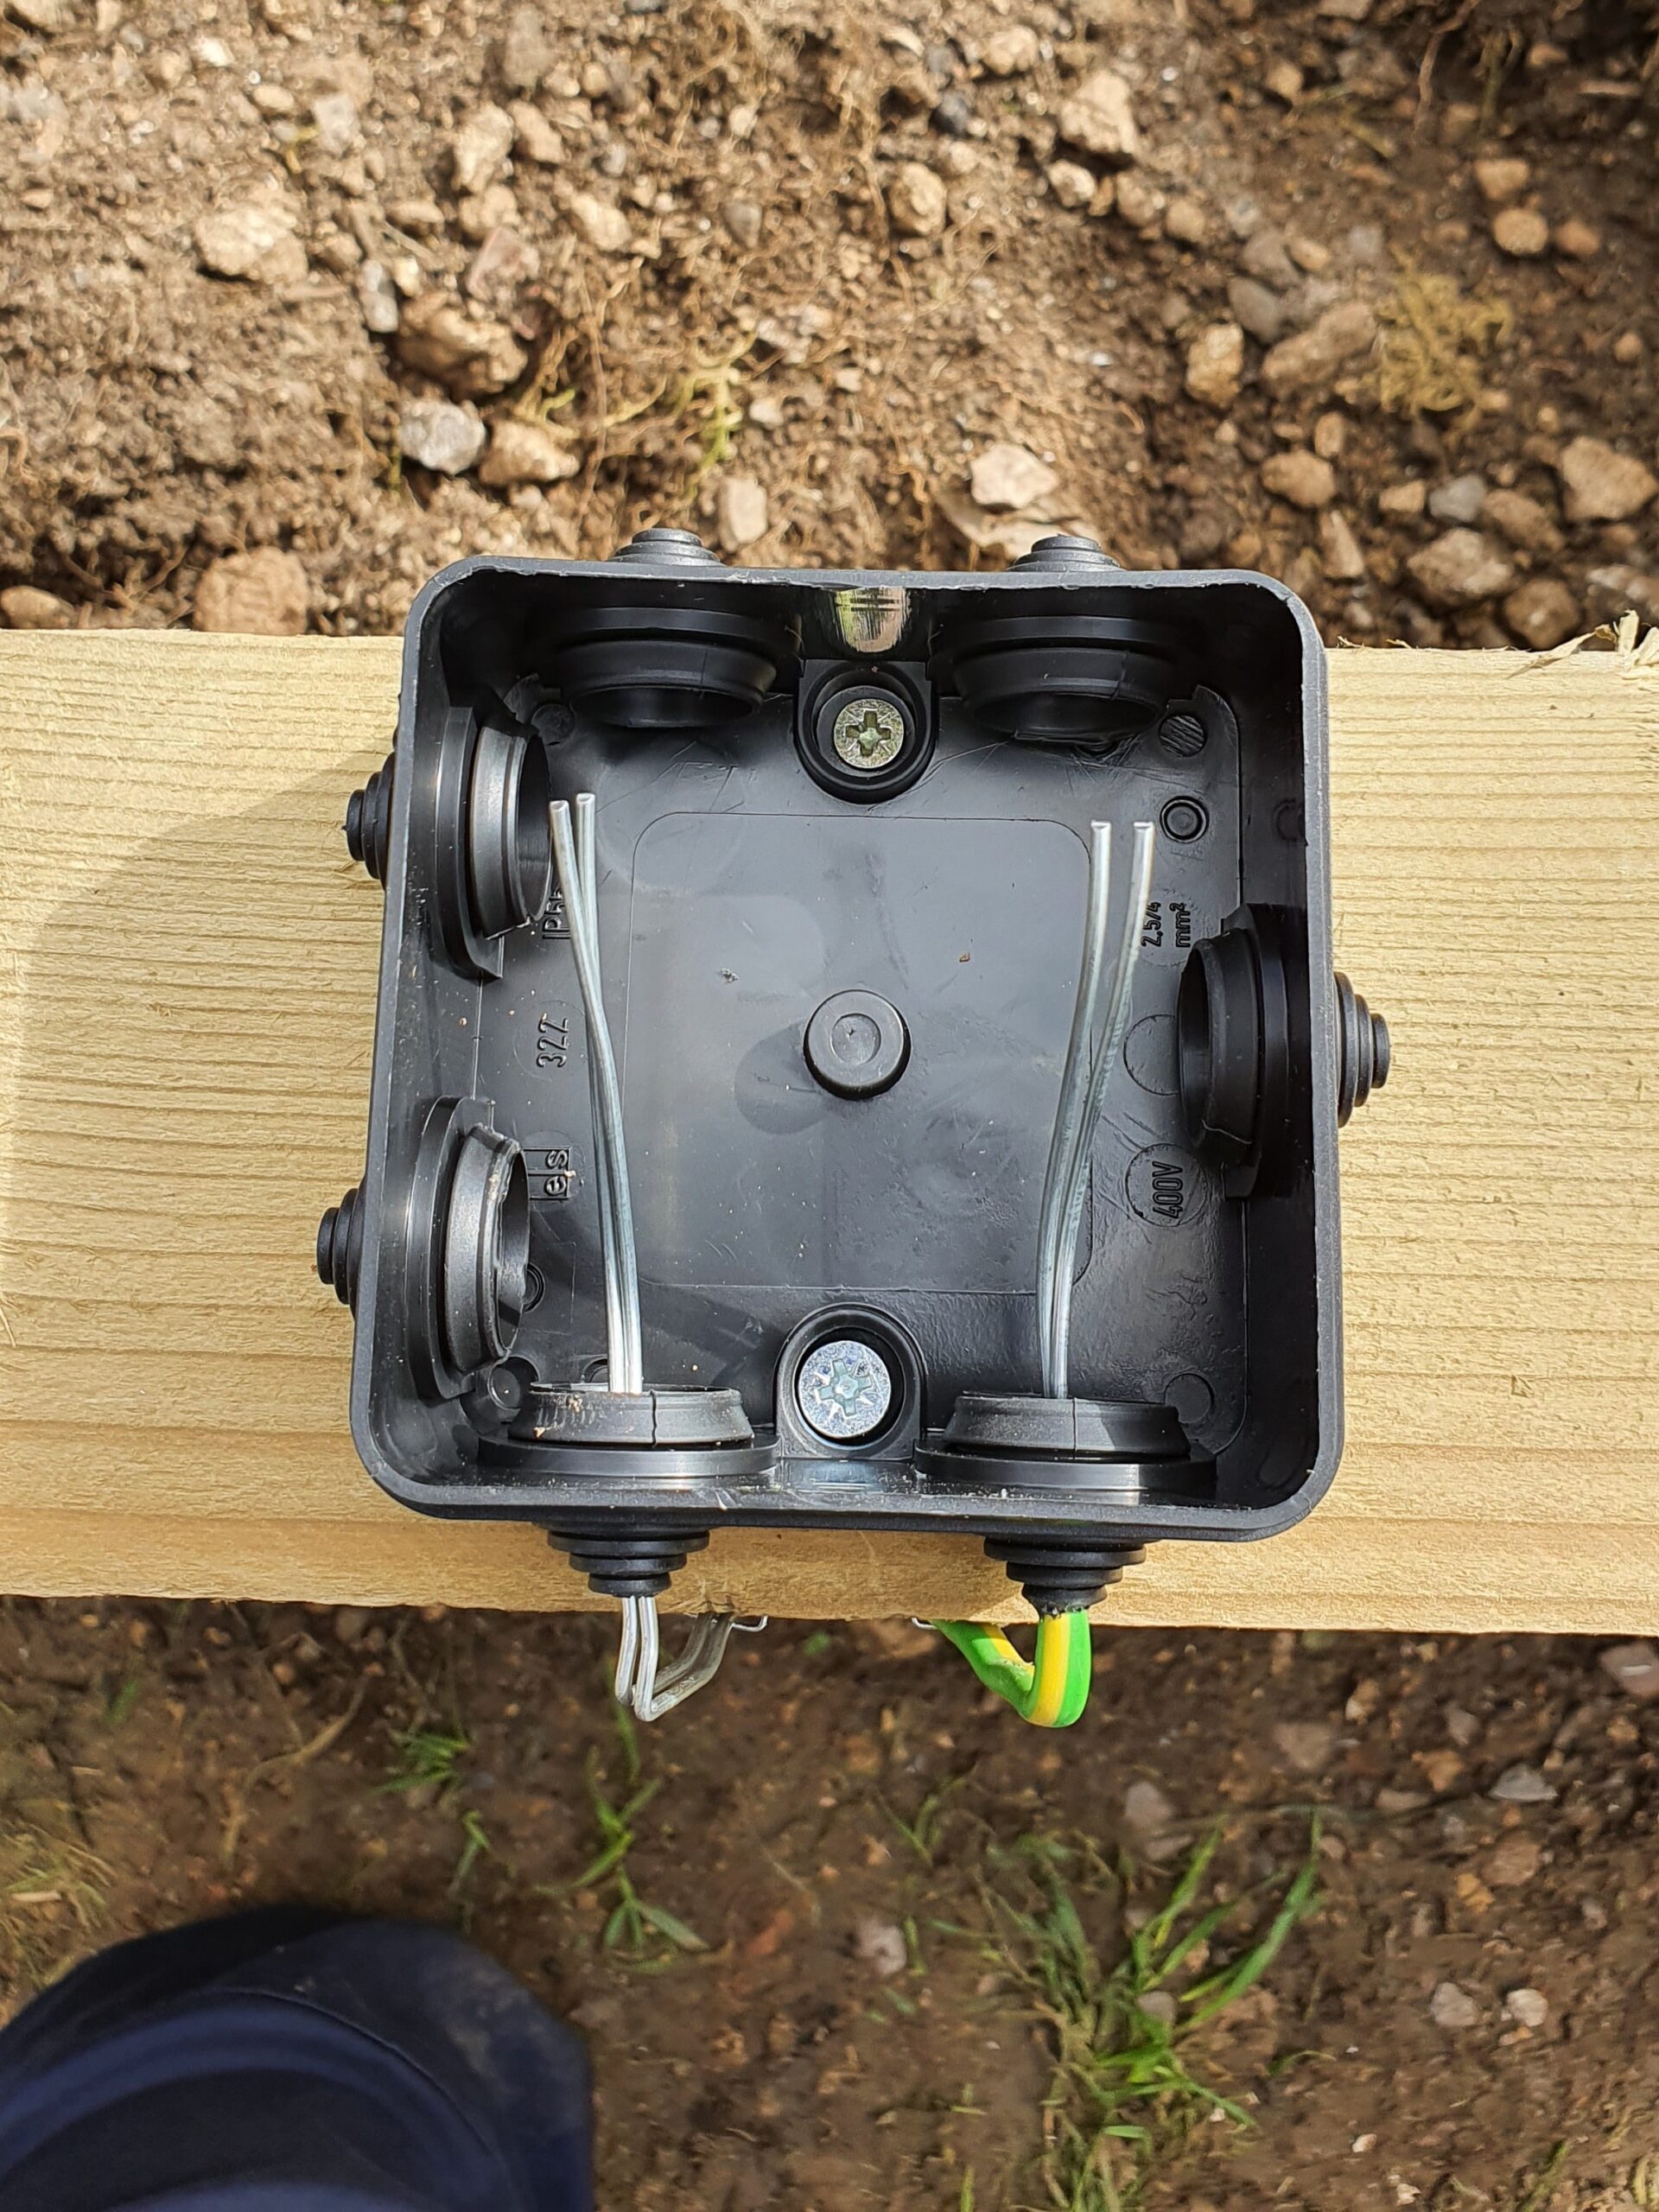
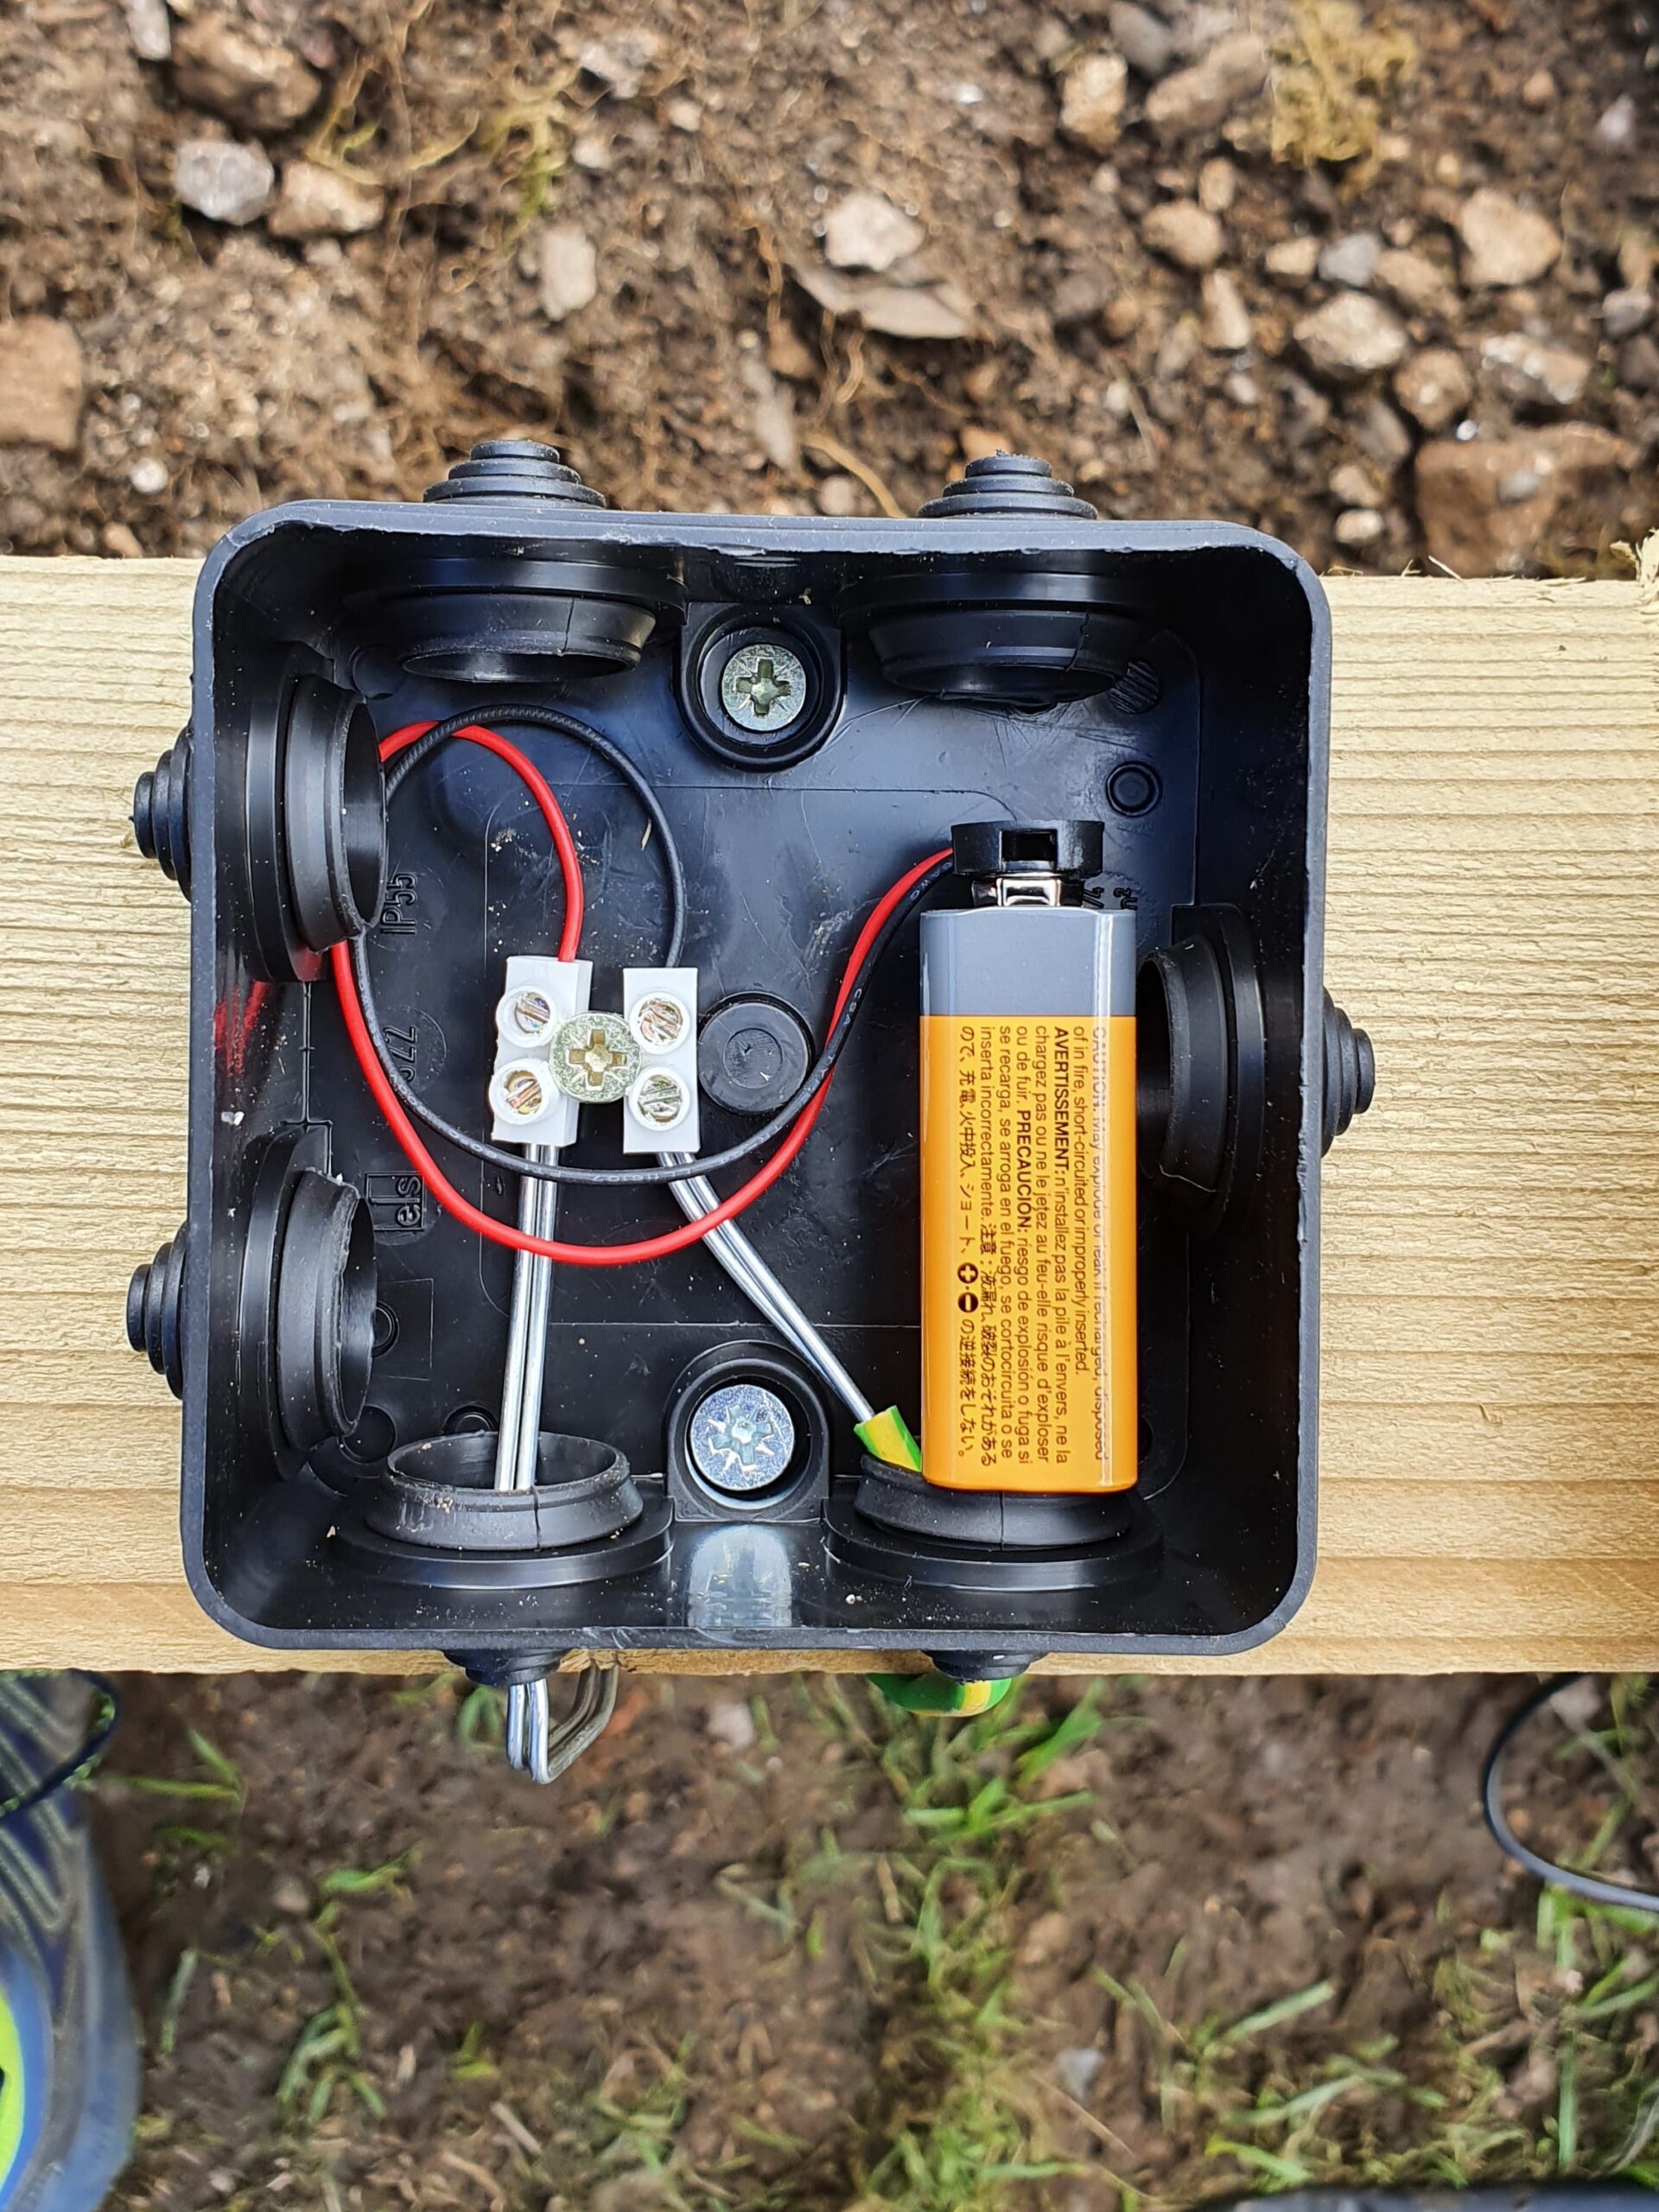
A quick test of the voltage with a multi-meter (Amazon) should confirm that the voltage is consistent across the whole system.
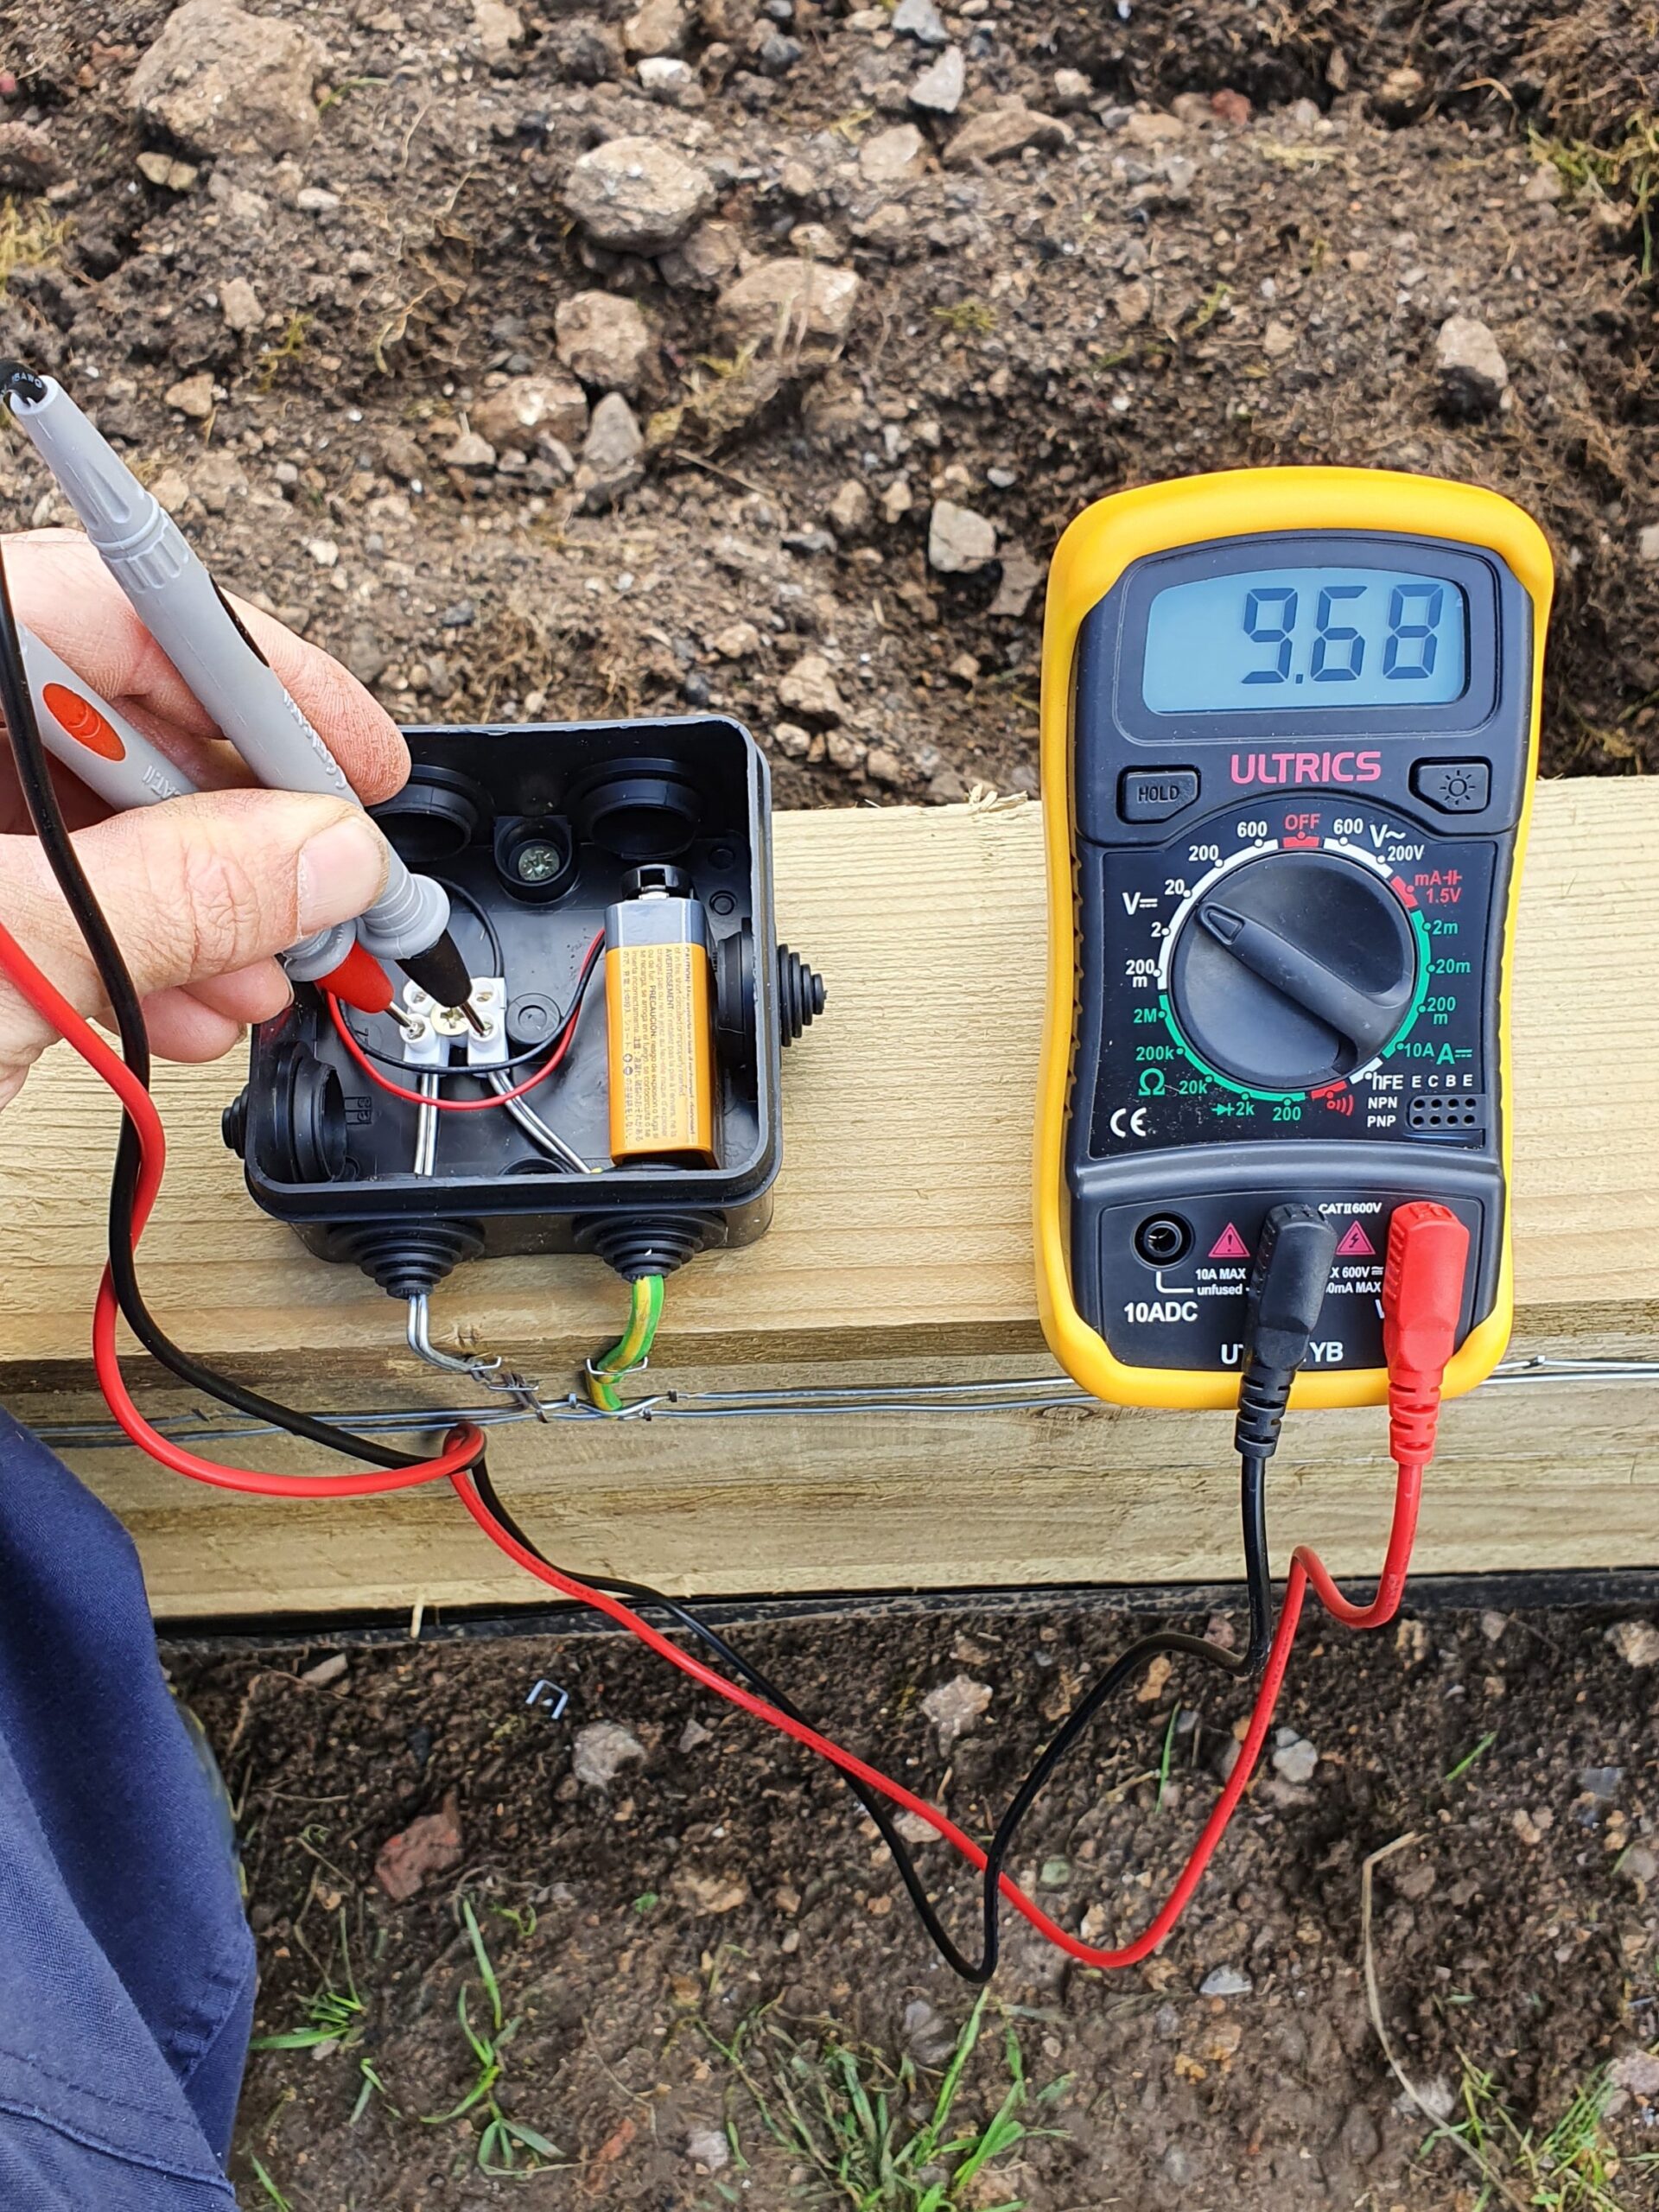
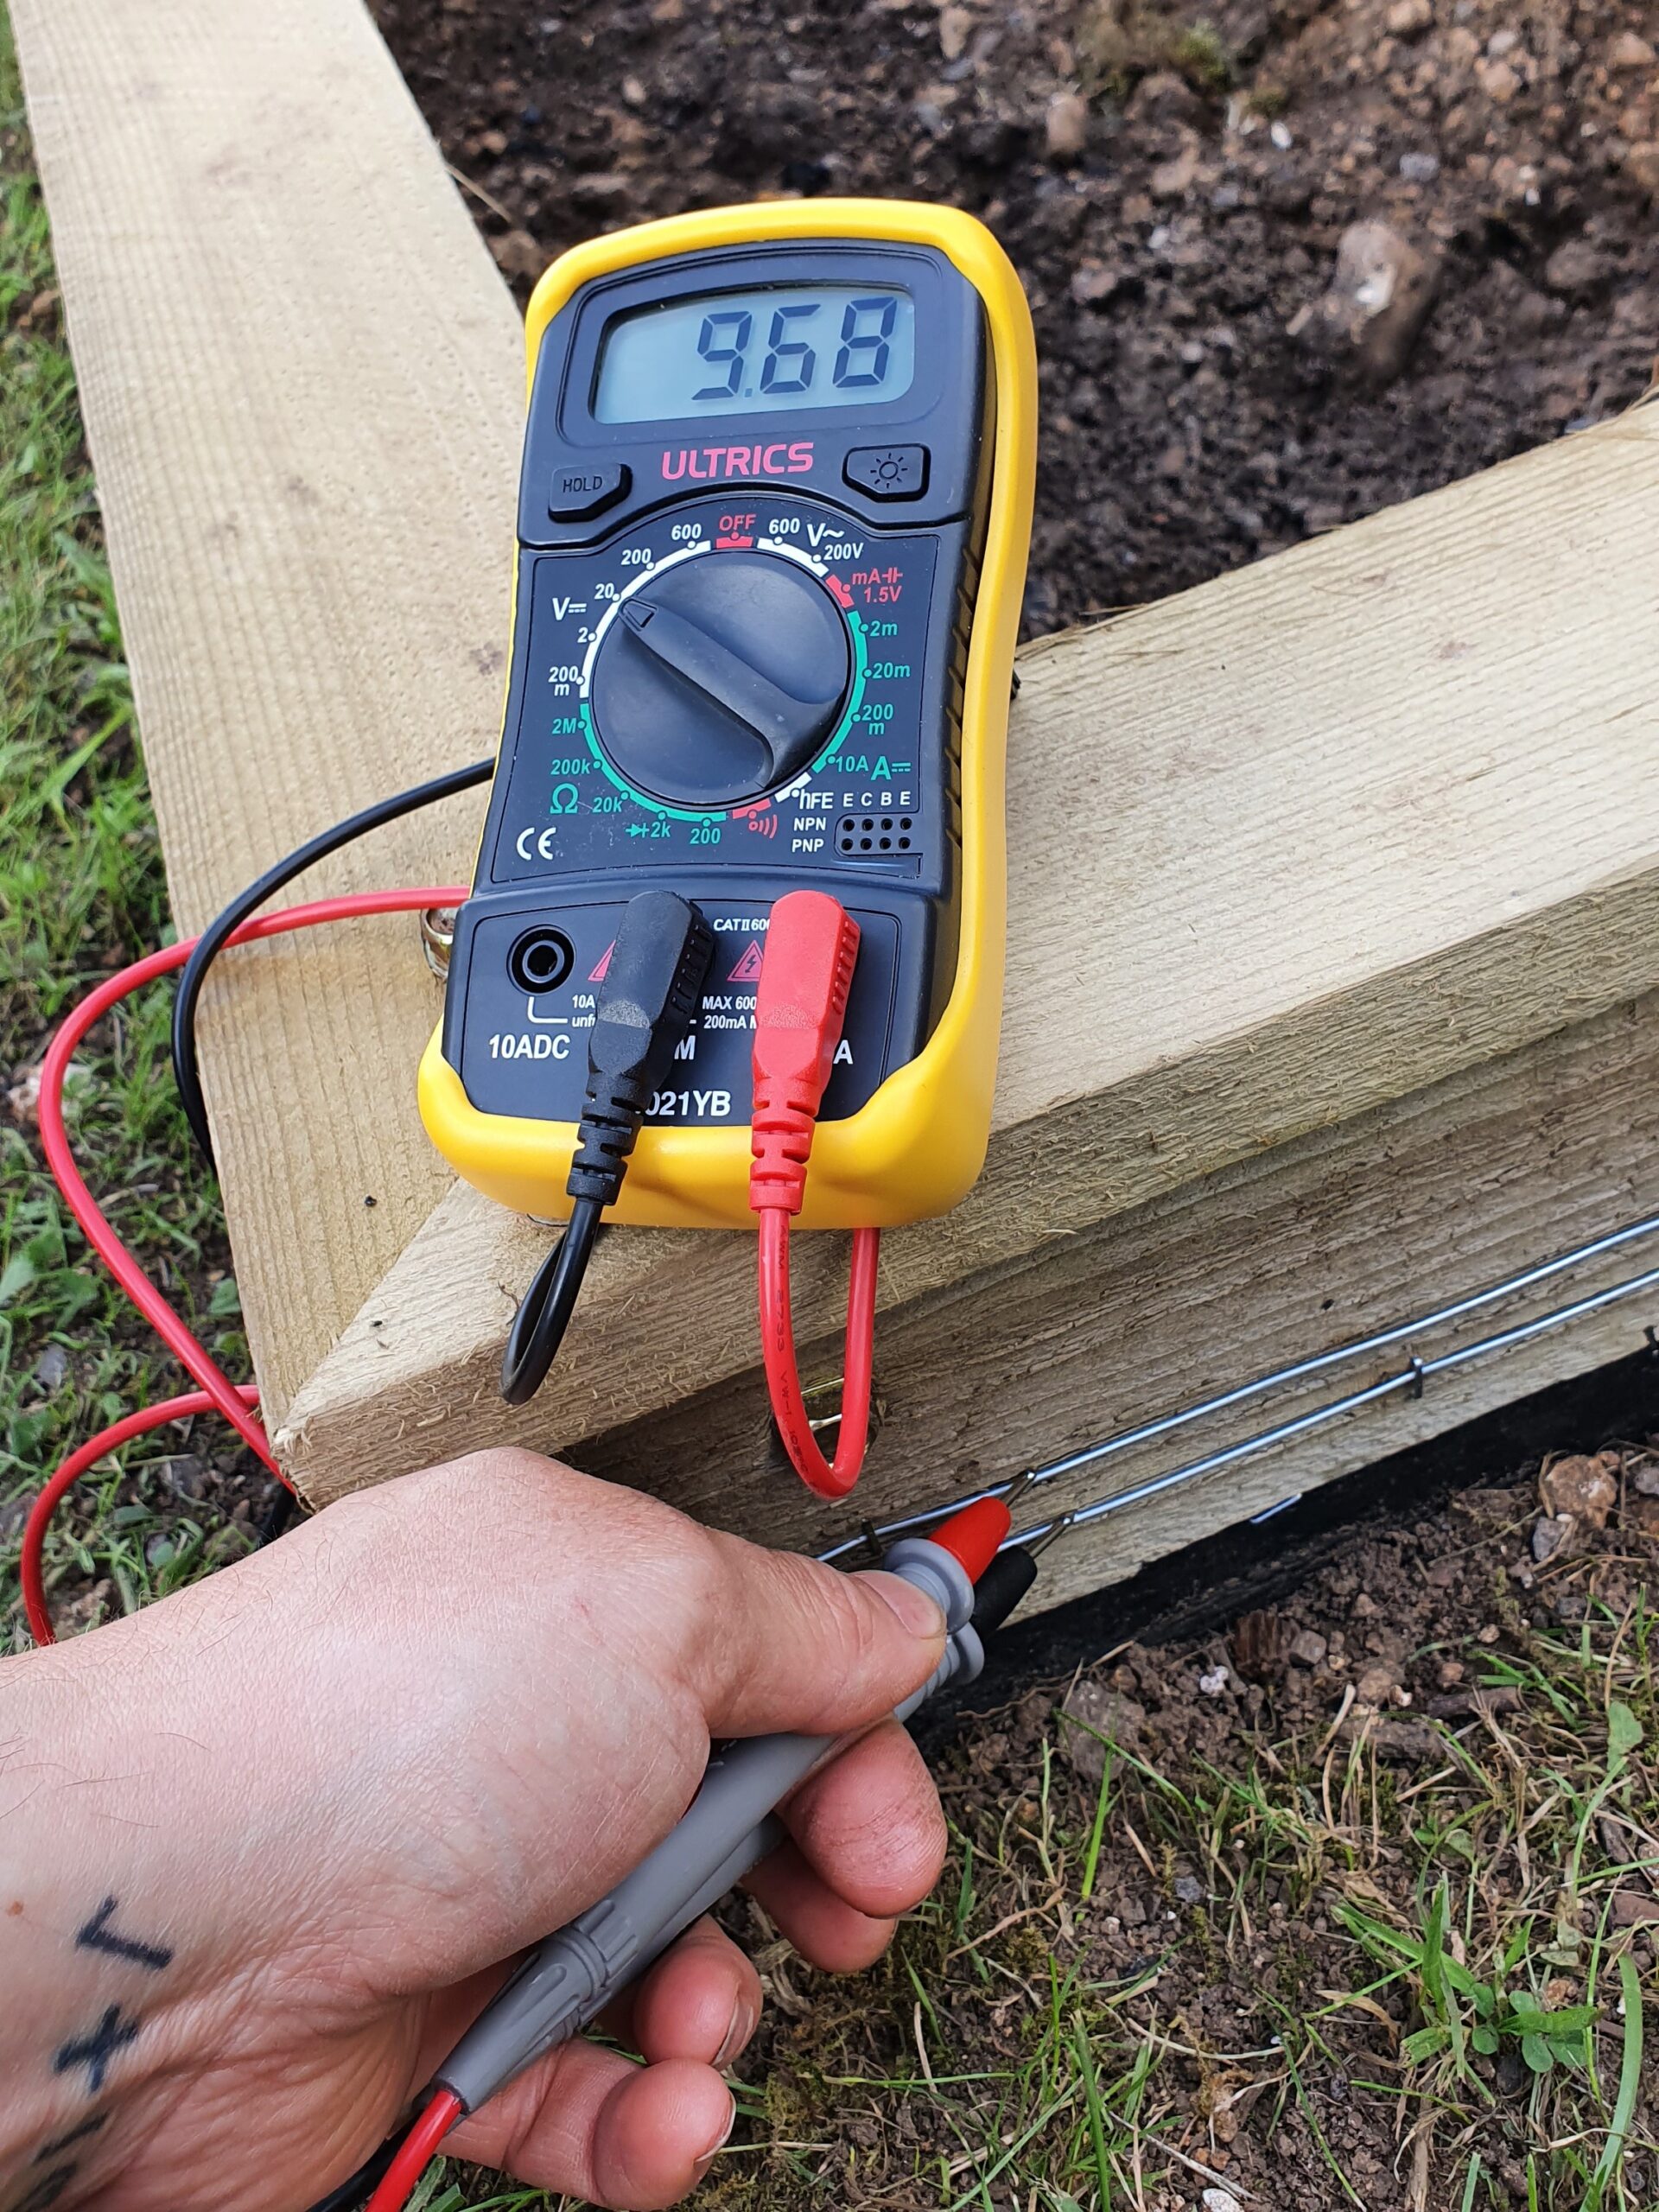
But did it actually work? Well, yes it did! I’m very pleased to report that the slugs most definitely did not like it up ’em. All slugs were released well and alive back into the wild with free apples, to go about their sluggy lives.
Some months later, at the end of the growing season, with the final leaves swept up and deposited into the compost and the hint of frost in the air, check your voltage again.
In general, you should find that the battery has held up quite well, still registering enough volts to easily enough to discourage inquisitive slitherers. Despite what movies and video games would have you believe, rainwater is not actually that good a conductor of electricity.
Remember the battery will be shorted by metal tools if they are leaned against the wires, but apart from that you should be ok. There’s nothing left to do now except cover over for winter, paint the bed a cheery colour, or even plan your next bed!

